How to Solder QolorFLEX NuNeon
How to Solder QolorFLEX NuNeon:
Basic Backfeed Manipulation Tutorial
Discover all you need to know about soldering QolorFLEX NuNeon in eight steps.
Table of Contents:
Video ◾ I. Backfeed ◾ II. Tools ◾ III. Measuring and Cutting ◾ IV. Accessing the Contacts ◾
V. Soldering ◾ VI. Shaping ◾ VII. Sealing ◾ VIII. The Finished Product ◾ PDF Download
Learn to Solder at USITT Columbus 2025!
David Smith will be hosting a hands-on soldering lab at USITT 2025 in Columbus, Ohio from March 6 - 8, 2025. Learn to solder and then joinus at City Theatrical Booth 491 to demo the product and ask questions with DMXcat-E experts.
Discover upcoming eventsI. Backfeed
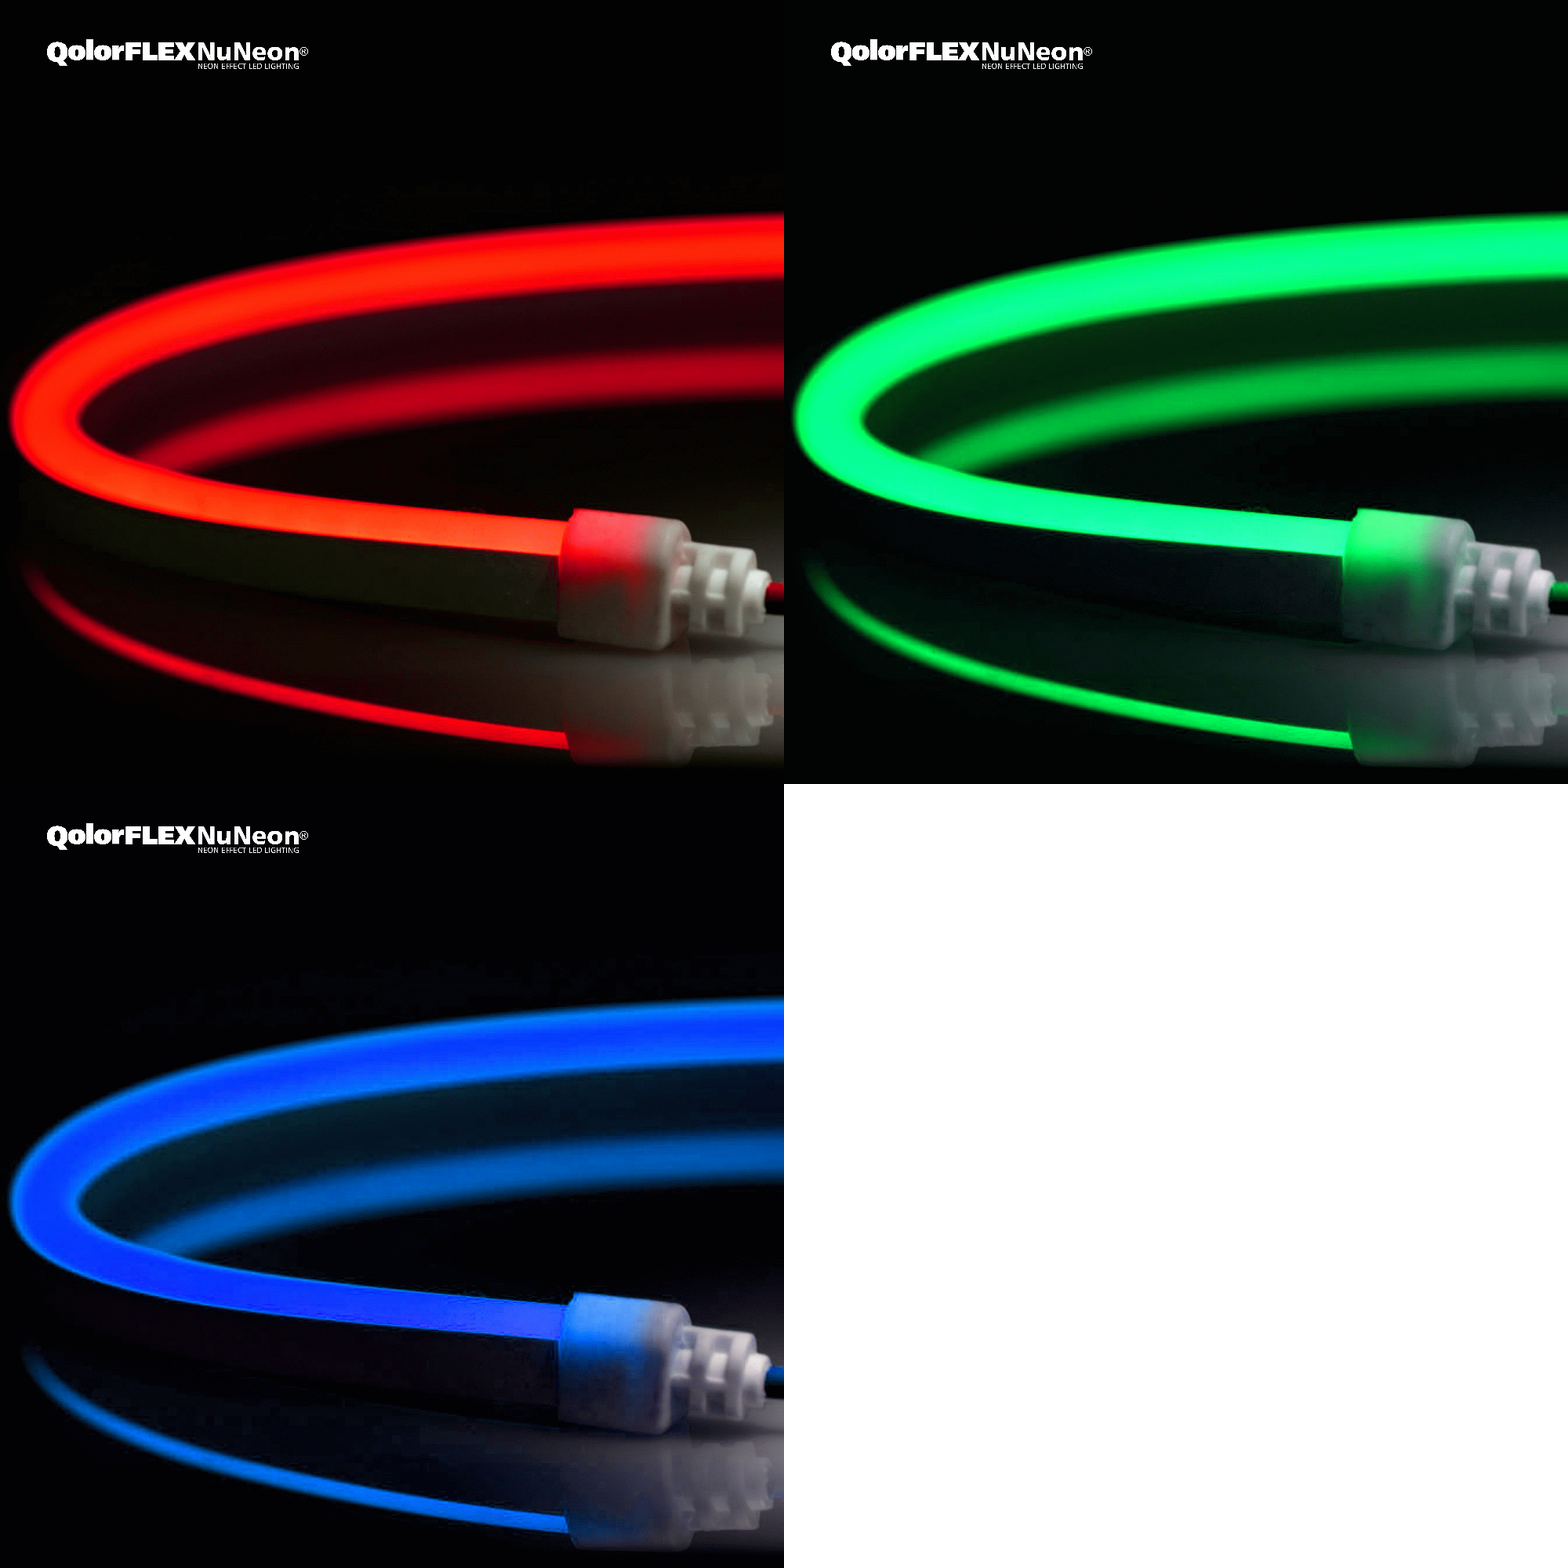
QolorFLEX NuNeon® helps lighting and scenic designers worldwide add bold and bright accents to their entertainment and architectural projects. This soldering tutorial shows how any end user of QolorFLEX NuNeon can solder it, and use this incredibly flexible and bright sealed LED linear lighting product to replace traditional neon.
QolorFLEX NuNeon comes factory standard with its power inputs, “Feeds”, “Cables” or “Tails” running out in straight line feeds from the ends of the tape. Many customers and designers want the power feeds to come out of the “back”, or the flat bottom portion of the tape, for ease of use and flush mounts.
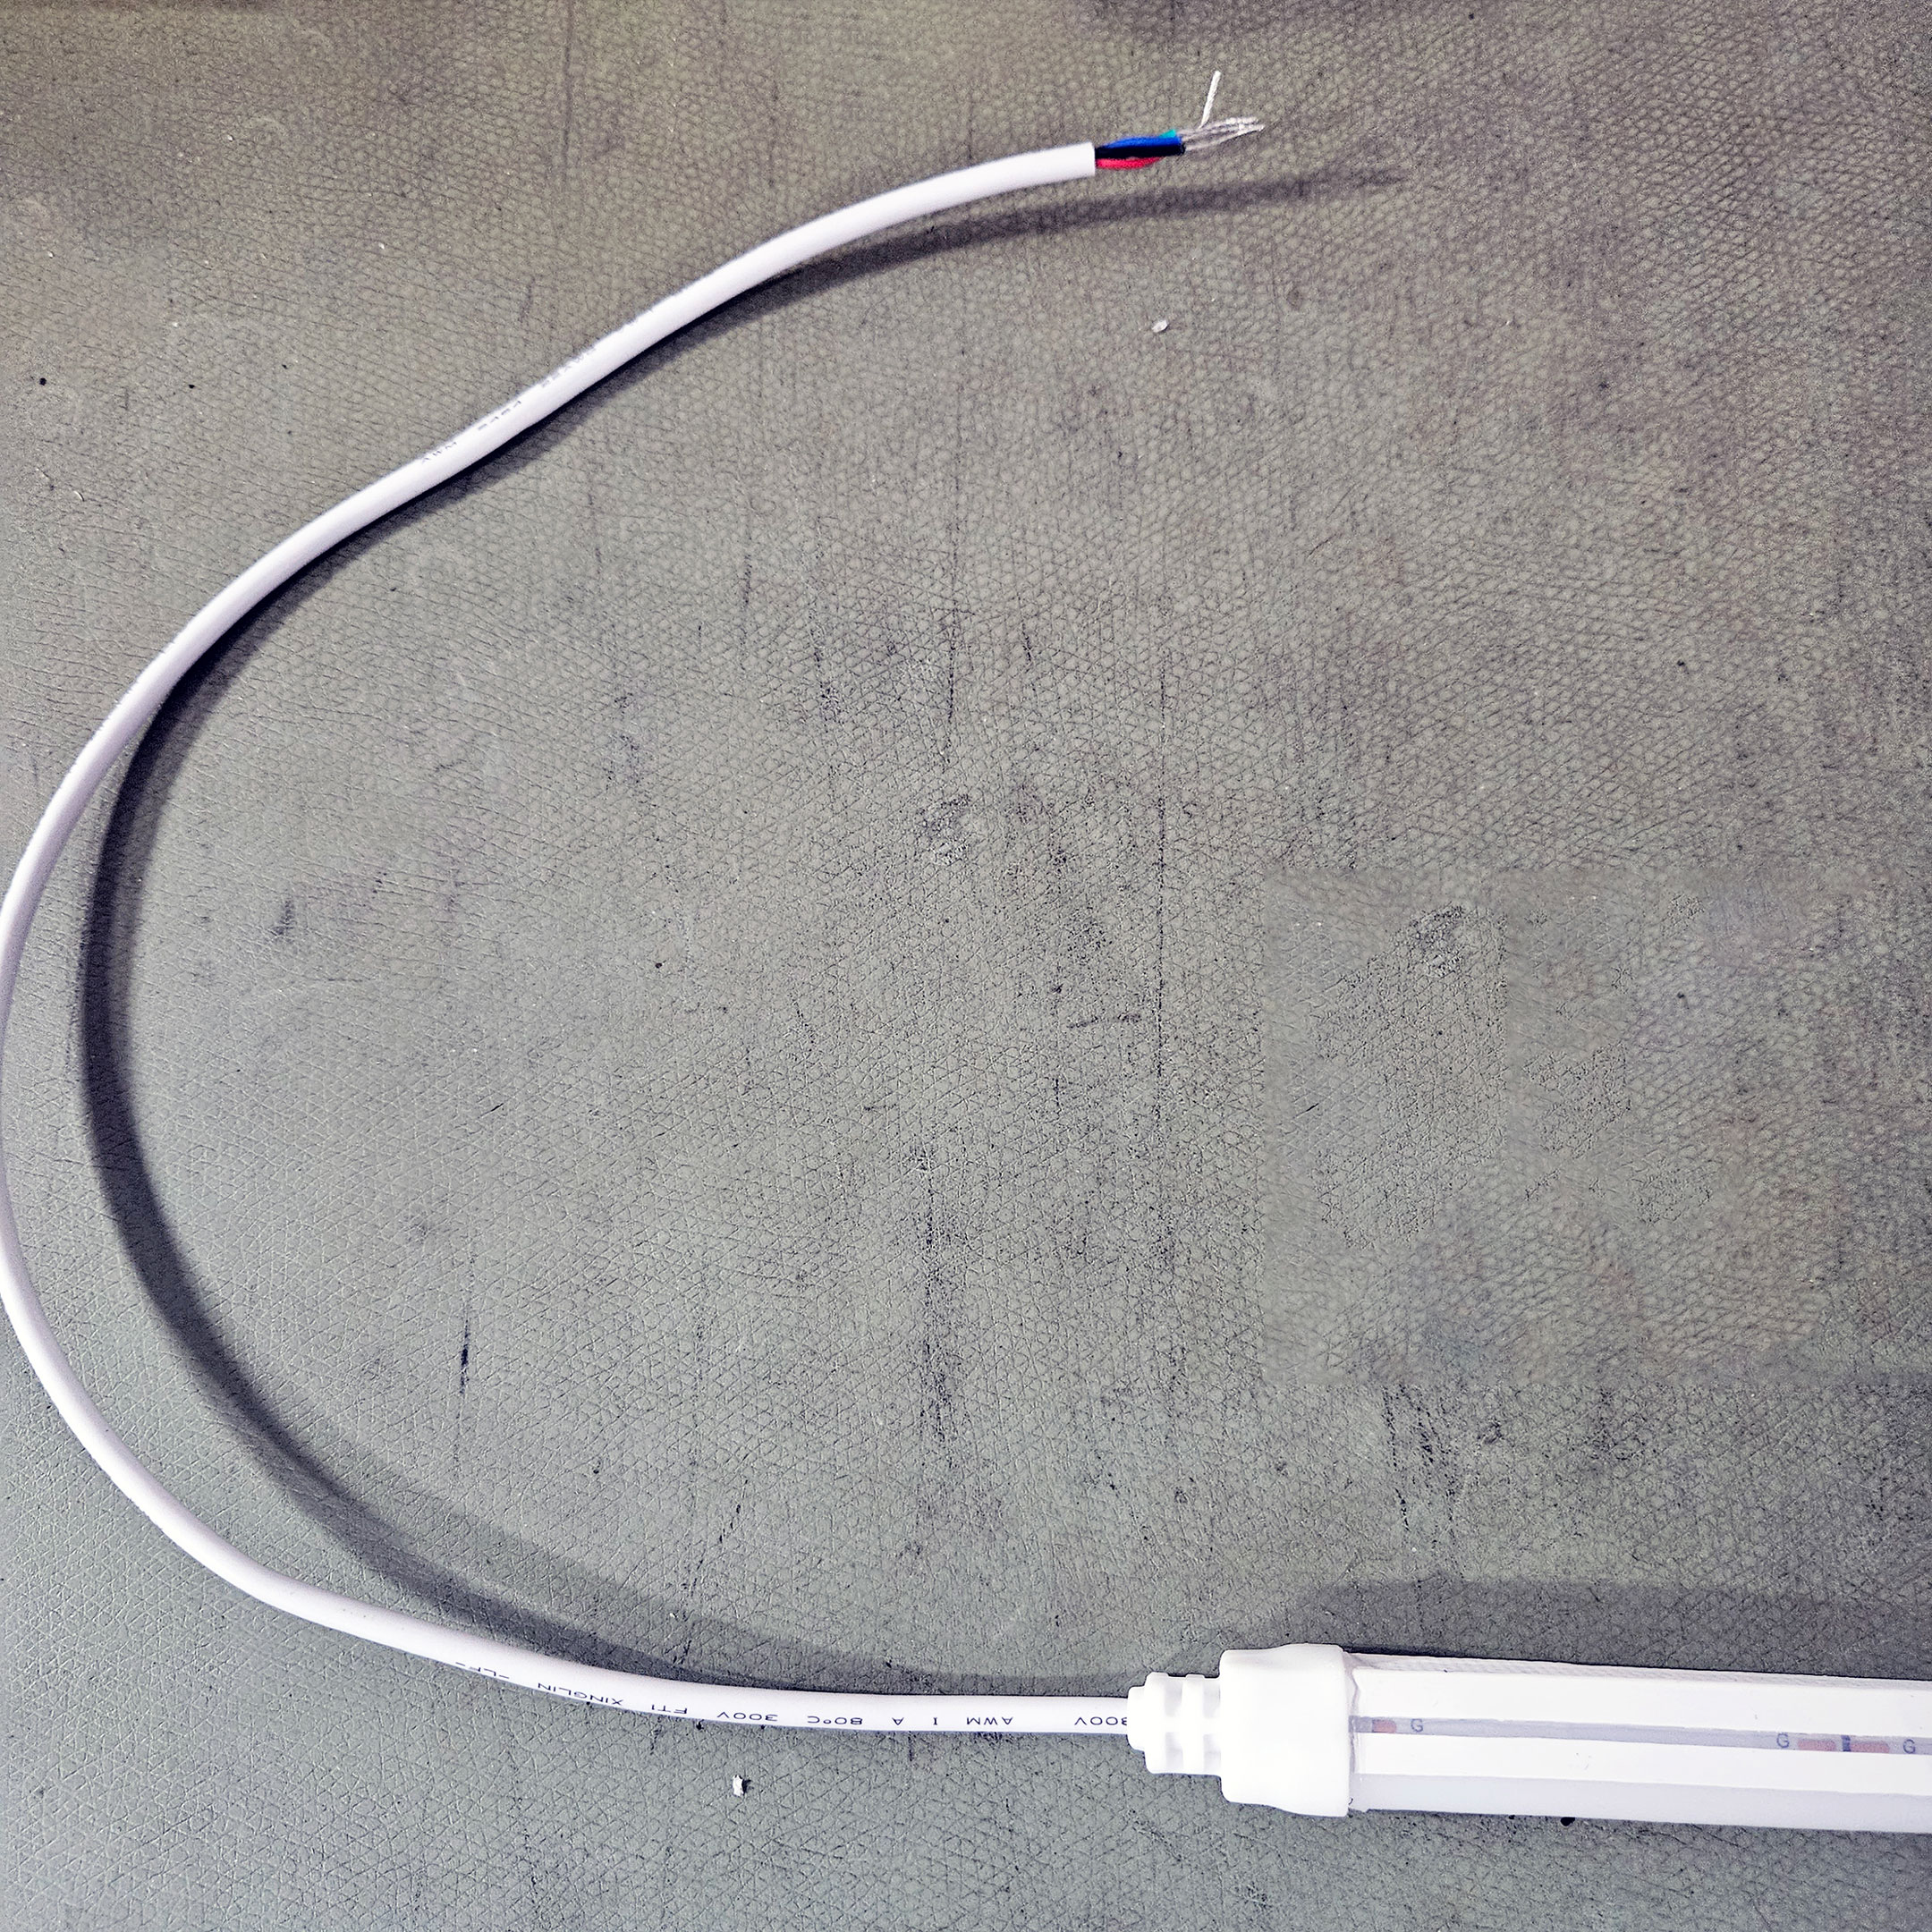
Figure 1: QolorFLEX NuNeon stock feed, unaltered
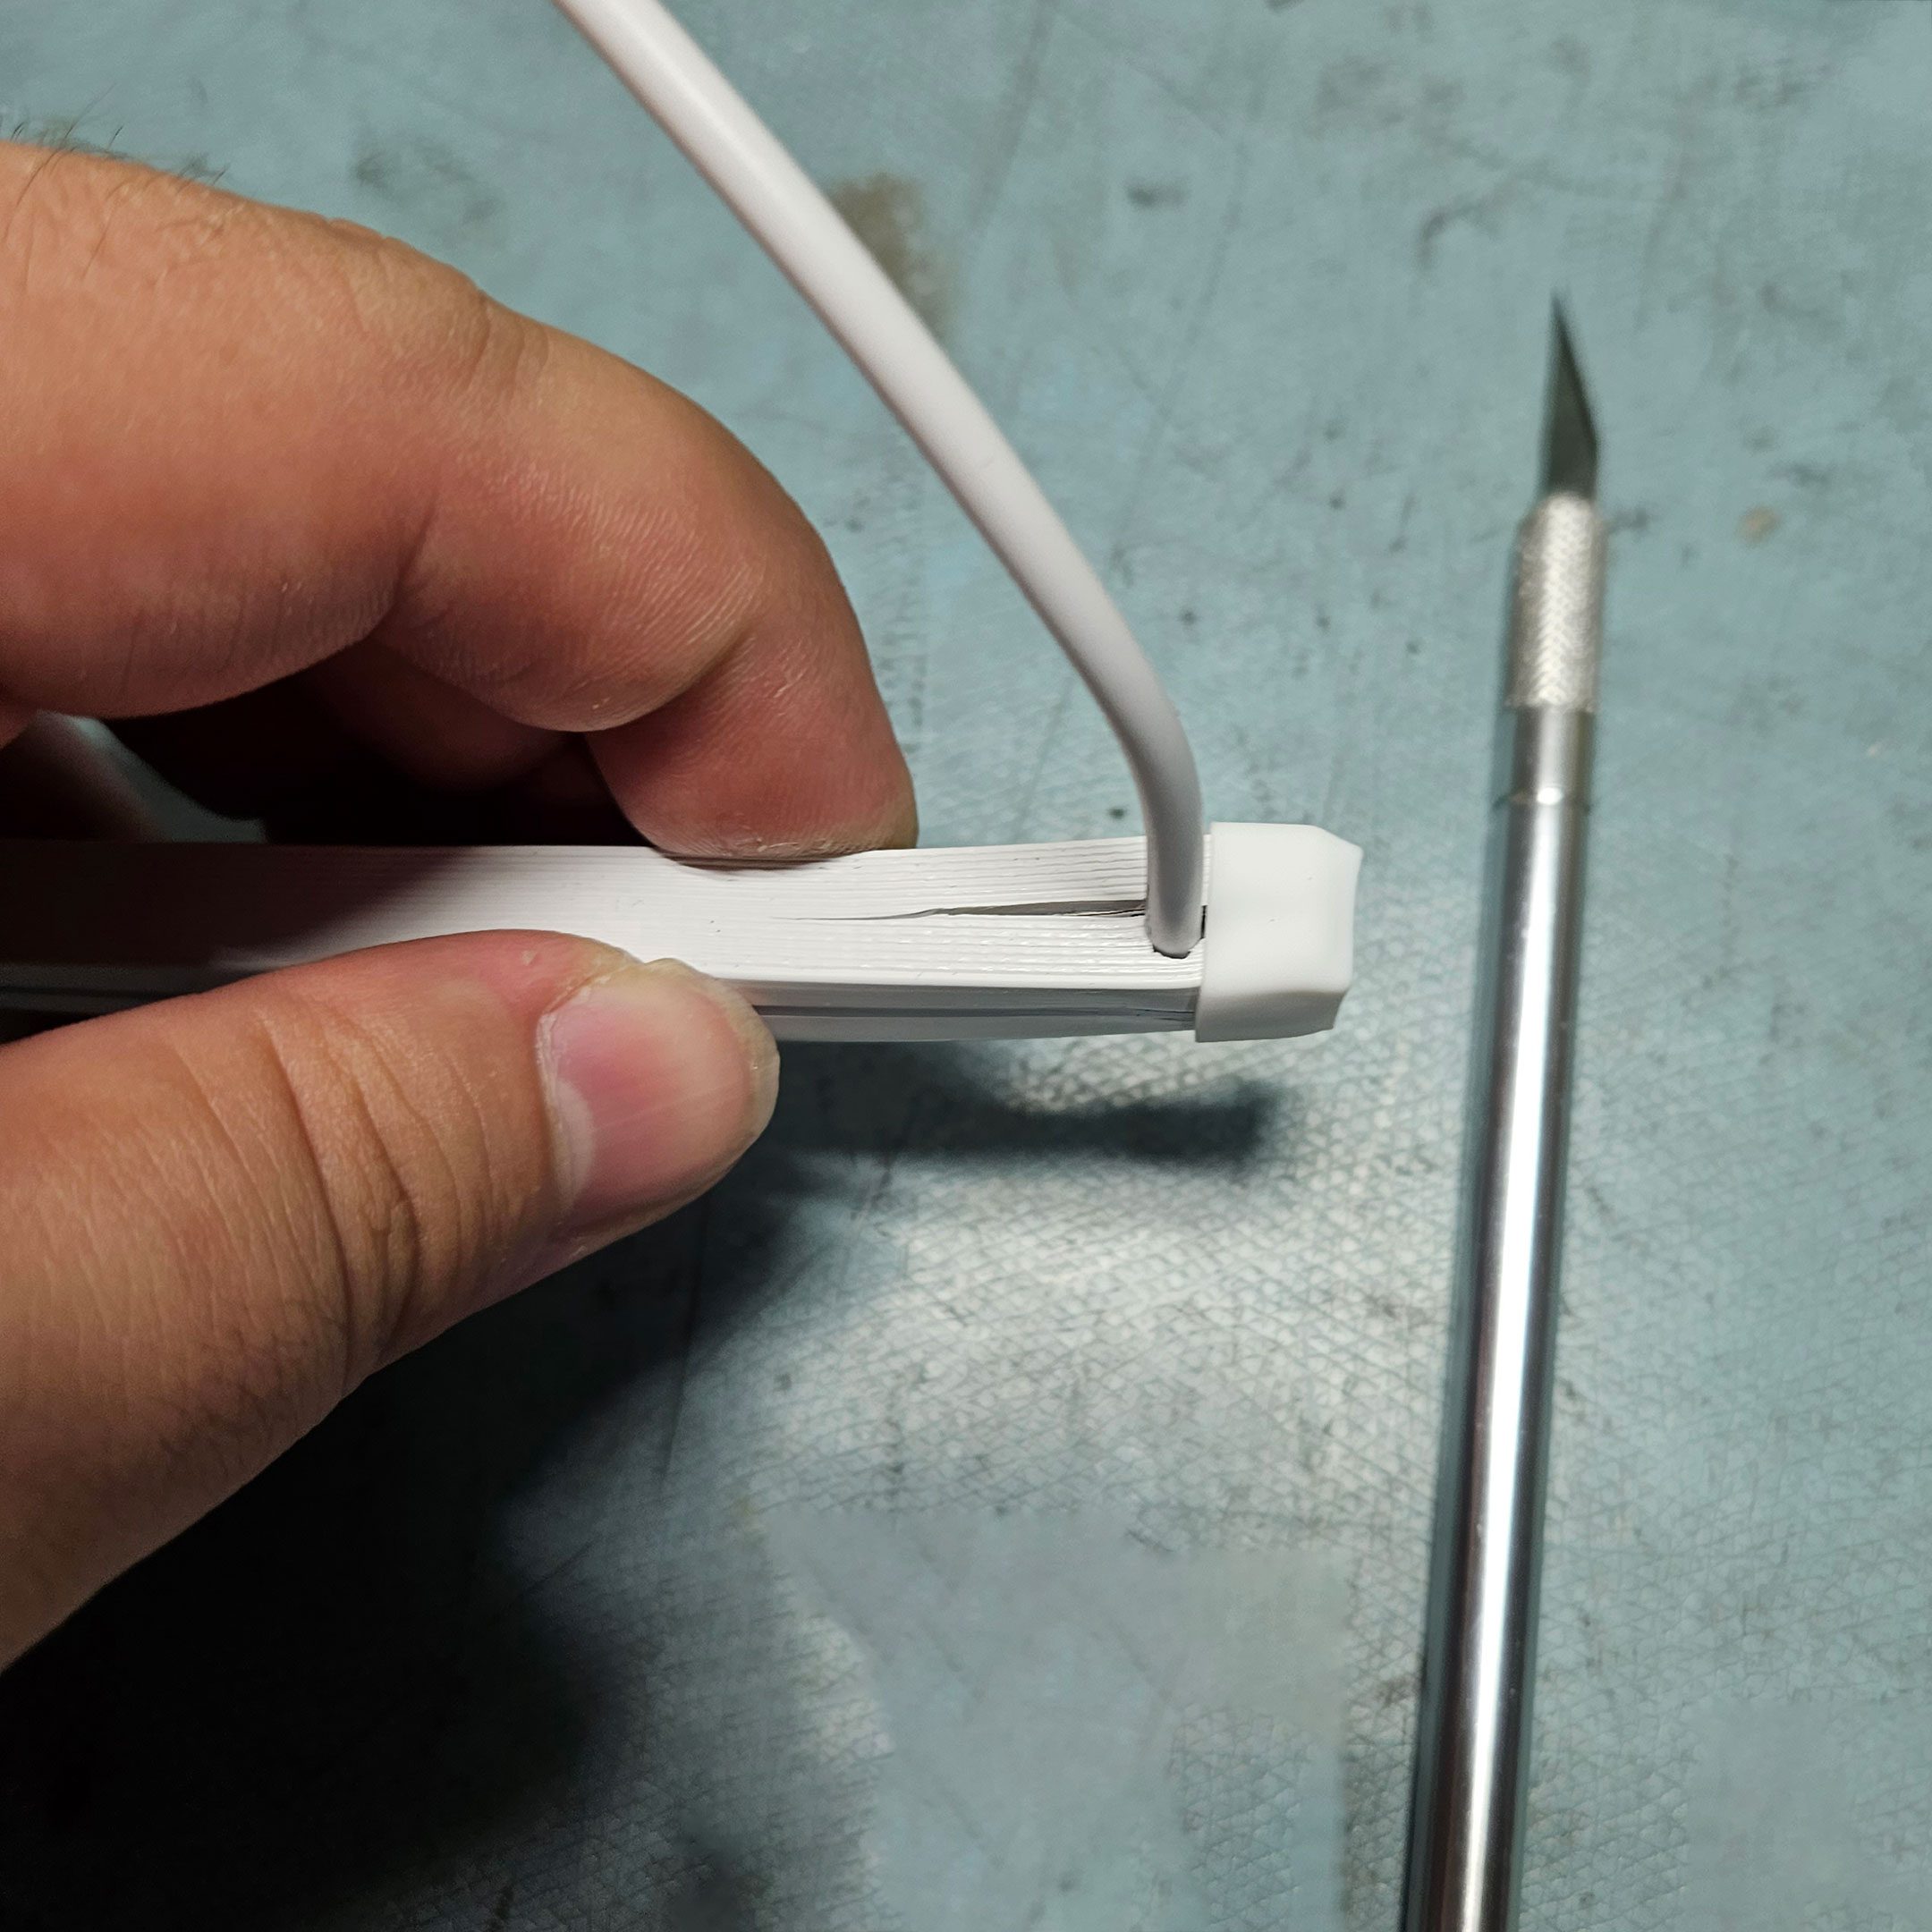
Figure 2: Example of backfeed, assembled
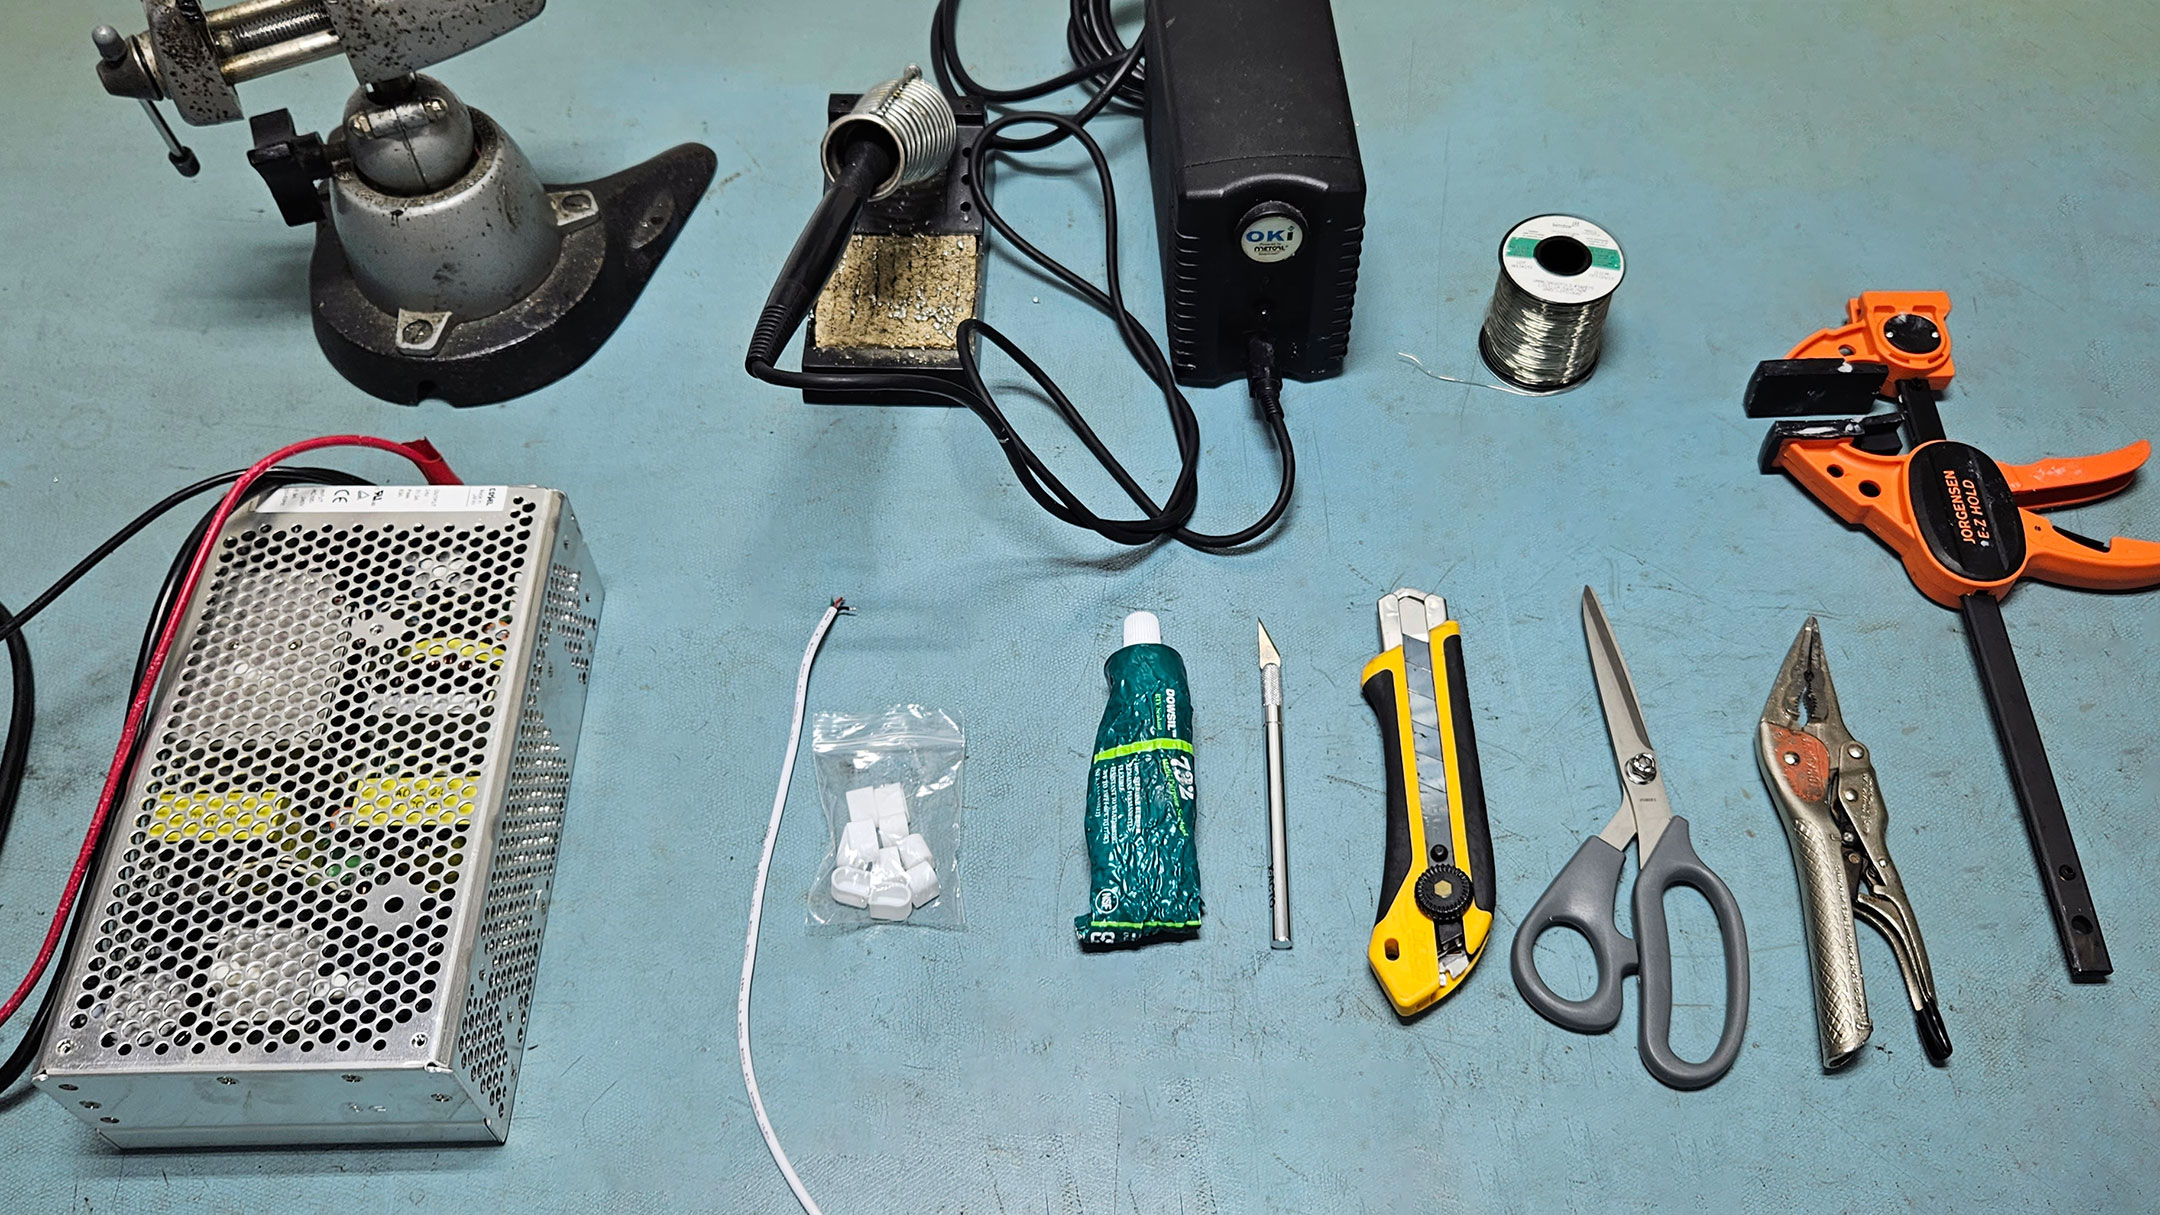
Figure 3: Tools Needed for Soldering QolorFLEX NuNeon
The tools you need include:
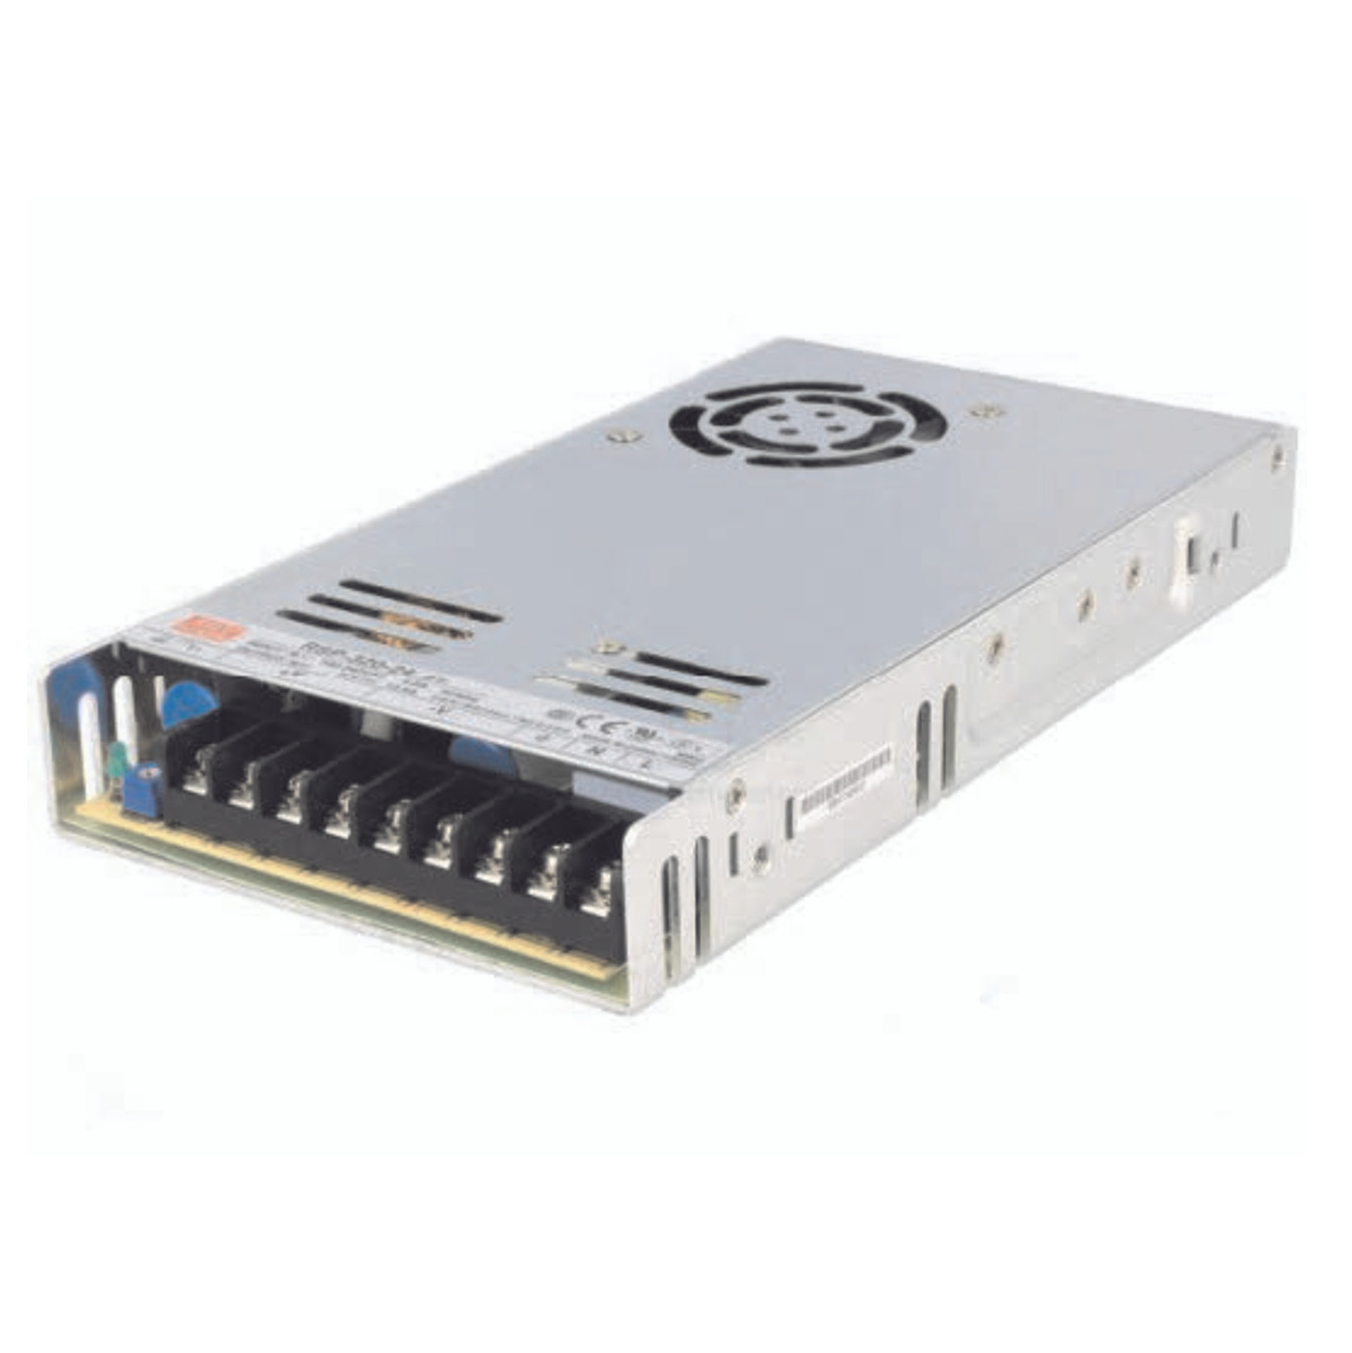
- 24V Power Supply - For Testing
- Sharp scissors or cutting tool (a box cutter, Exacto knife, etc.) - To cut ONLY on marked cut points
- Vice grips or gripping tool - To hold silicone shell open
- Weight or vice - To hold tape in place
- Clamp or vice - To hold end while silicone cures
- Exacto knife or fine bladed knife
- Tape measure or ruler
- Solder
- Soldering iron
- Silicone sealant (i.e. QolorFLEX NuNeon Silicone, White, P/N NU1040)
- QolorFLEX NuNeon Wire -
To run back wire (or another similar wire). City Theatrical options:
- QolorFLEX NuNeon Lead Wire, Two Wire, 40cm (P/N N914-03)
- QolorFLEX NuNeon Lead Wire, Four Wire, 40cm (P/N N914-04)
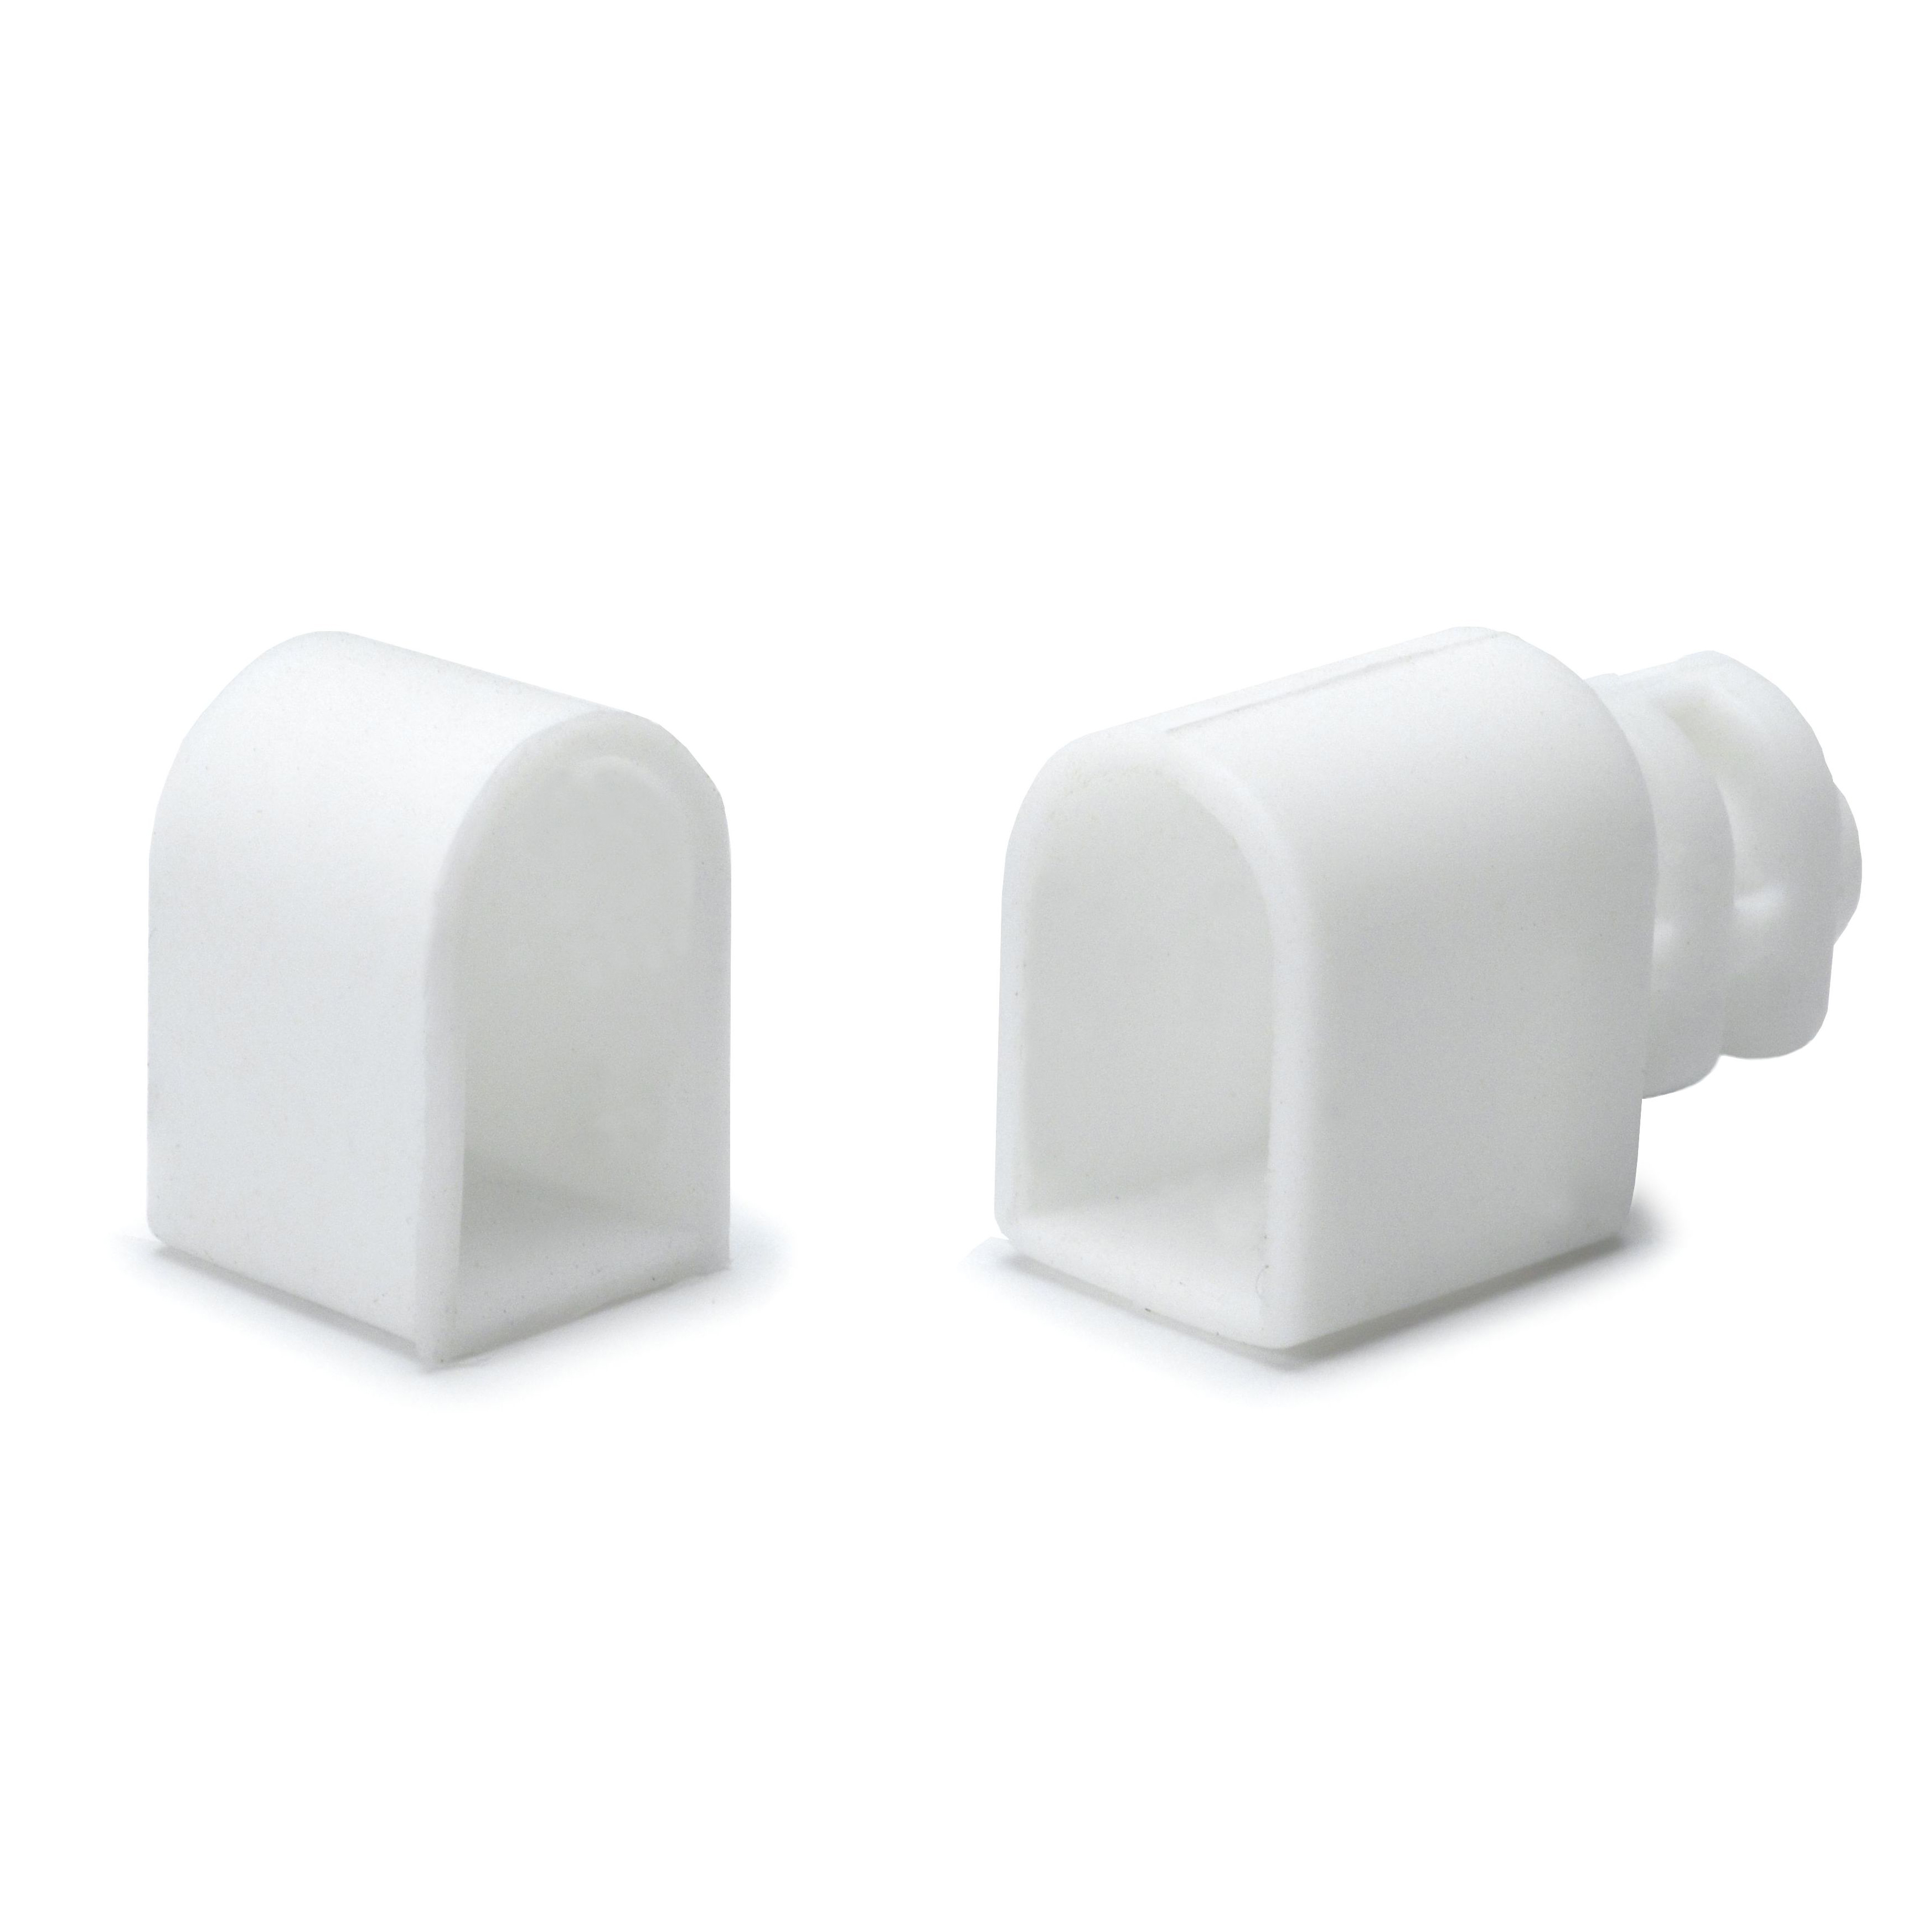
- QolorFLEX NuNeon End Caps
- To finish the ends. Options:
- QolorFLEX NuNeon End Cap with Strain Relief, Pack of 10 pc (P/N N914-01)
- QolorFLEX NuNeon End Caps, pack of 10 (P/N N914-02)
QolorFLEX NuNeon Wire can be ordered to create consistency, or your wire of choice can be used.
The original tails can be used by carefully removing and reattaching them. Cut your end-most segment away on the cut points, then carefully slit the bottom of the QolorFLEX NuNeon tube with your fine blade. Remove the segment, and desolder the wires. If you're a soldering beginner, wire insulation is likely to melt and cause bridging if you use this option.
Removing the wires can be done without cutting away a segment, but due to the construction of the new style QolorFLEX NuNeon, which has windows on its side walls to reveal the cutting points, it is more difficult.
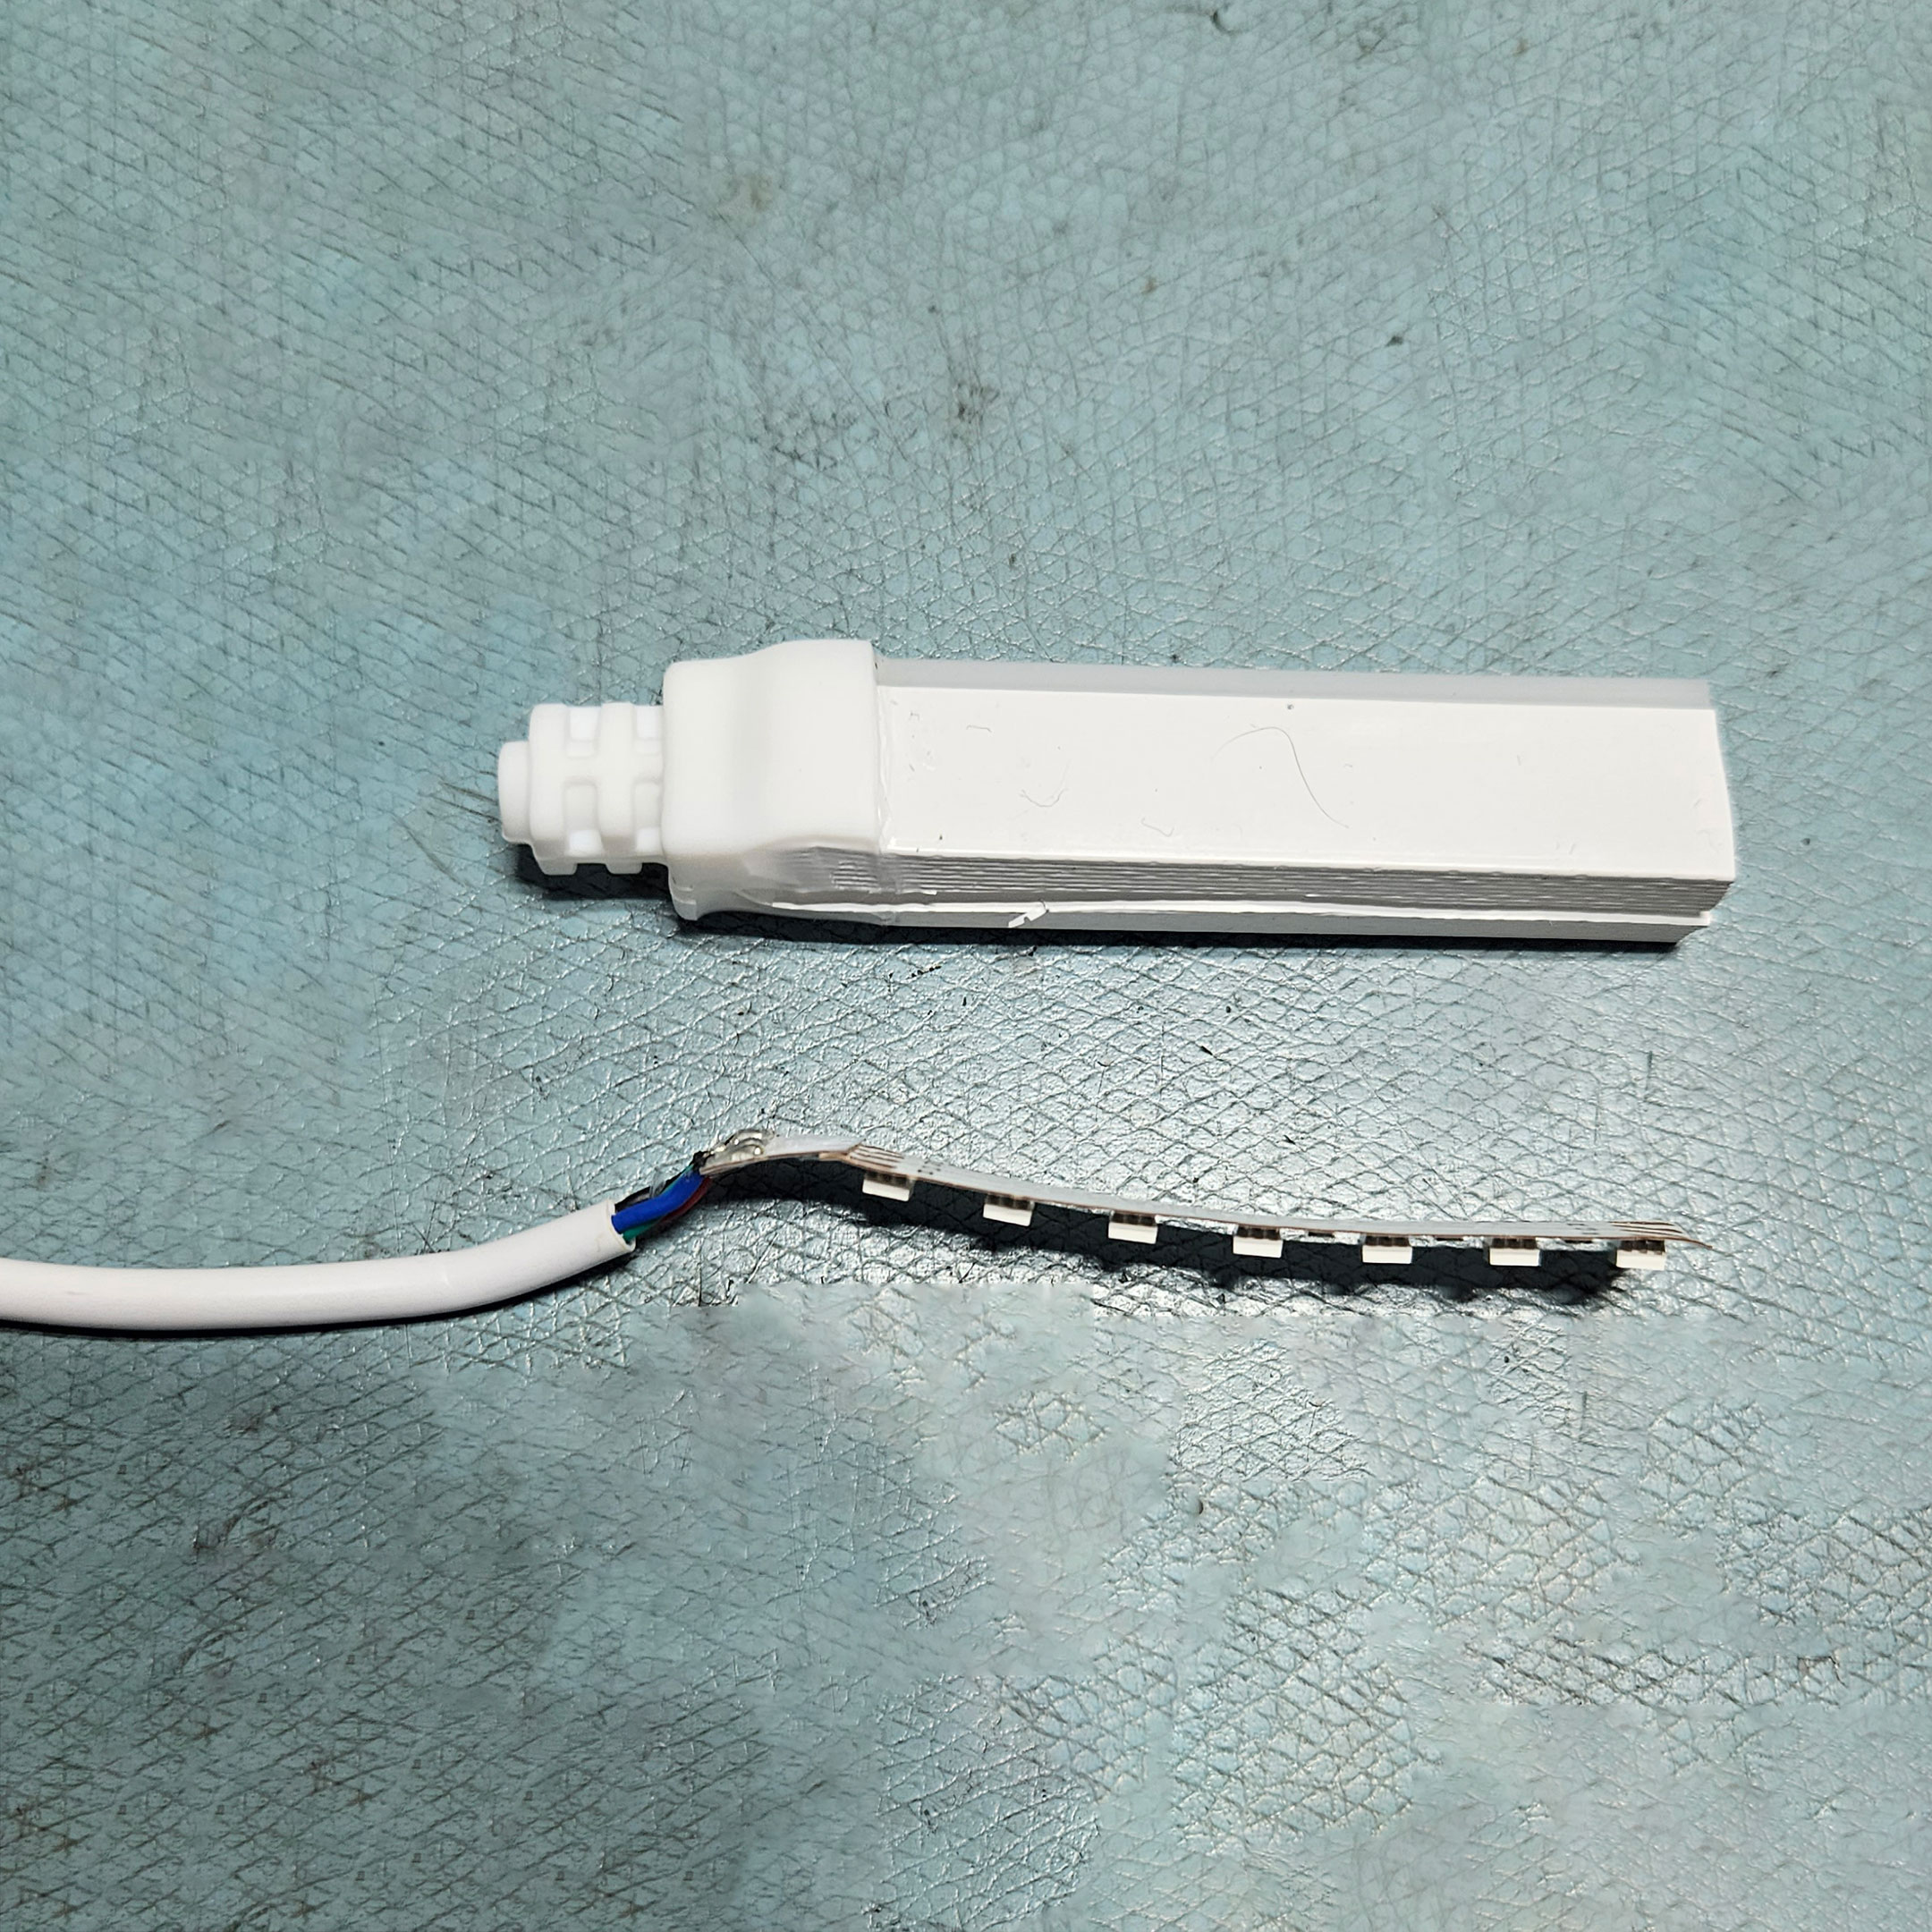
Figure 4: The original tails can be used by carefully removing and reattaching them
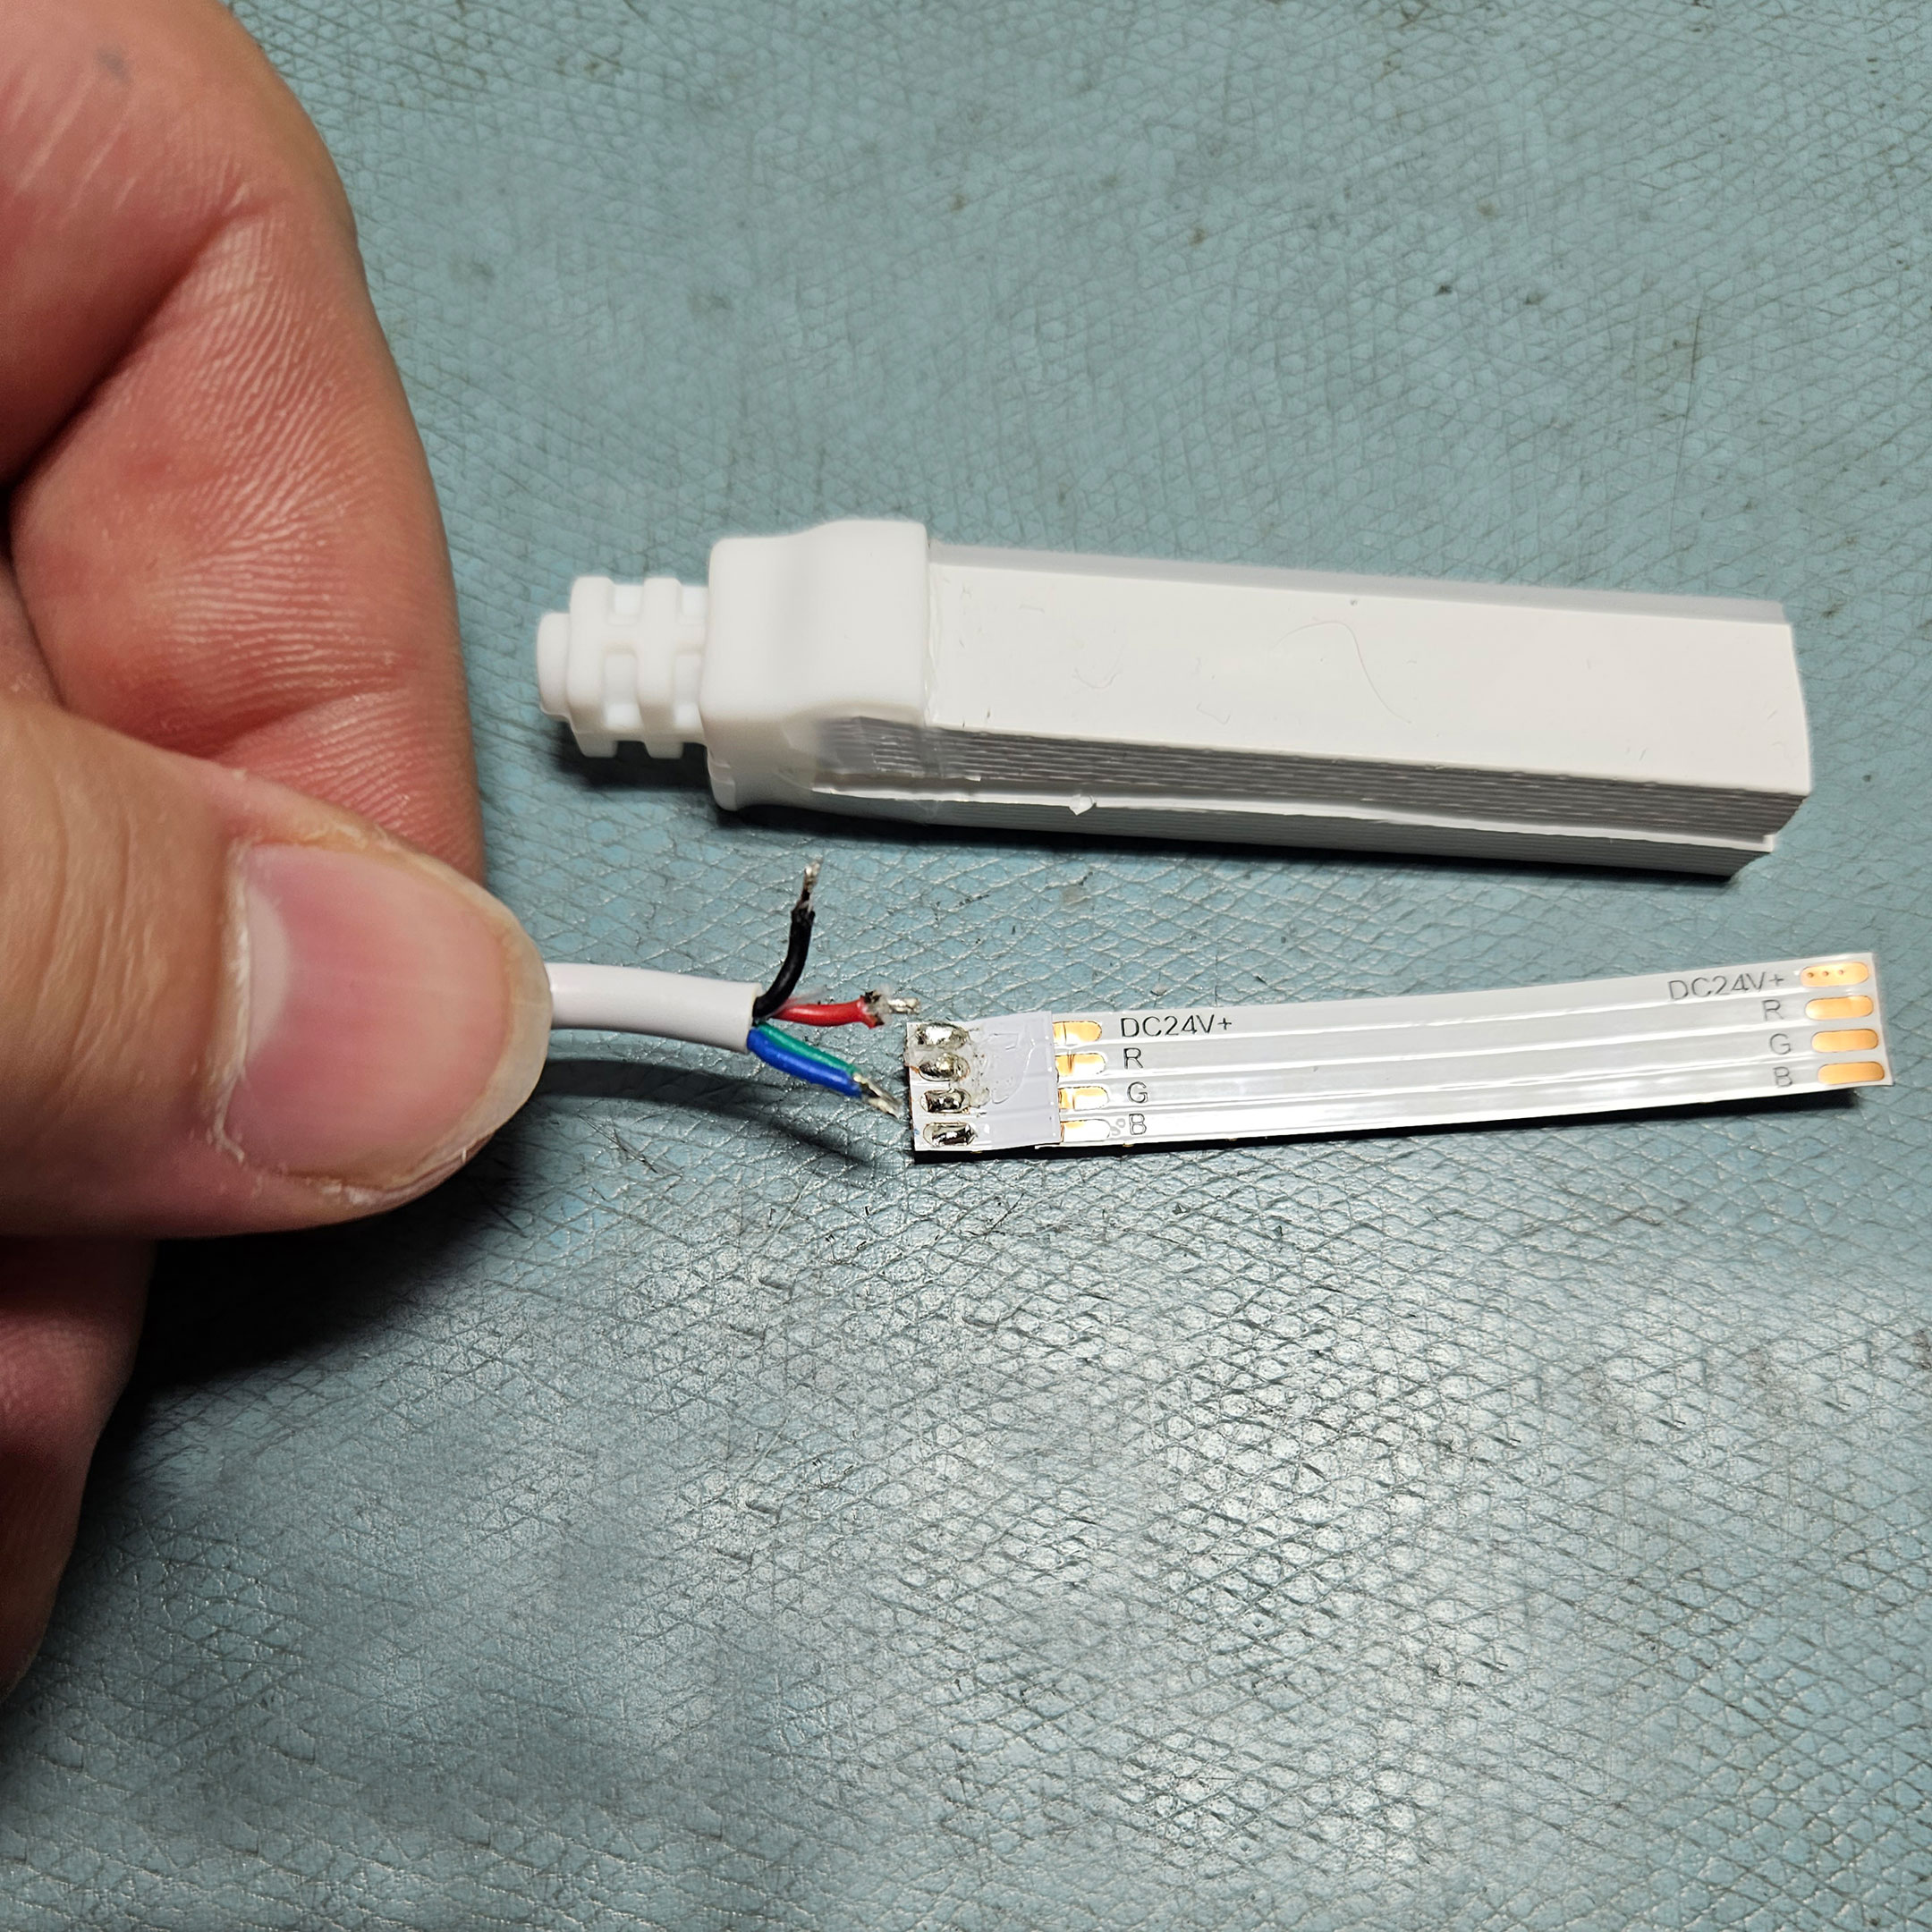
Figure 5: Remove the end two-inch segment, by cutting on the cut point nearest to the end
If your intended segment length is less than the full 5-Meter reel length, the easiest way to create a fresh end to work on for creating your backfeed is to simply remove the end two-inch segment, by cutting on the cut point nearest to the end.
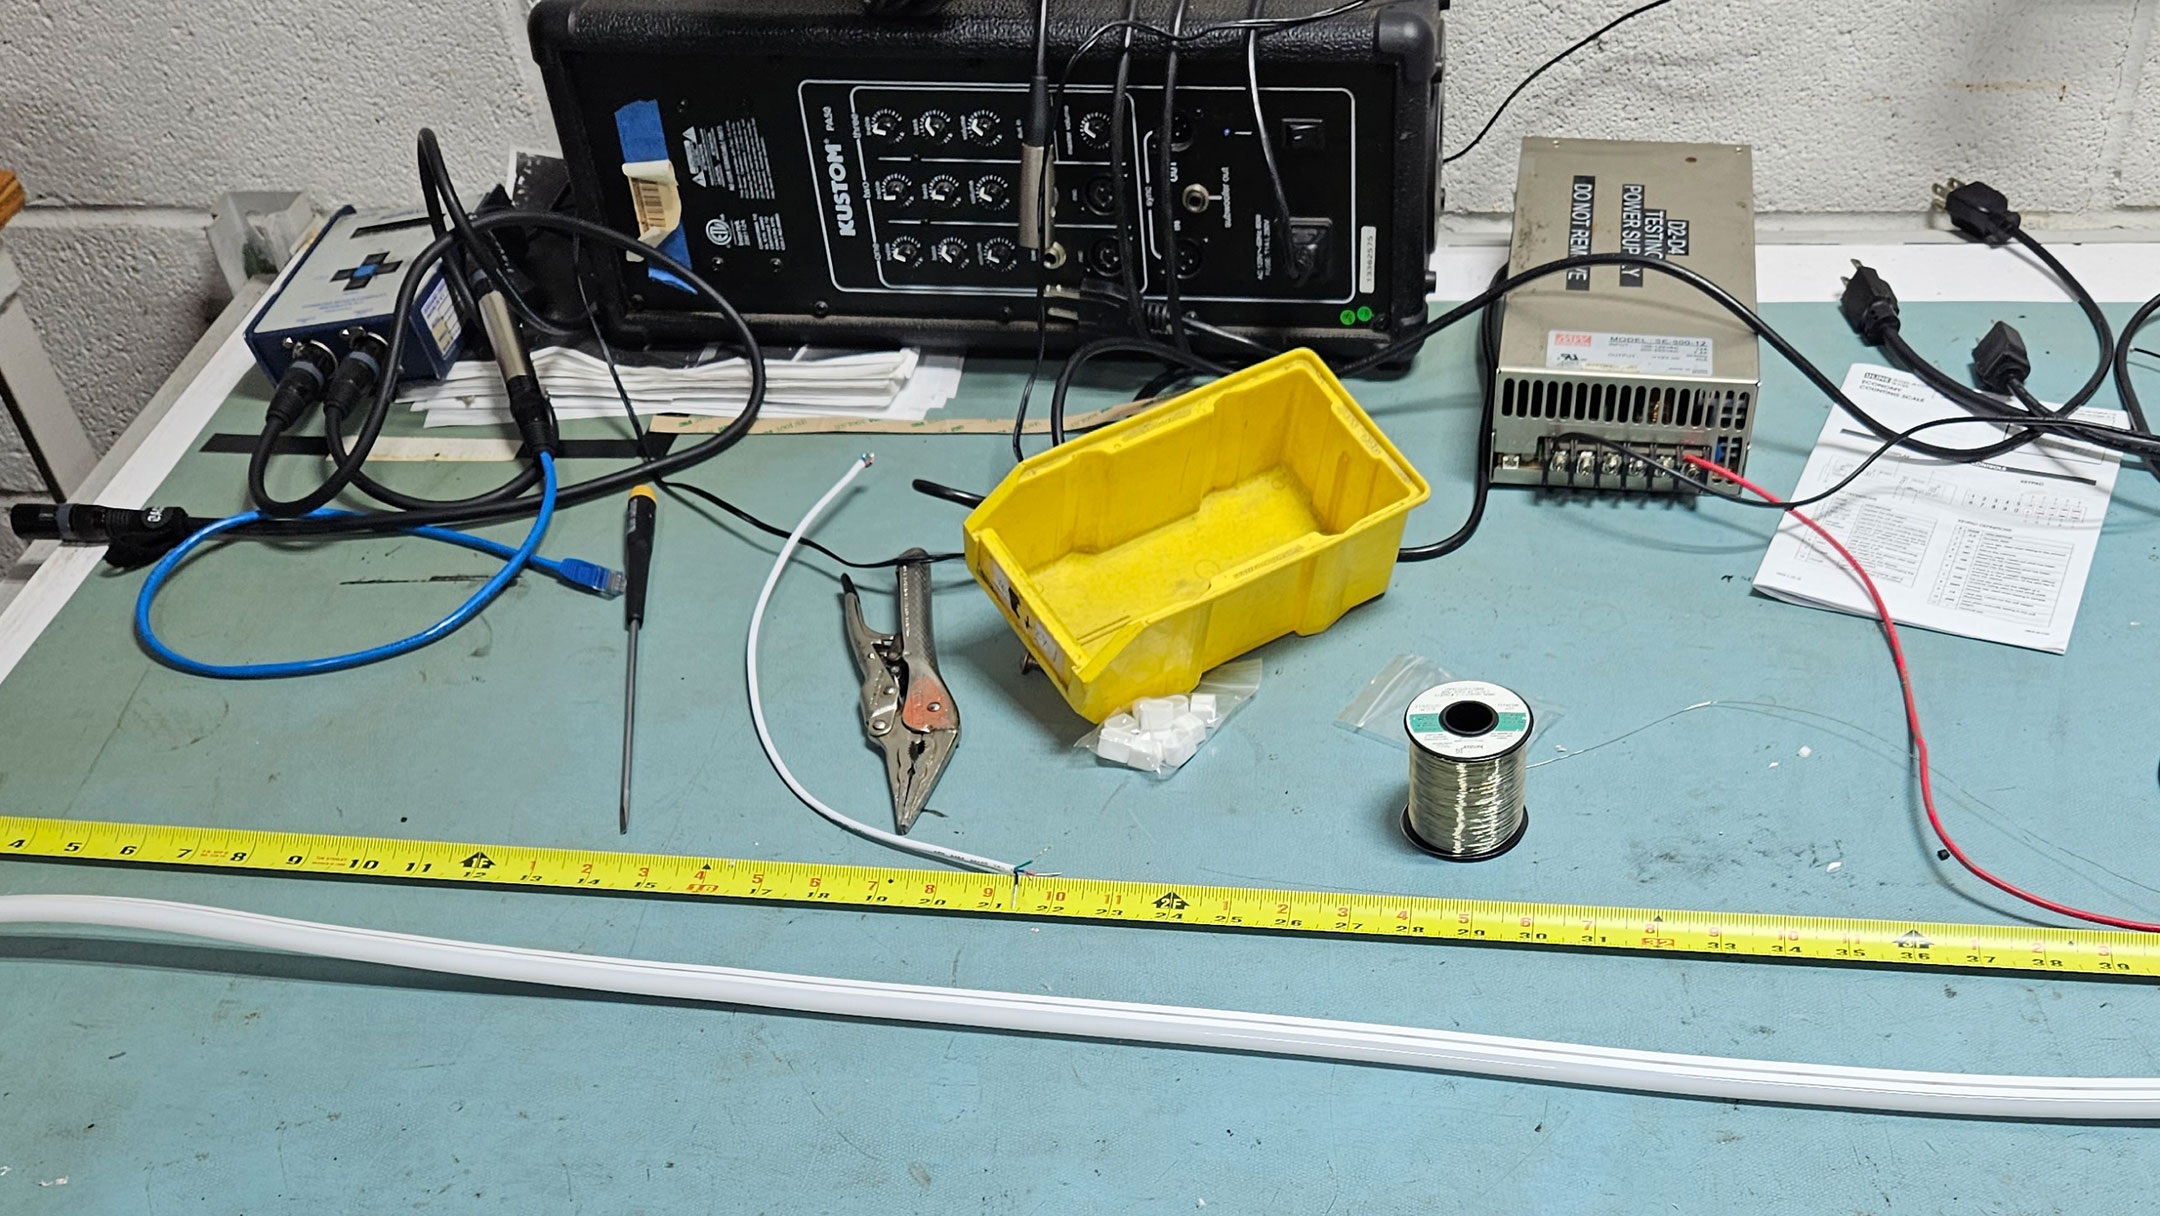
Figure 6: Lay out your QolorFLEX NuNeon to prepare for measuring and cutting
Make sure you are careful to align the end of your QolorFLEX Nuneon where the wires terminate and the End Cap with Strain Relief is, to the “Zero” point of your measuring tool.
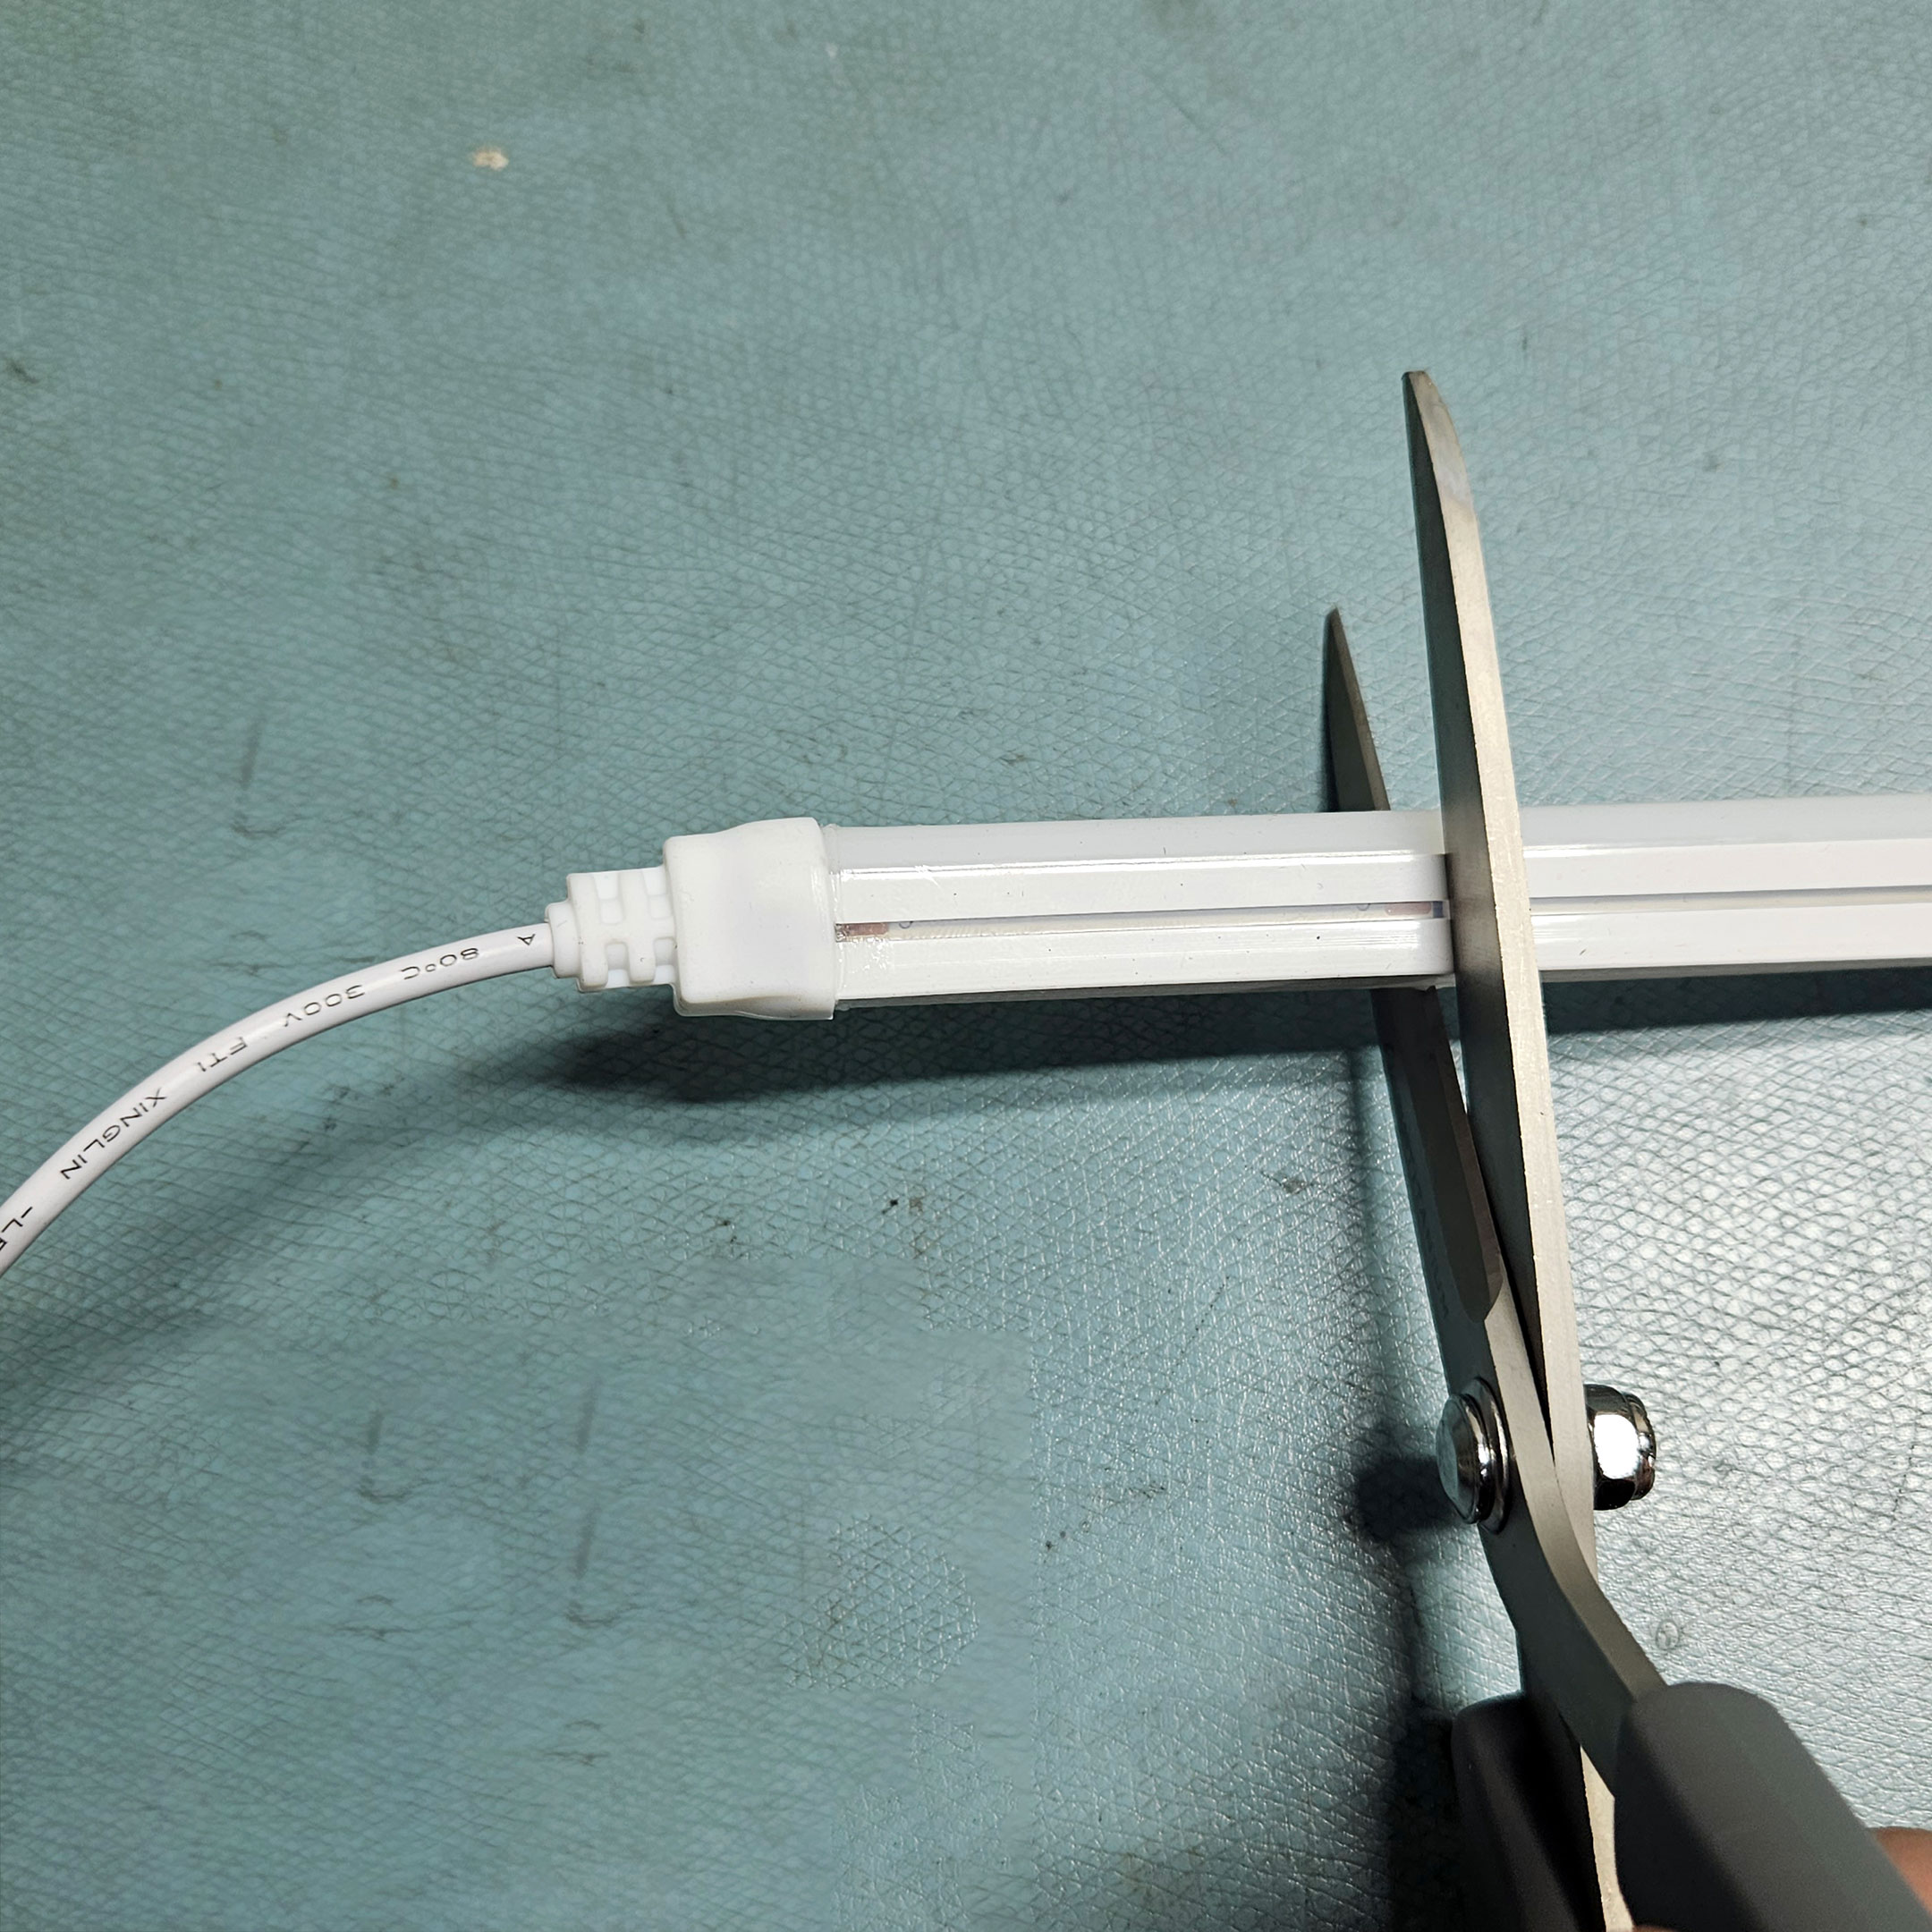
Figure 7: Use sharp scissors, a box cutter with a fresh blade, or an exacto knife to cut through QolorFLEX NuNeon cleanly
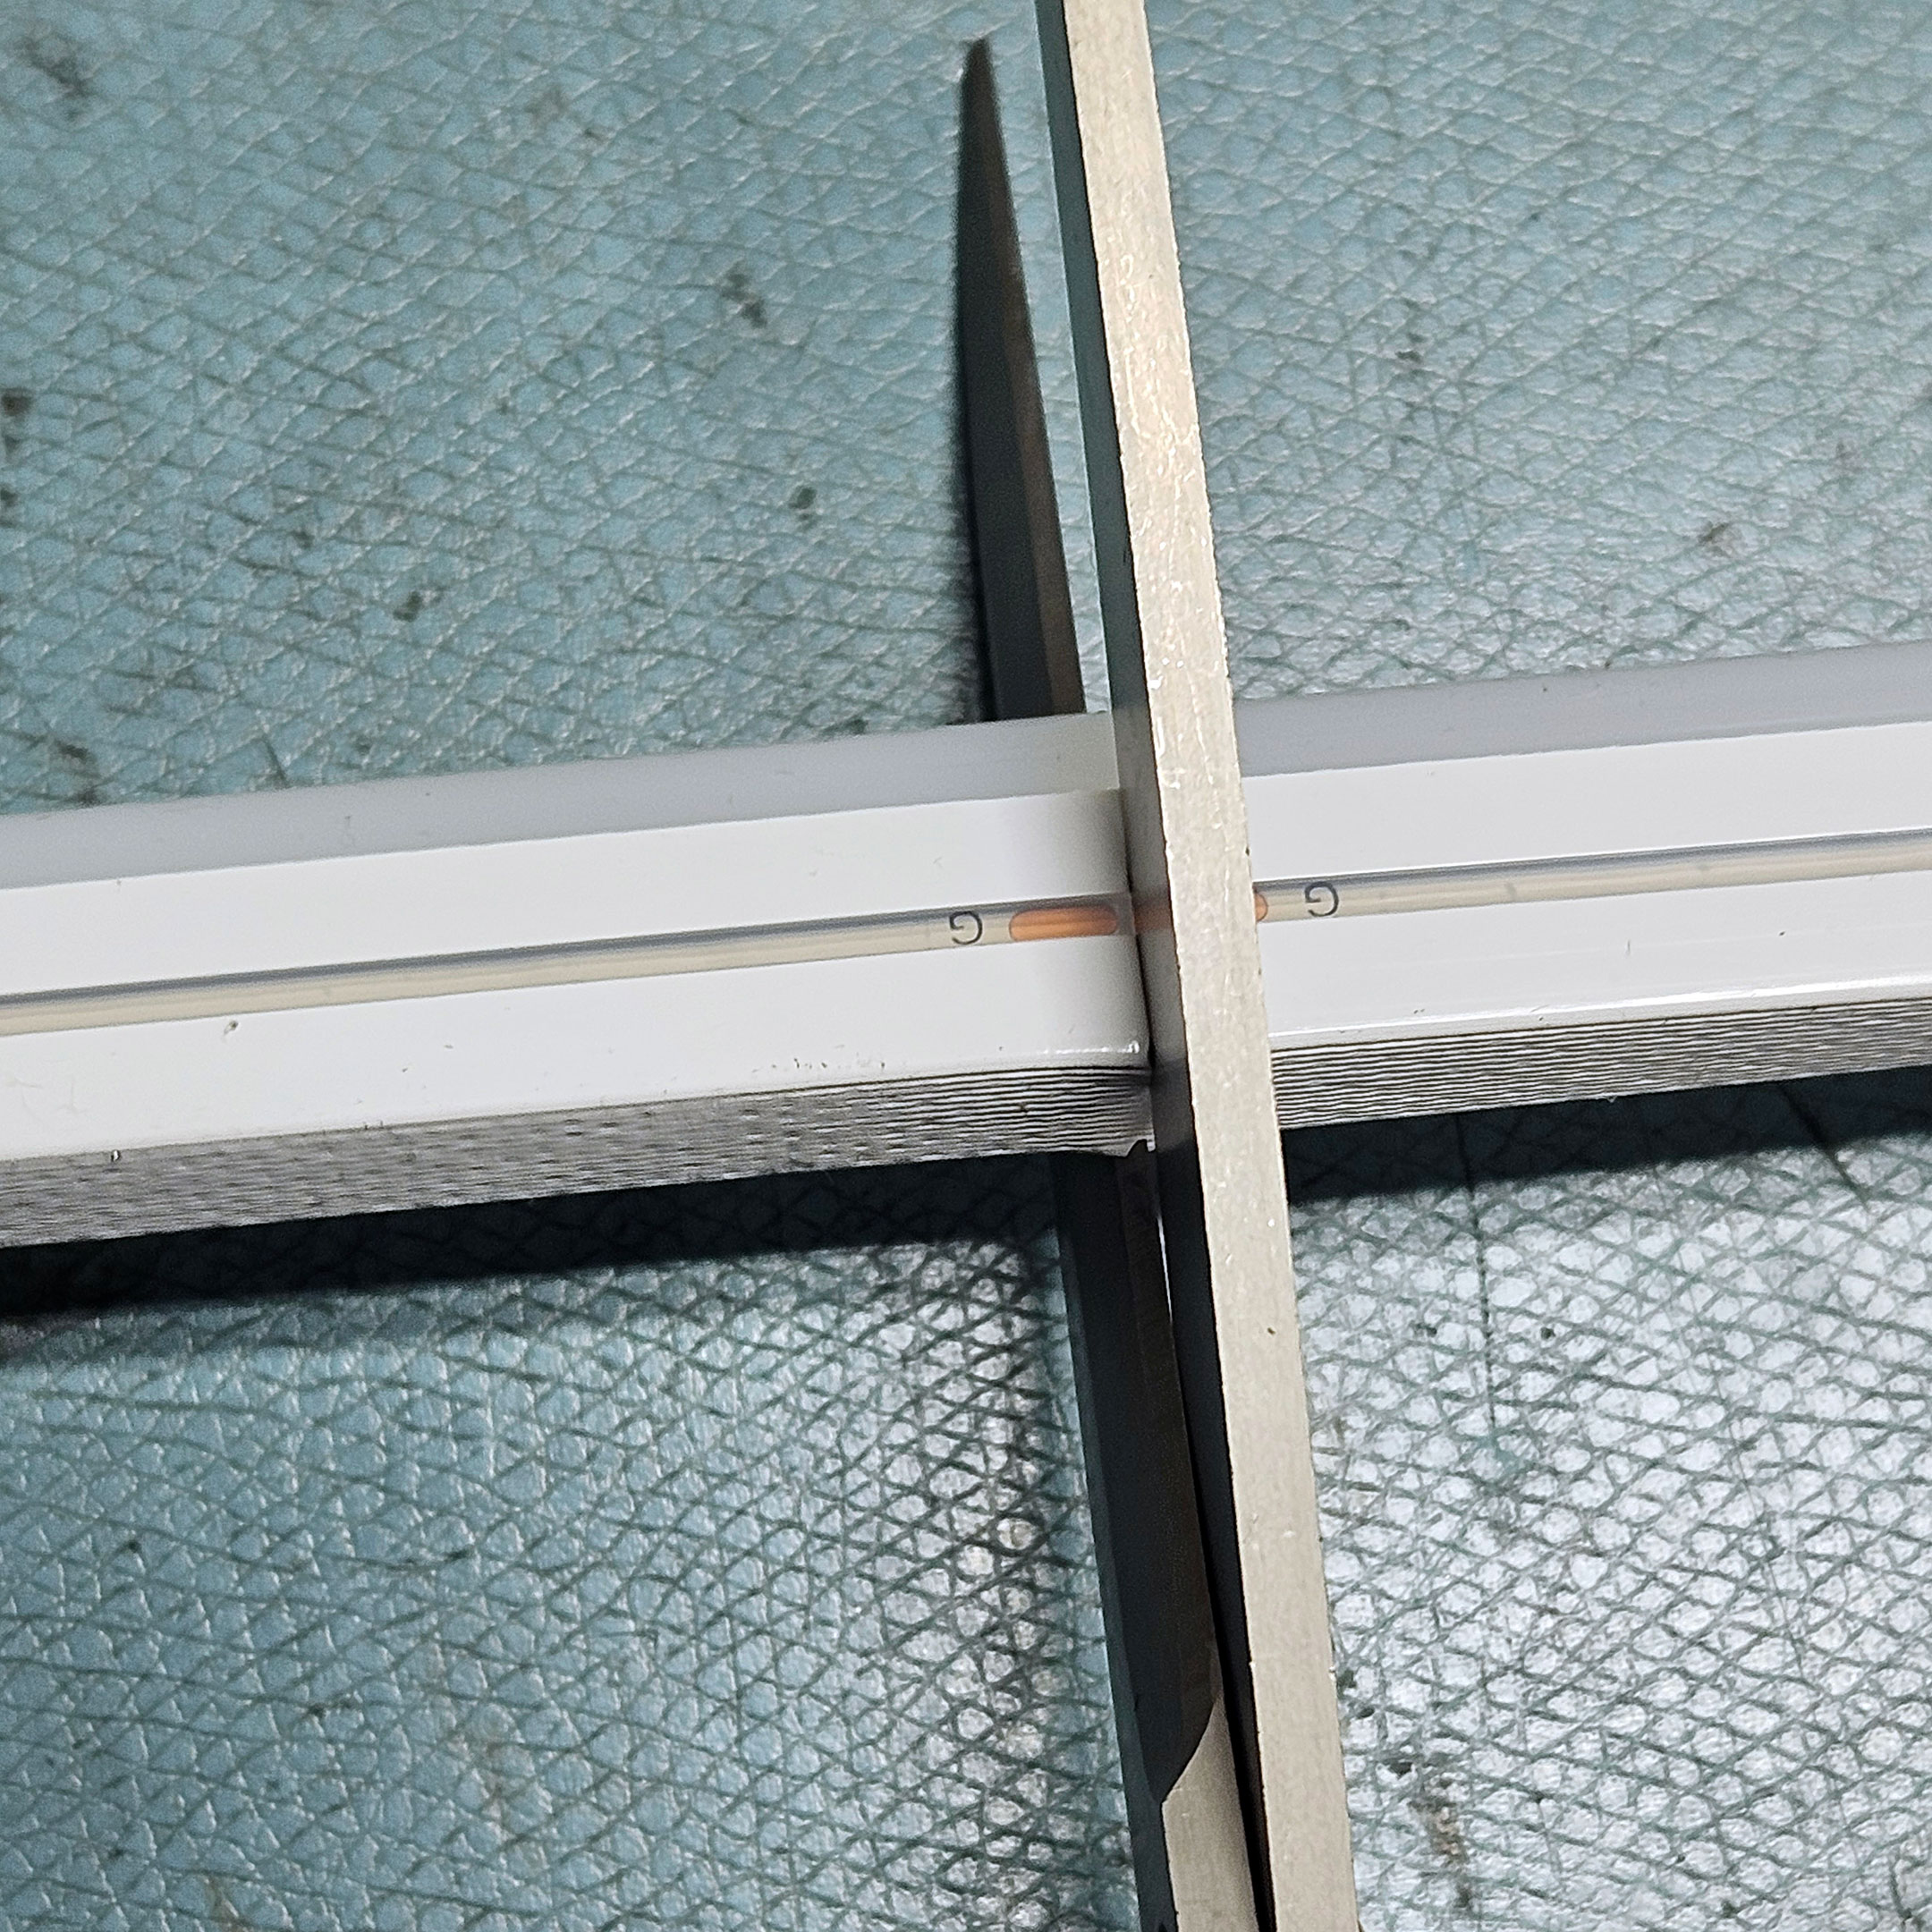
Figure 8: Use the clear window built into one side of the QolorFLEX NuNeon to locate the nearest cut point to your intended length
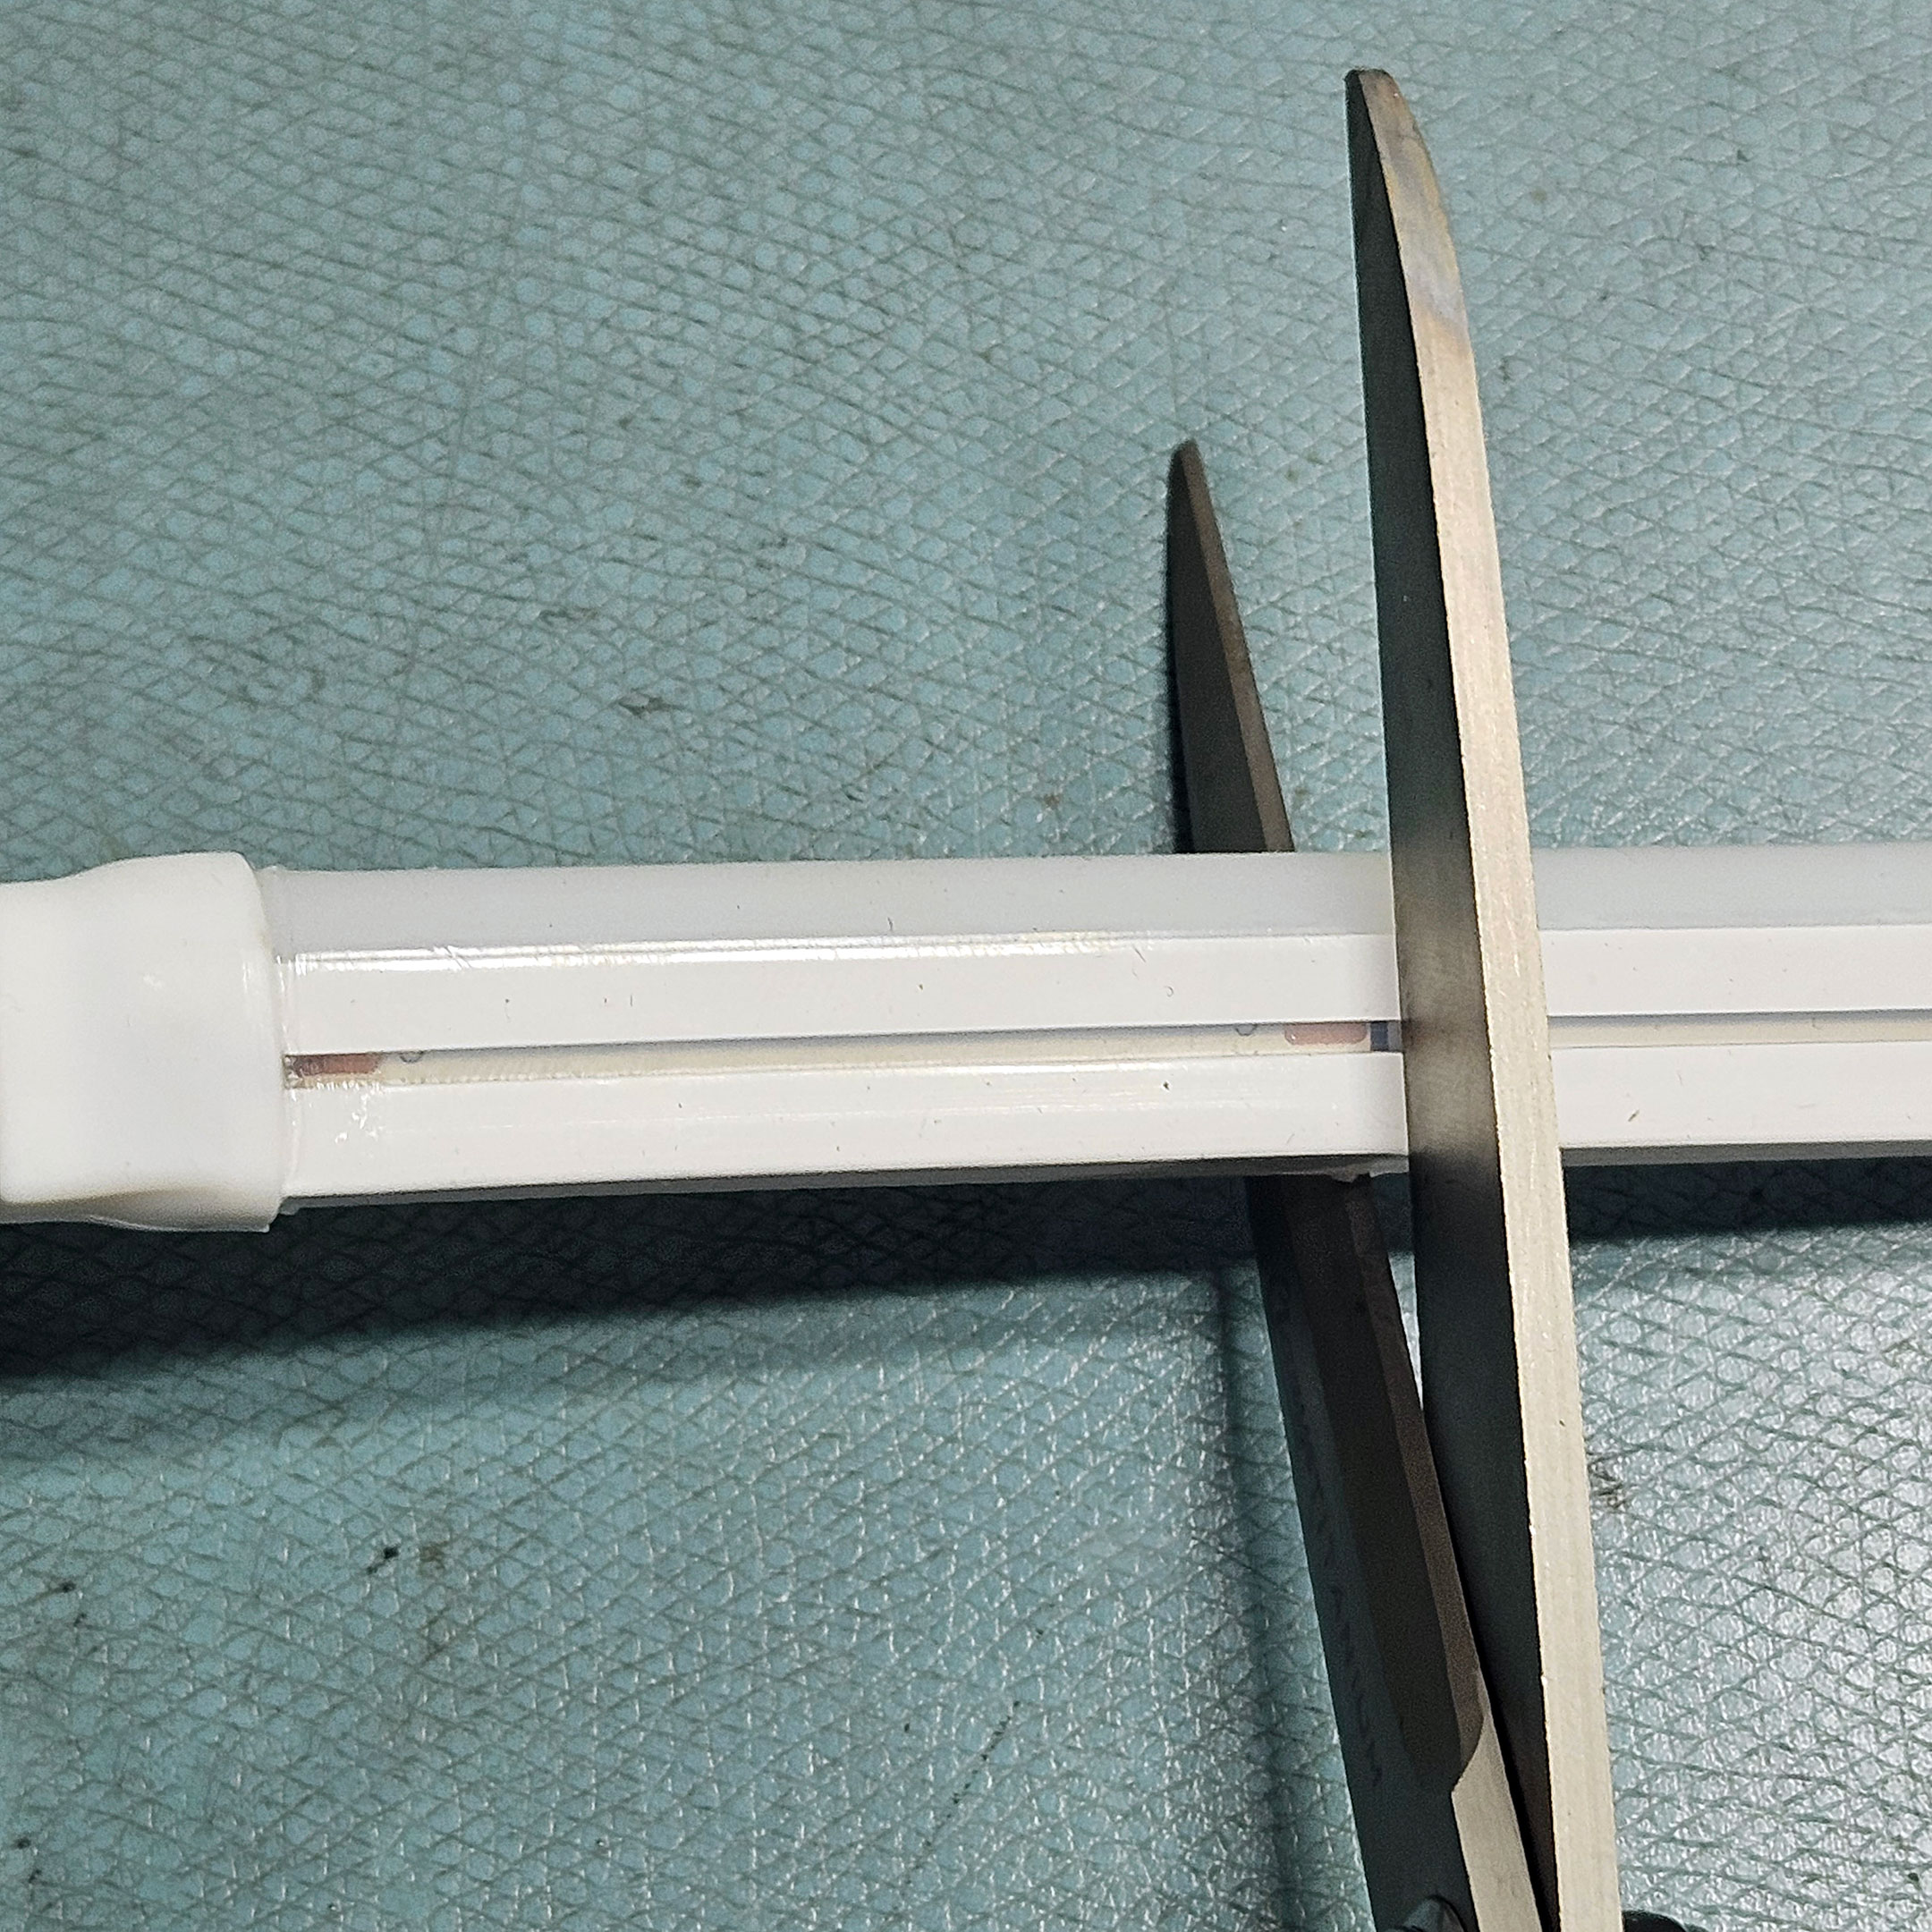
Figure 9: Carefully cut on the black line marked
Using the clear window built into one side of the QolorFLEX NuNeon, locate the nearest cut point to your intended length, and carefully cut on the black line marked. Sharp scissors, a box cutter with a fresh blade, or an exacto will cut through cleanly. Make sure your cut is clean and precise.
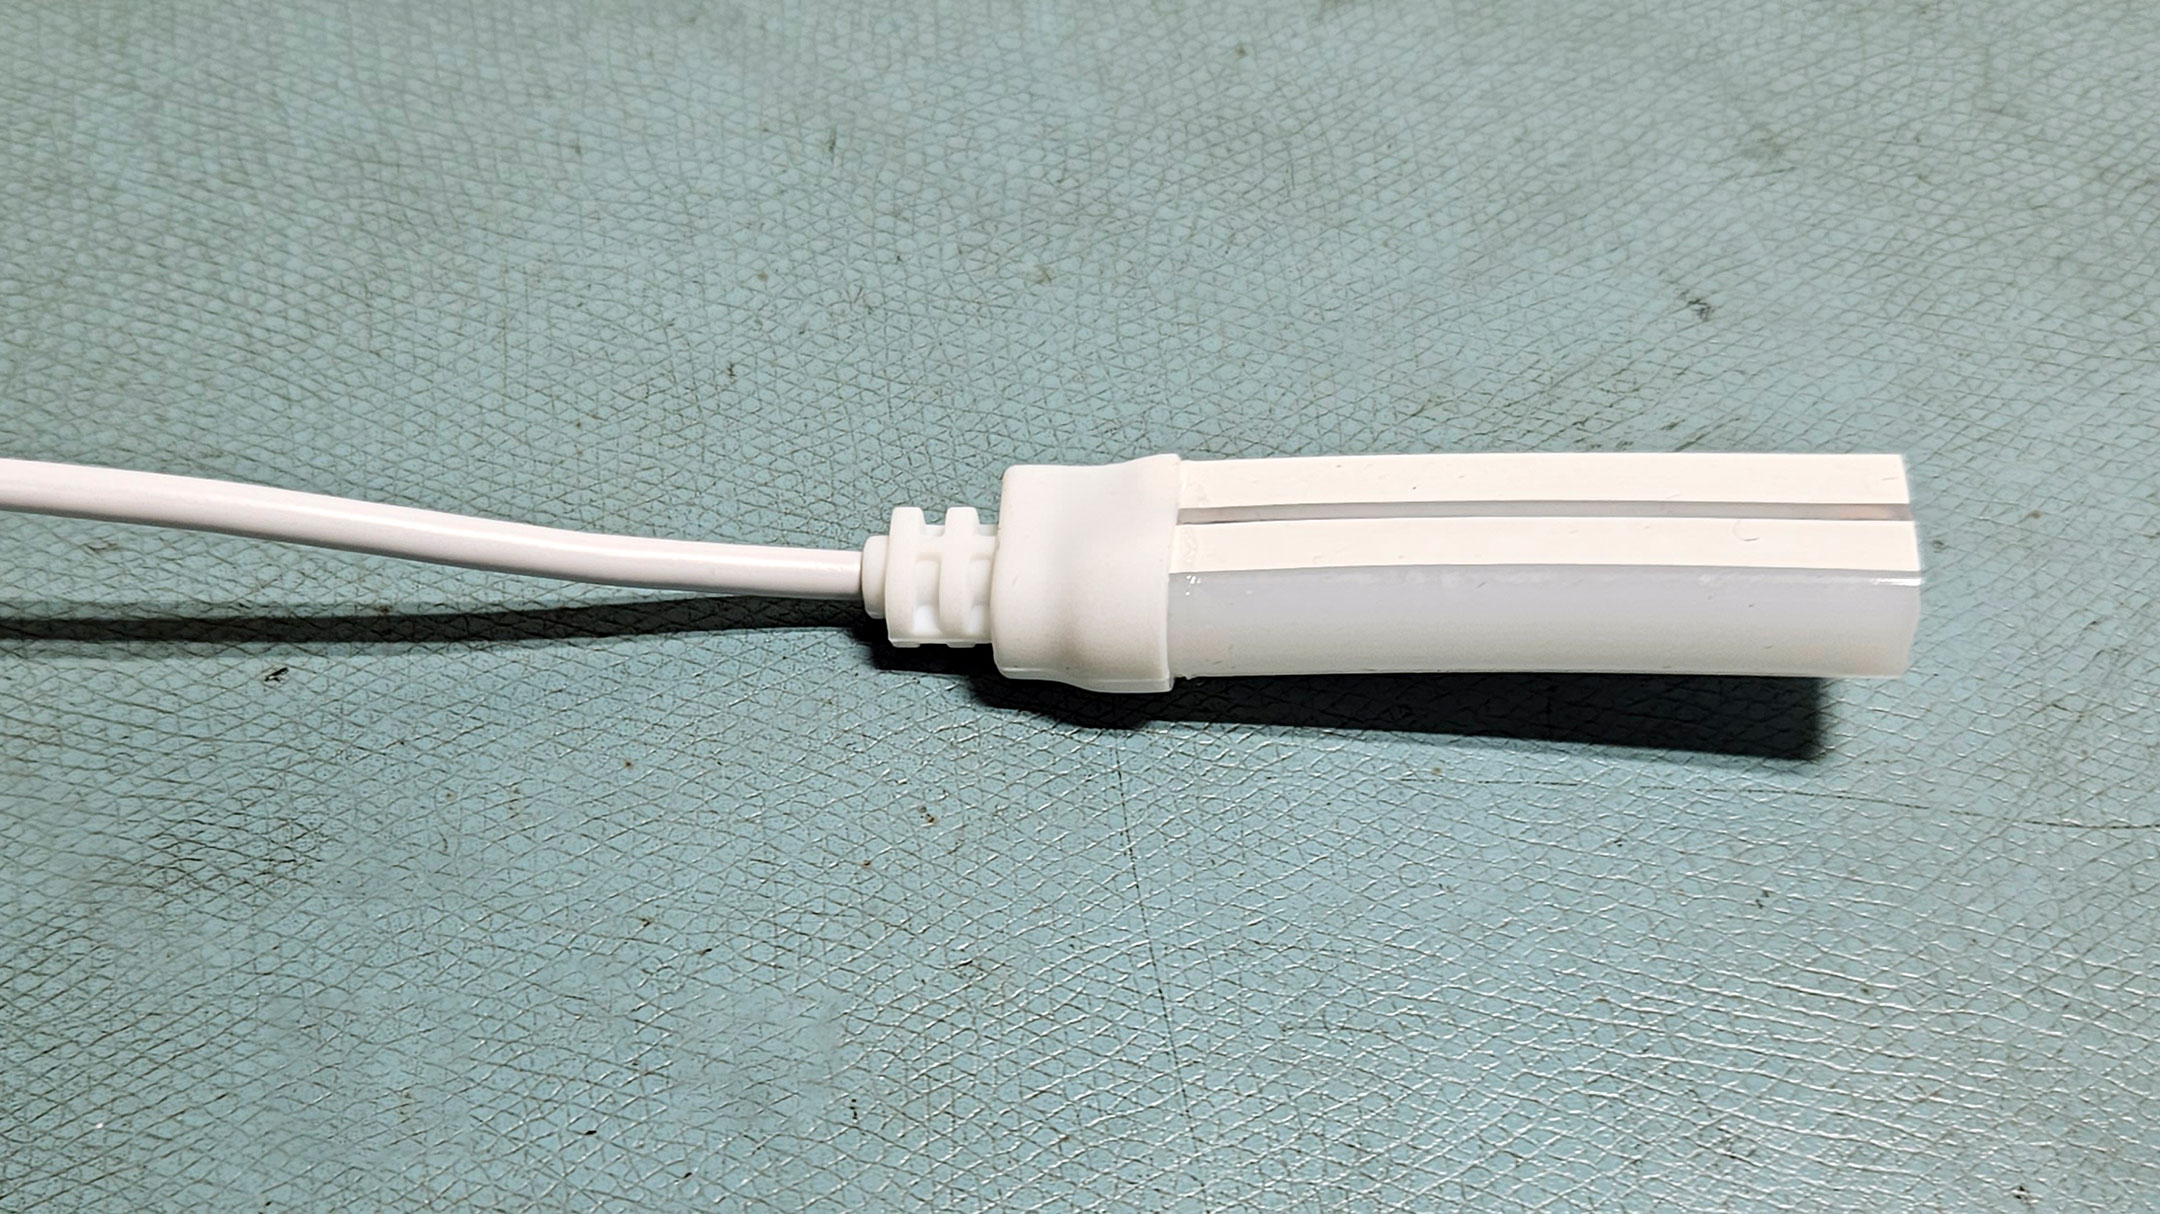
Figure 10: For a backfeed, cut away the end most segment to clear your way to the solder points, which will give you a flat edge to work on
For a backfeed, the easiest way is to cut away the end most segment to clear your way to the solder points, which will give you a flat edge to work on. The End Cap Strain Relief is filled in with silicone for solidity and waterproofing, so clearing it away requires delicate cutting, and leaves silicone on the end most contact pads.
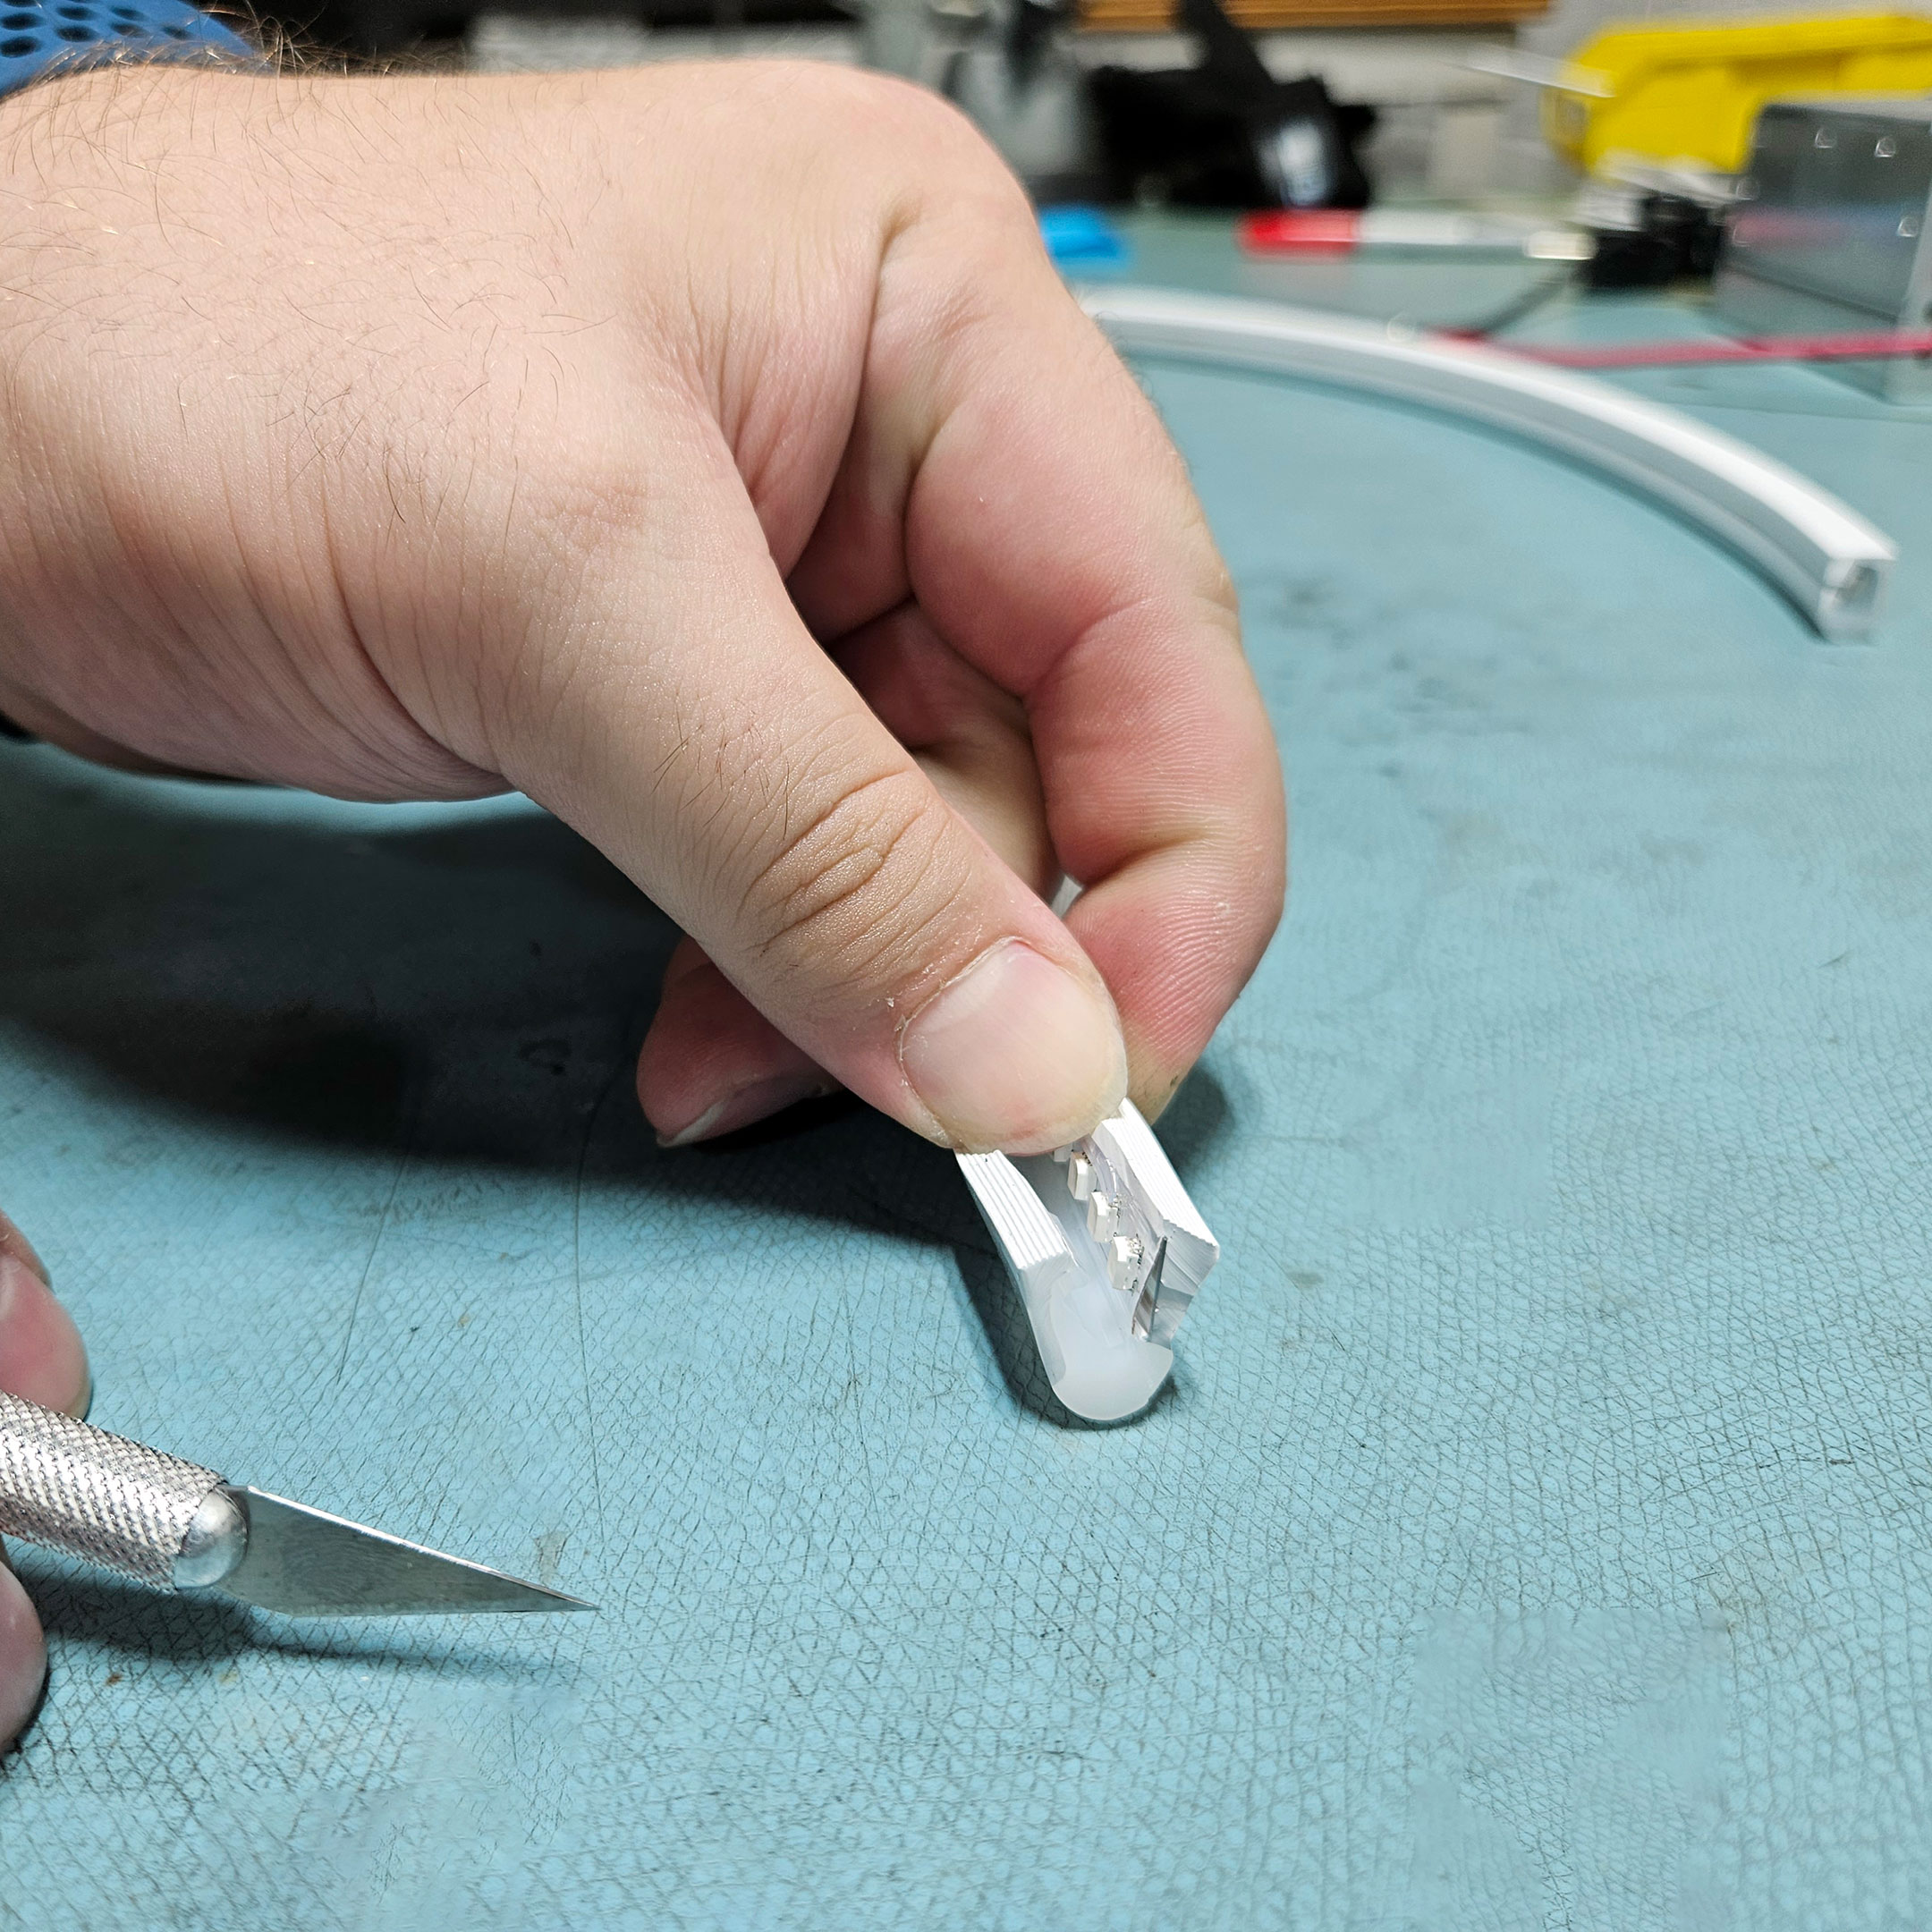
Figure 11: An exacto knife will also cut through QolorFLEX NuNeon cleanly
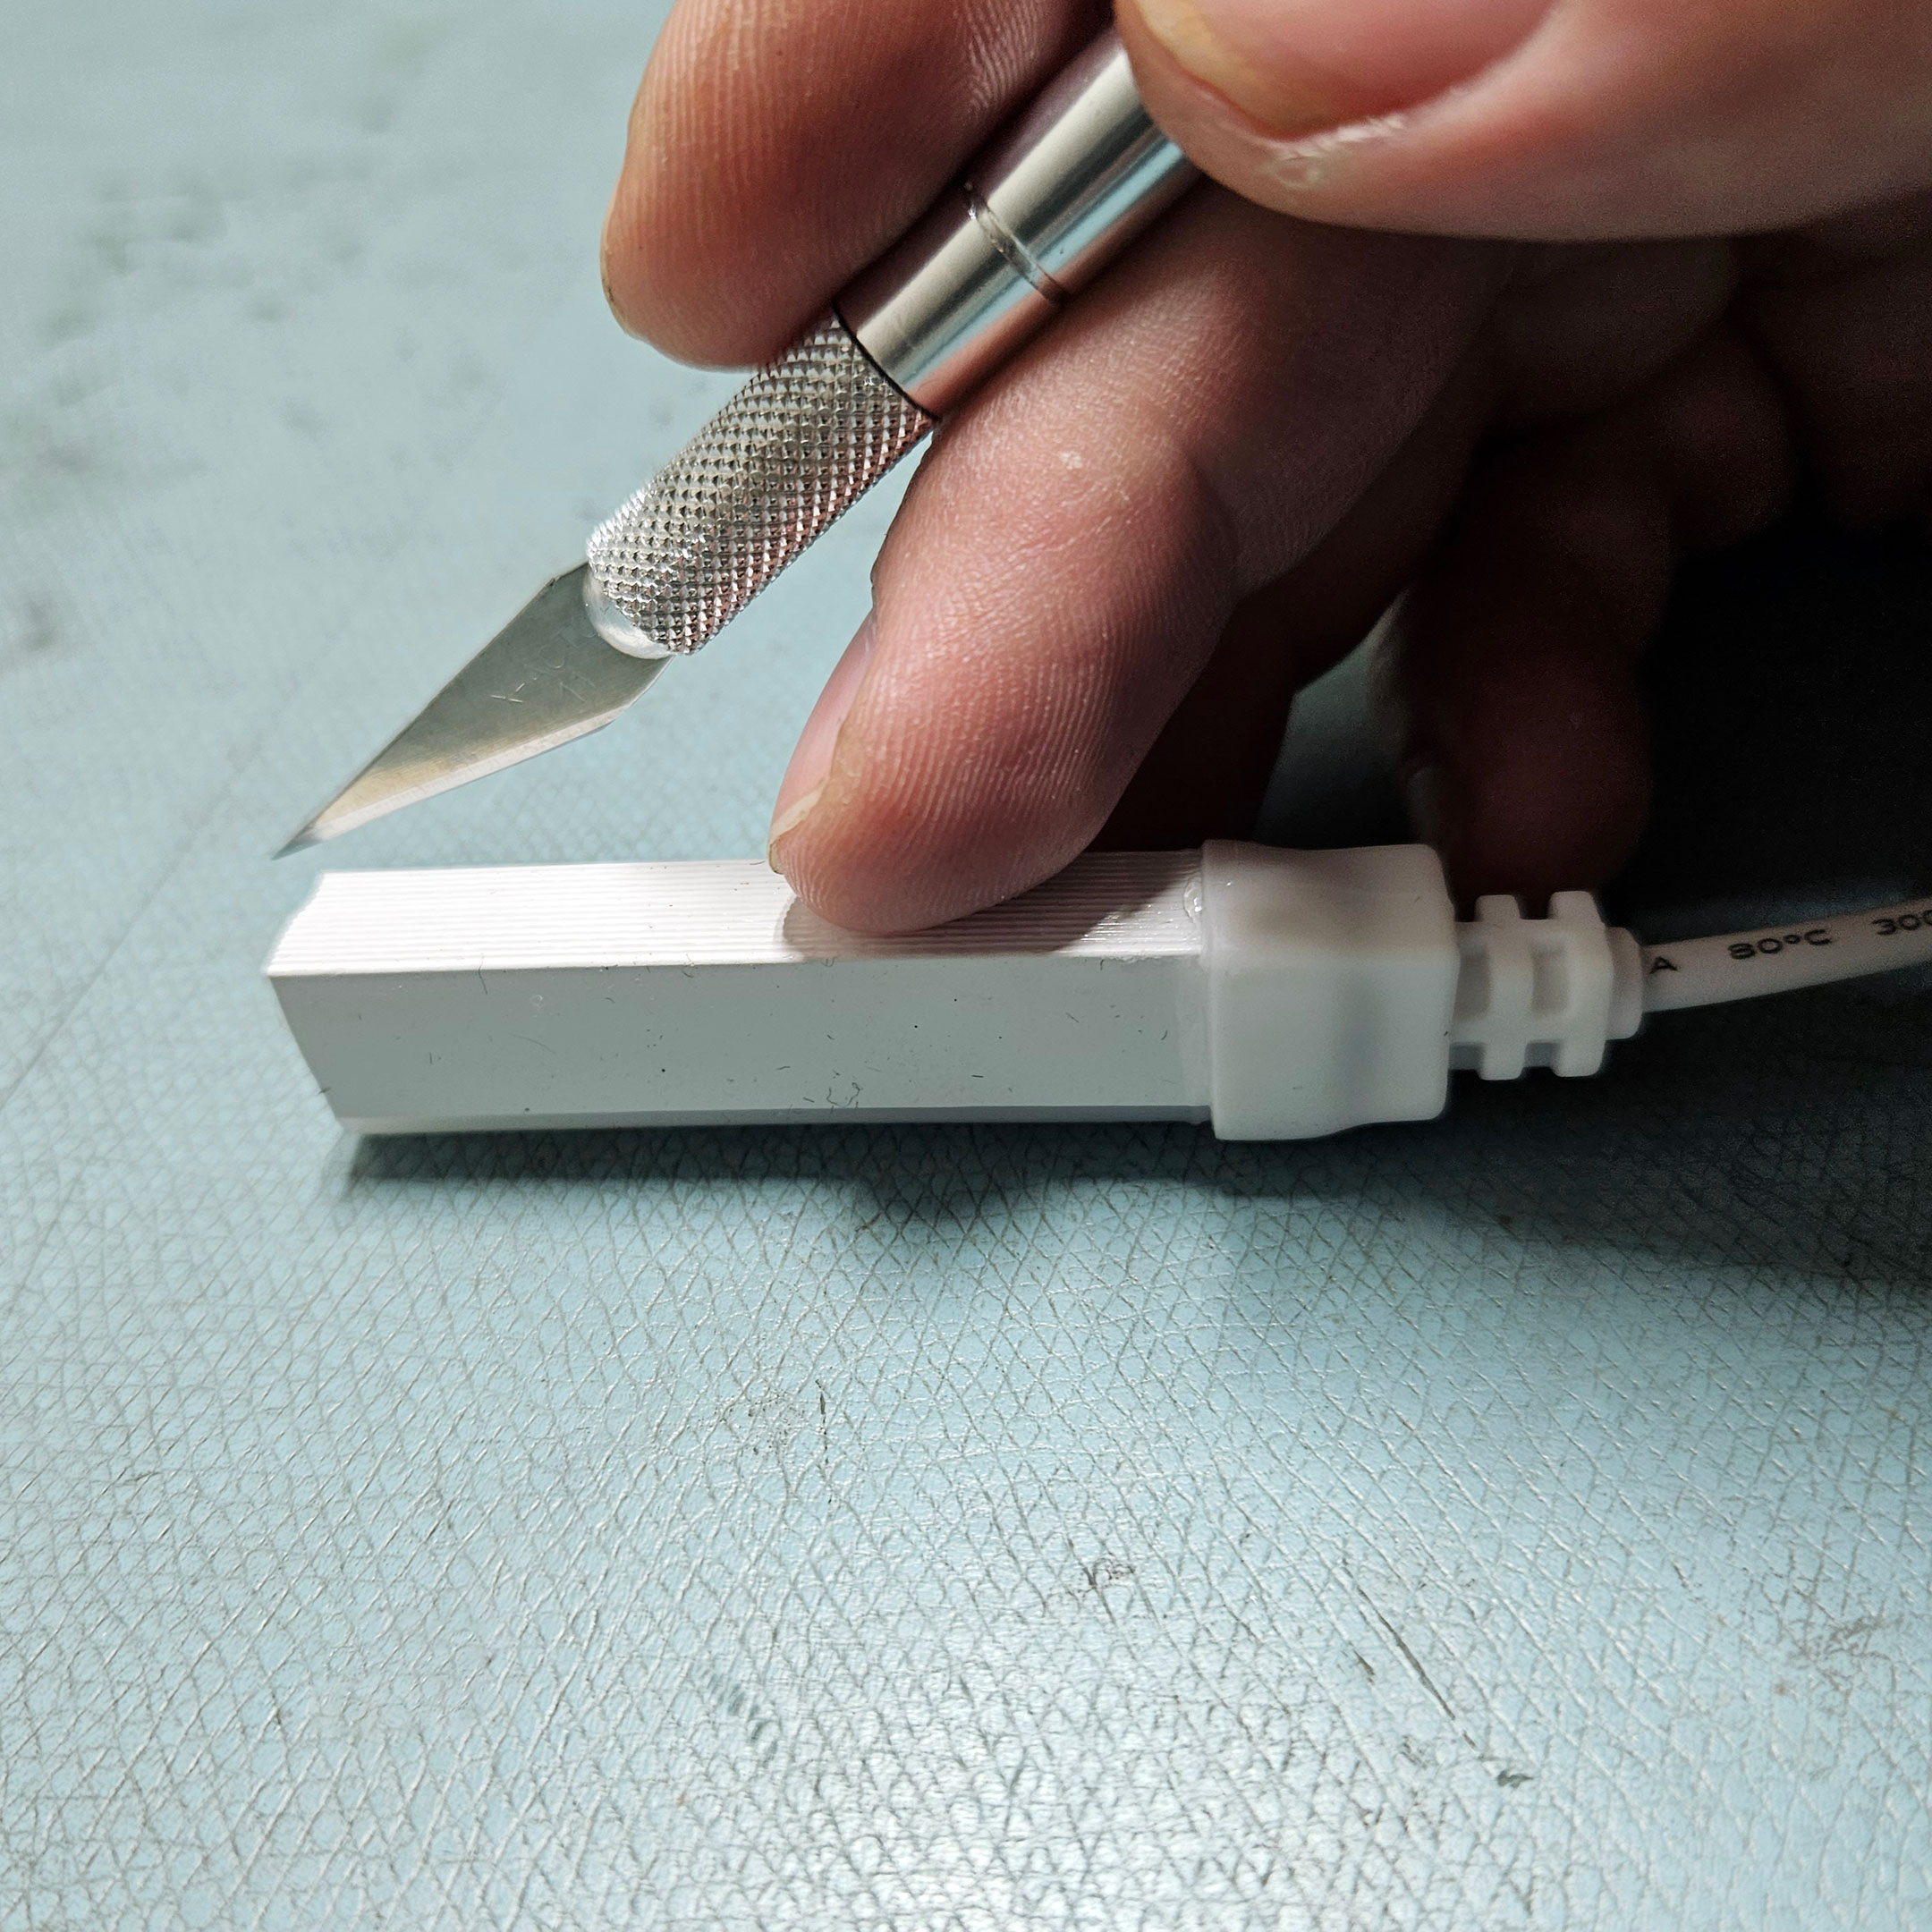
Figure 12: Make sure your cut is clean and precise
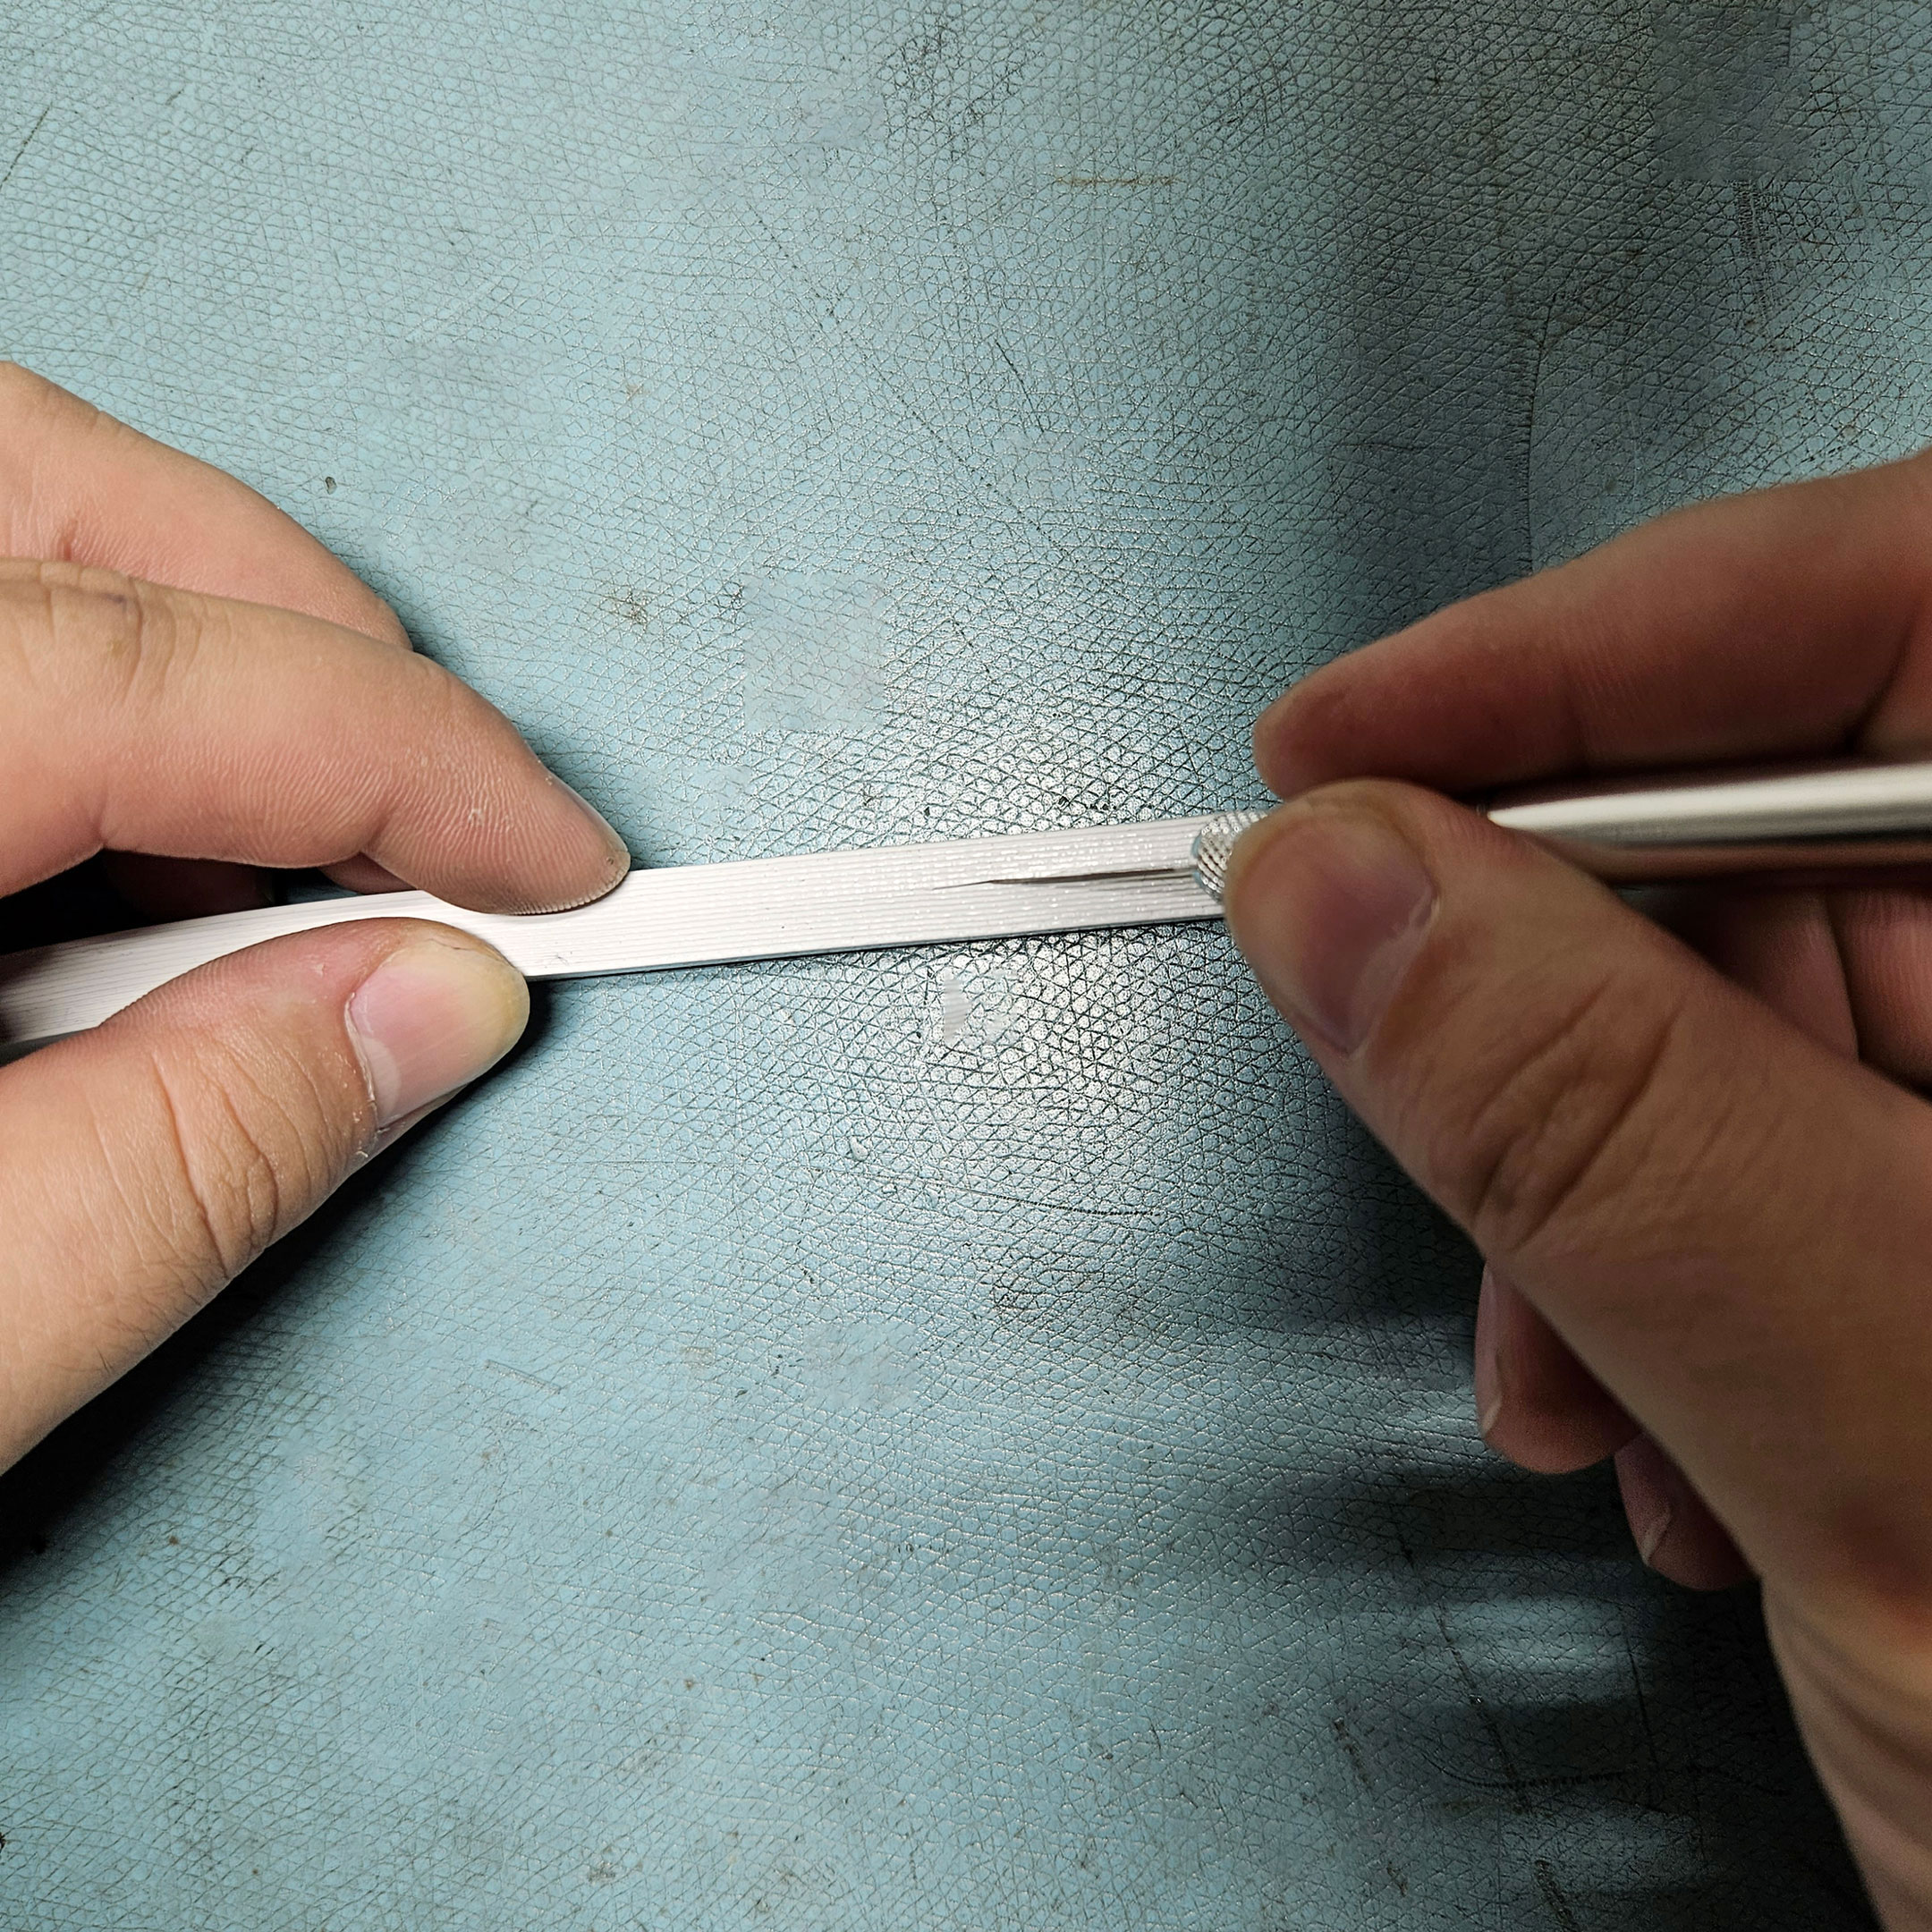
Figure 13: Cutting is best when you have a flat edge to work on
IV. Accessing the Contacts (Copper Pads)
Use a fine blade or exacto knife to cut a slit one to one and a half inches into the flat bottom of the QolorFLEX NuNeon, along the line of or just behind the run of the tape inside.
Use a clamp or vice grip on one edge of the silicone, using it to pull back and hold the flap open, while the weight is used to keep the QolorFLEX NuNeon flat on your work surface.
Make sure the copper pads are easily accessible in any orientation you care to work.
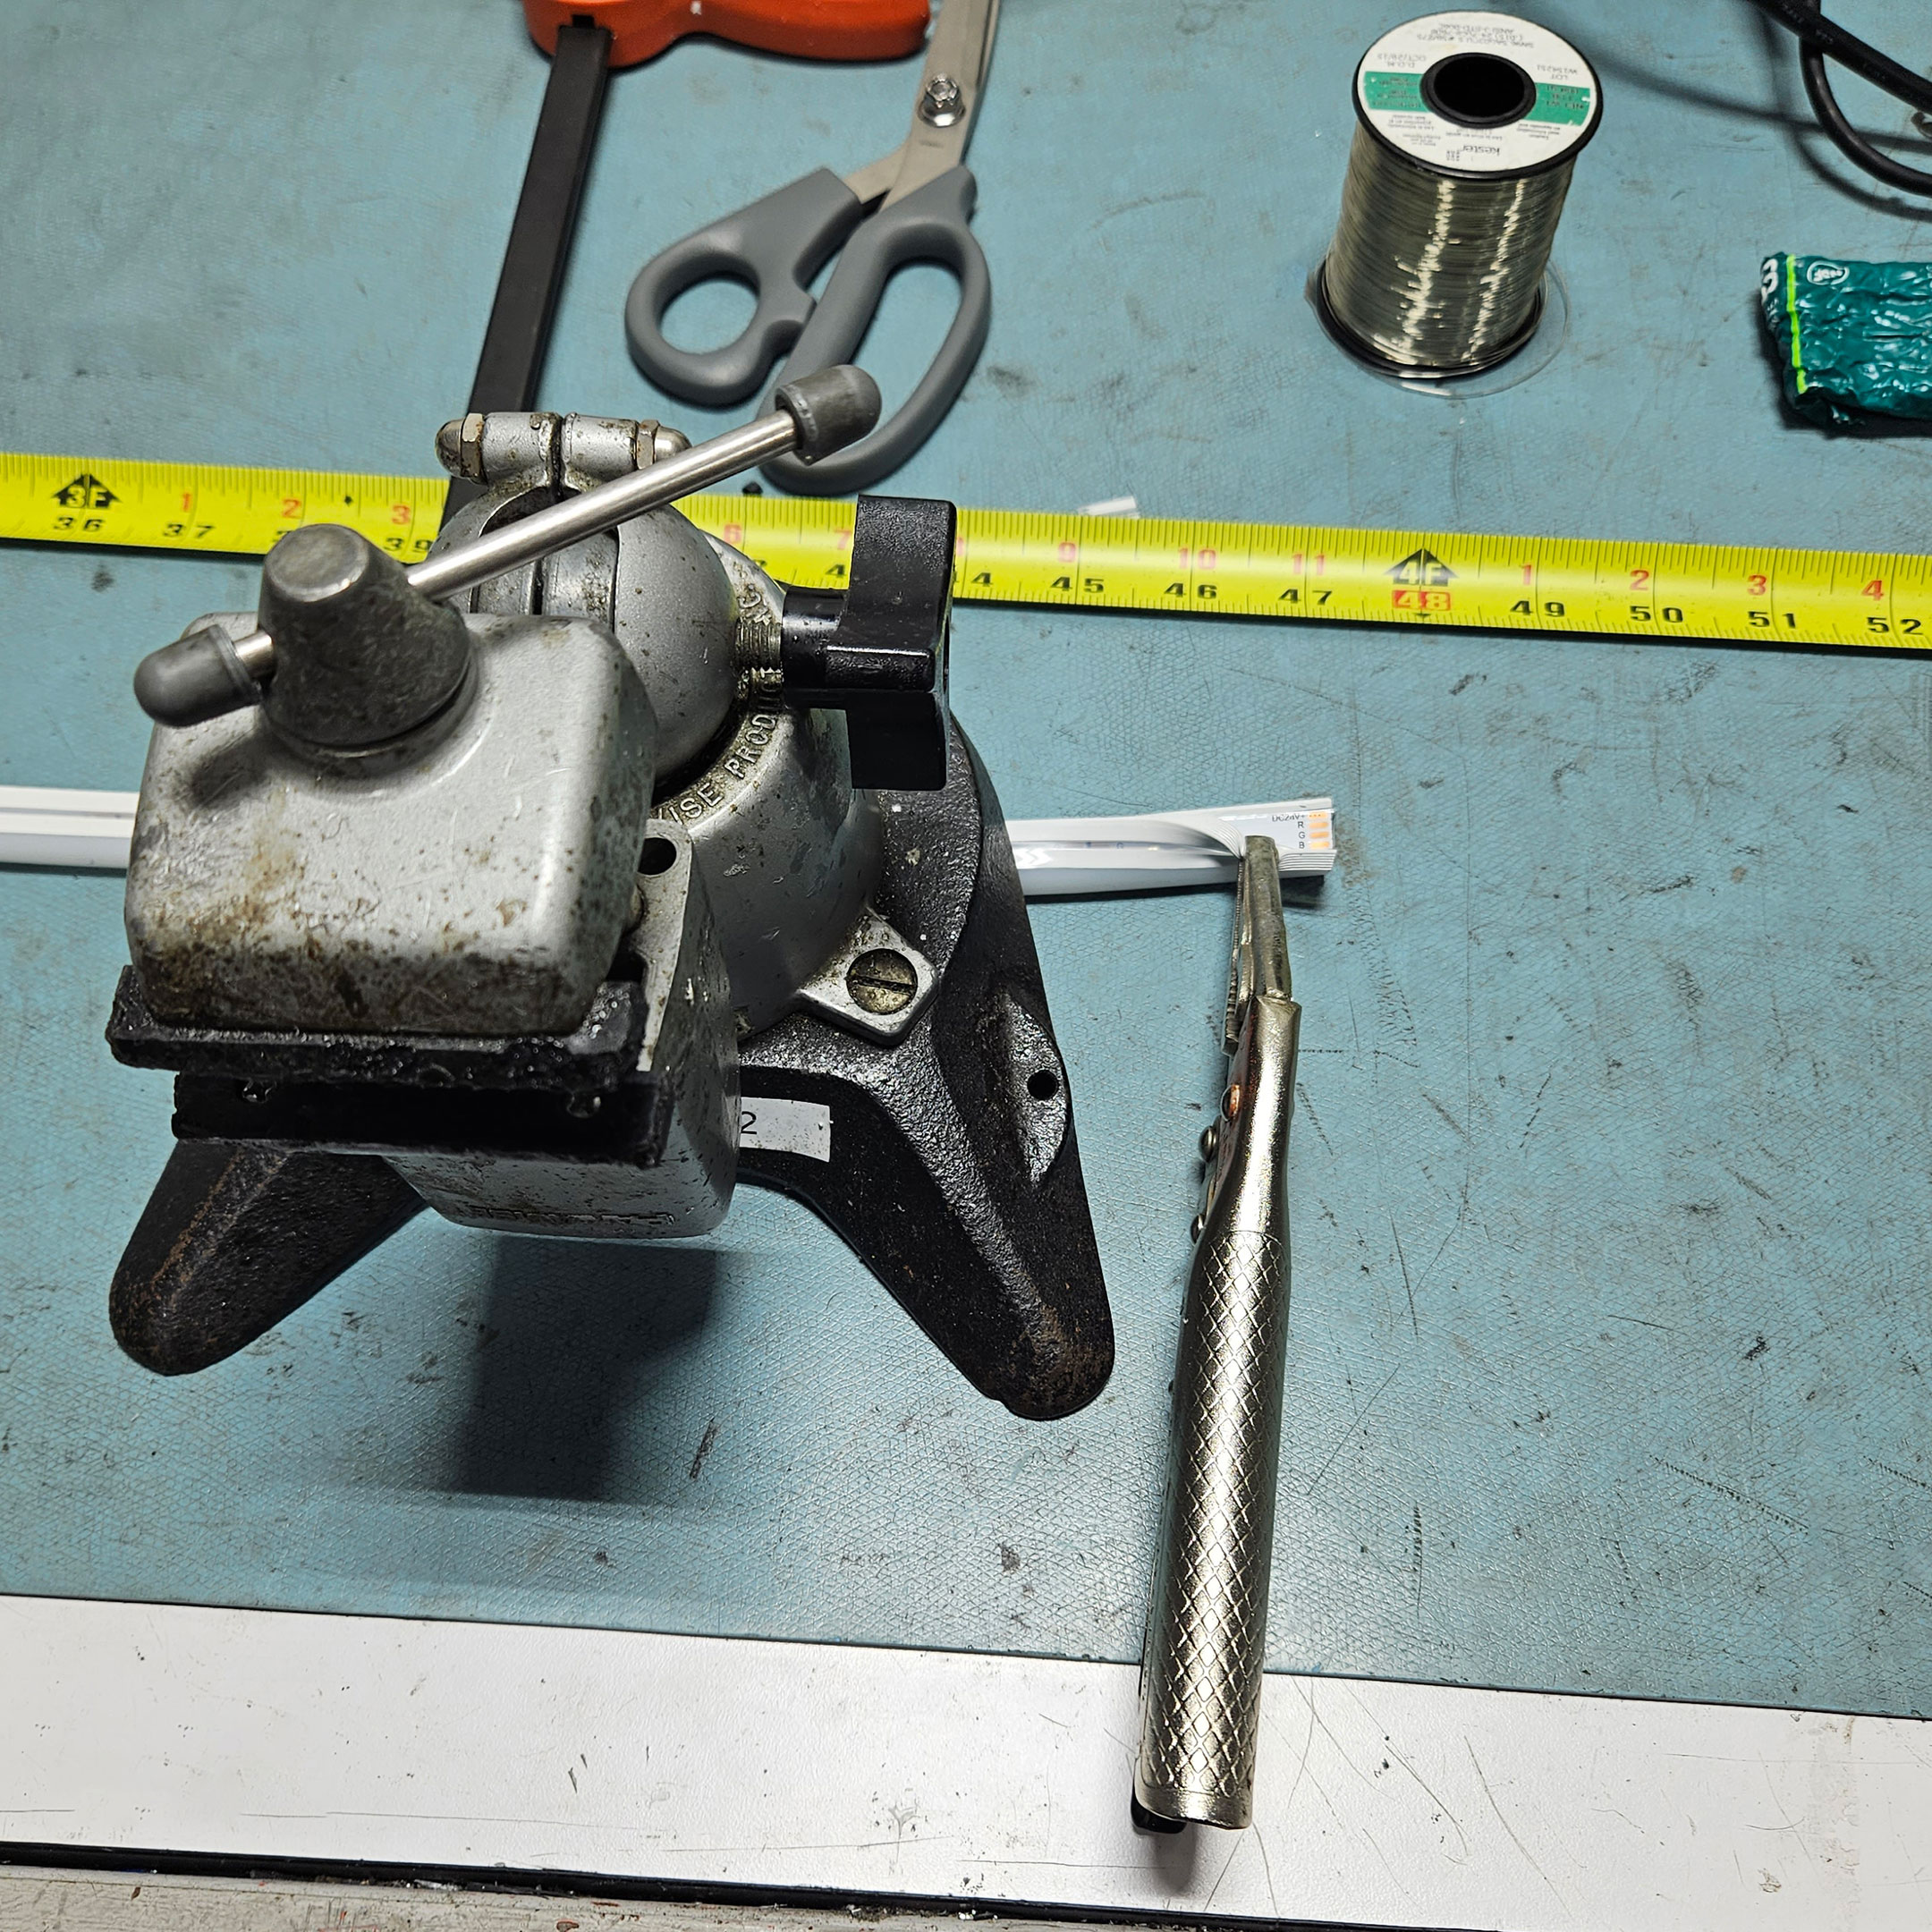
Figure 14: Use a clamp or vice grip onto one edge of the silicone
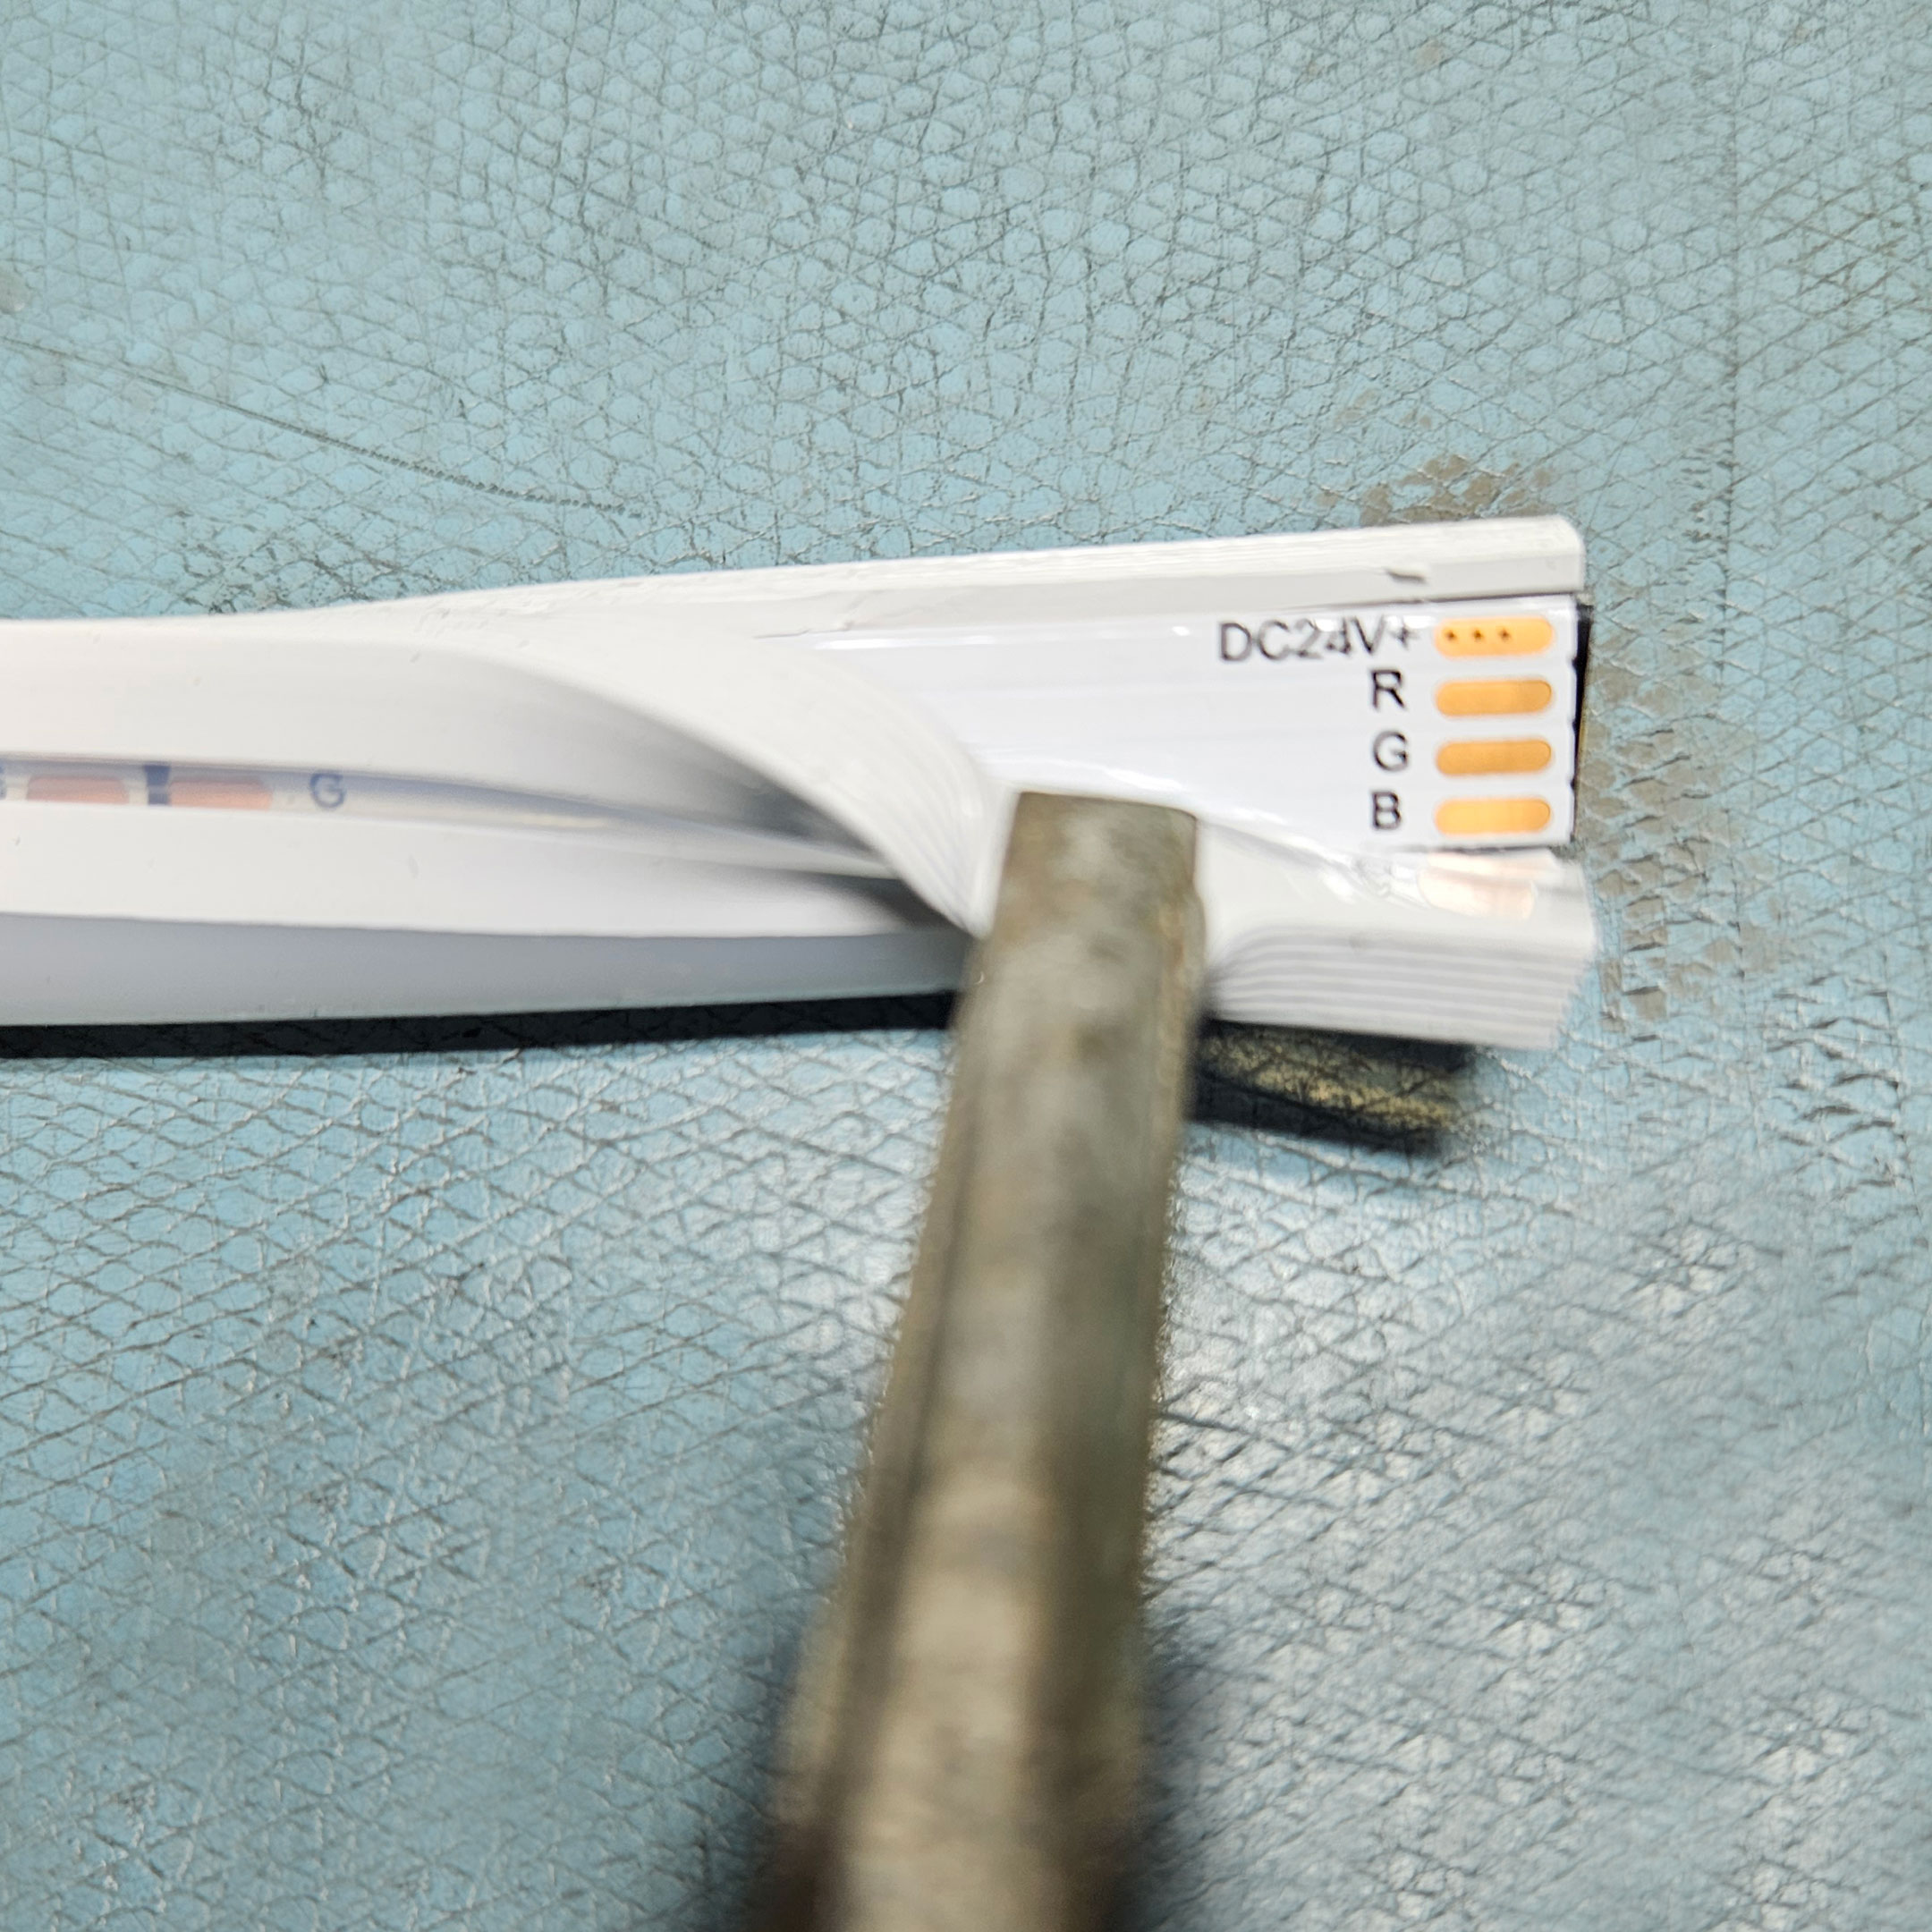
Figure 15: Make sure the copper pads are easily accessible
Use your exacto knife to cut away a portion of the interior plastic window strip very carefully inside the QolorFLEX NuNeon. It is too stiff to allow you to easily form the silicone around a wire. To get a good seal, part has to be removed.
Make a cut to slice through the plastic, then carefully slide the blade behind the plastic. This is to free it from the silicone, without cutting through the silicone completely.
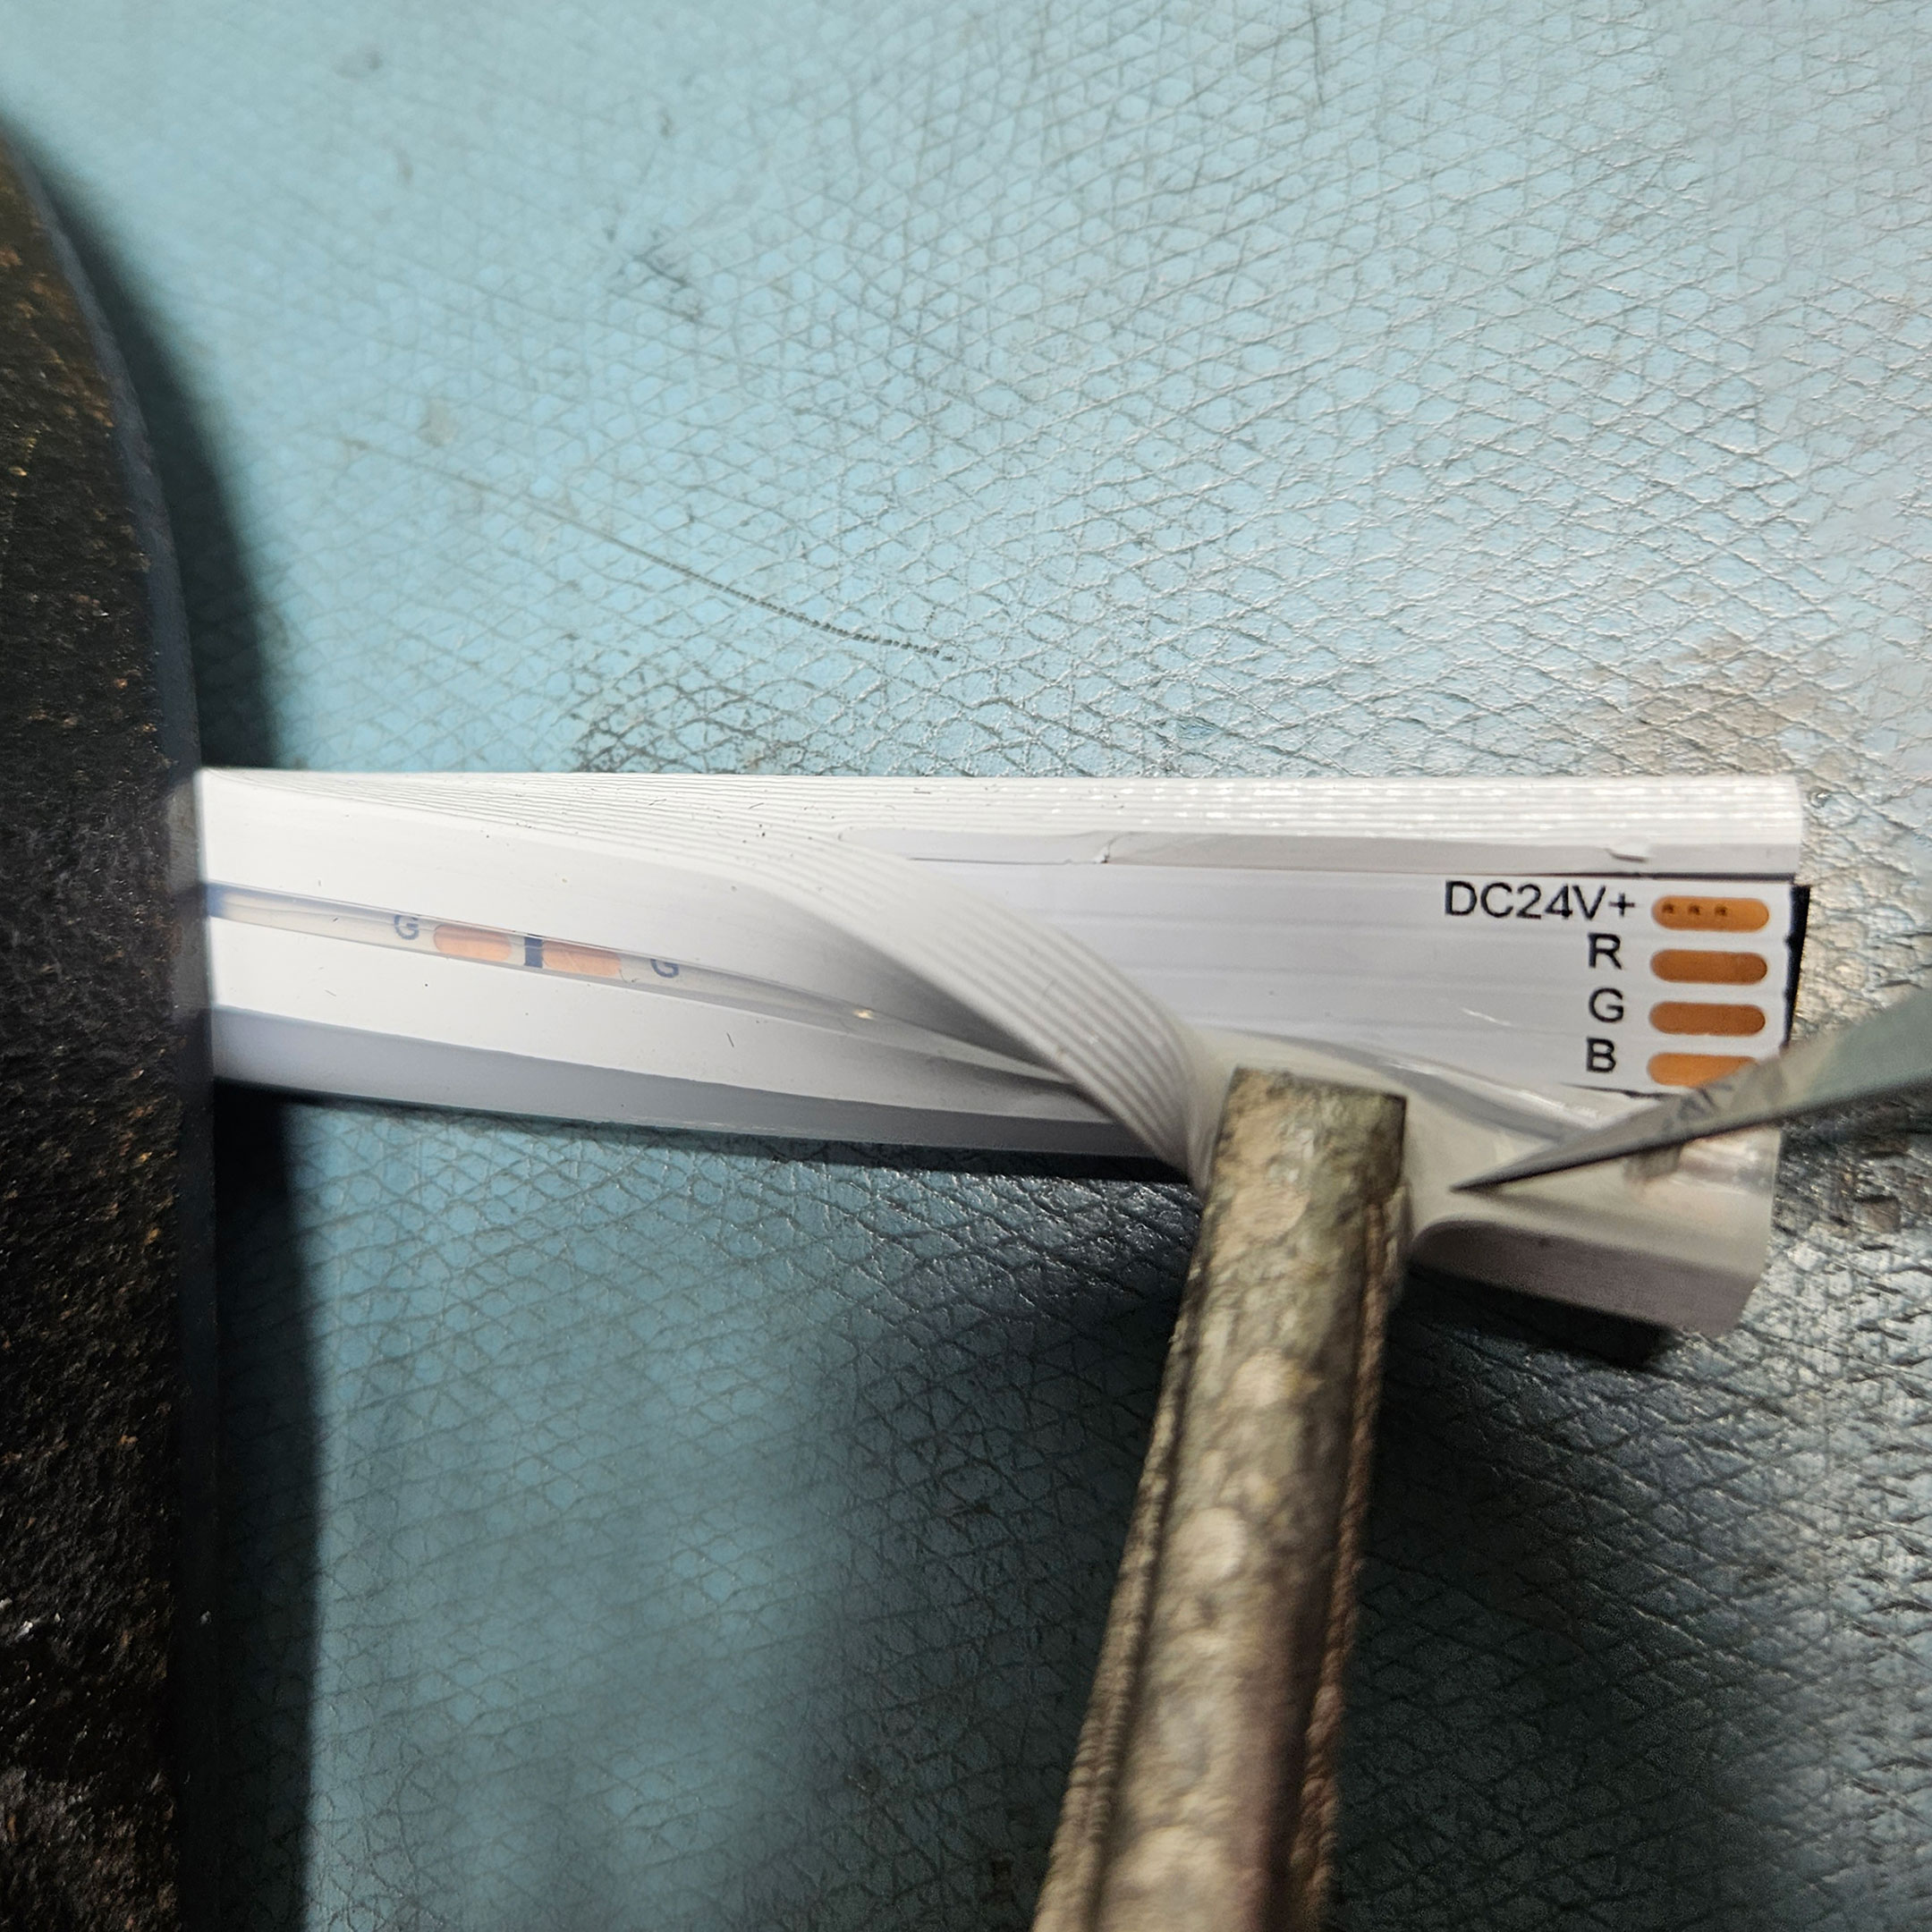
Figure 16: Use your exacto knife to cut away a portion of the interior plastic window strip carefully
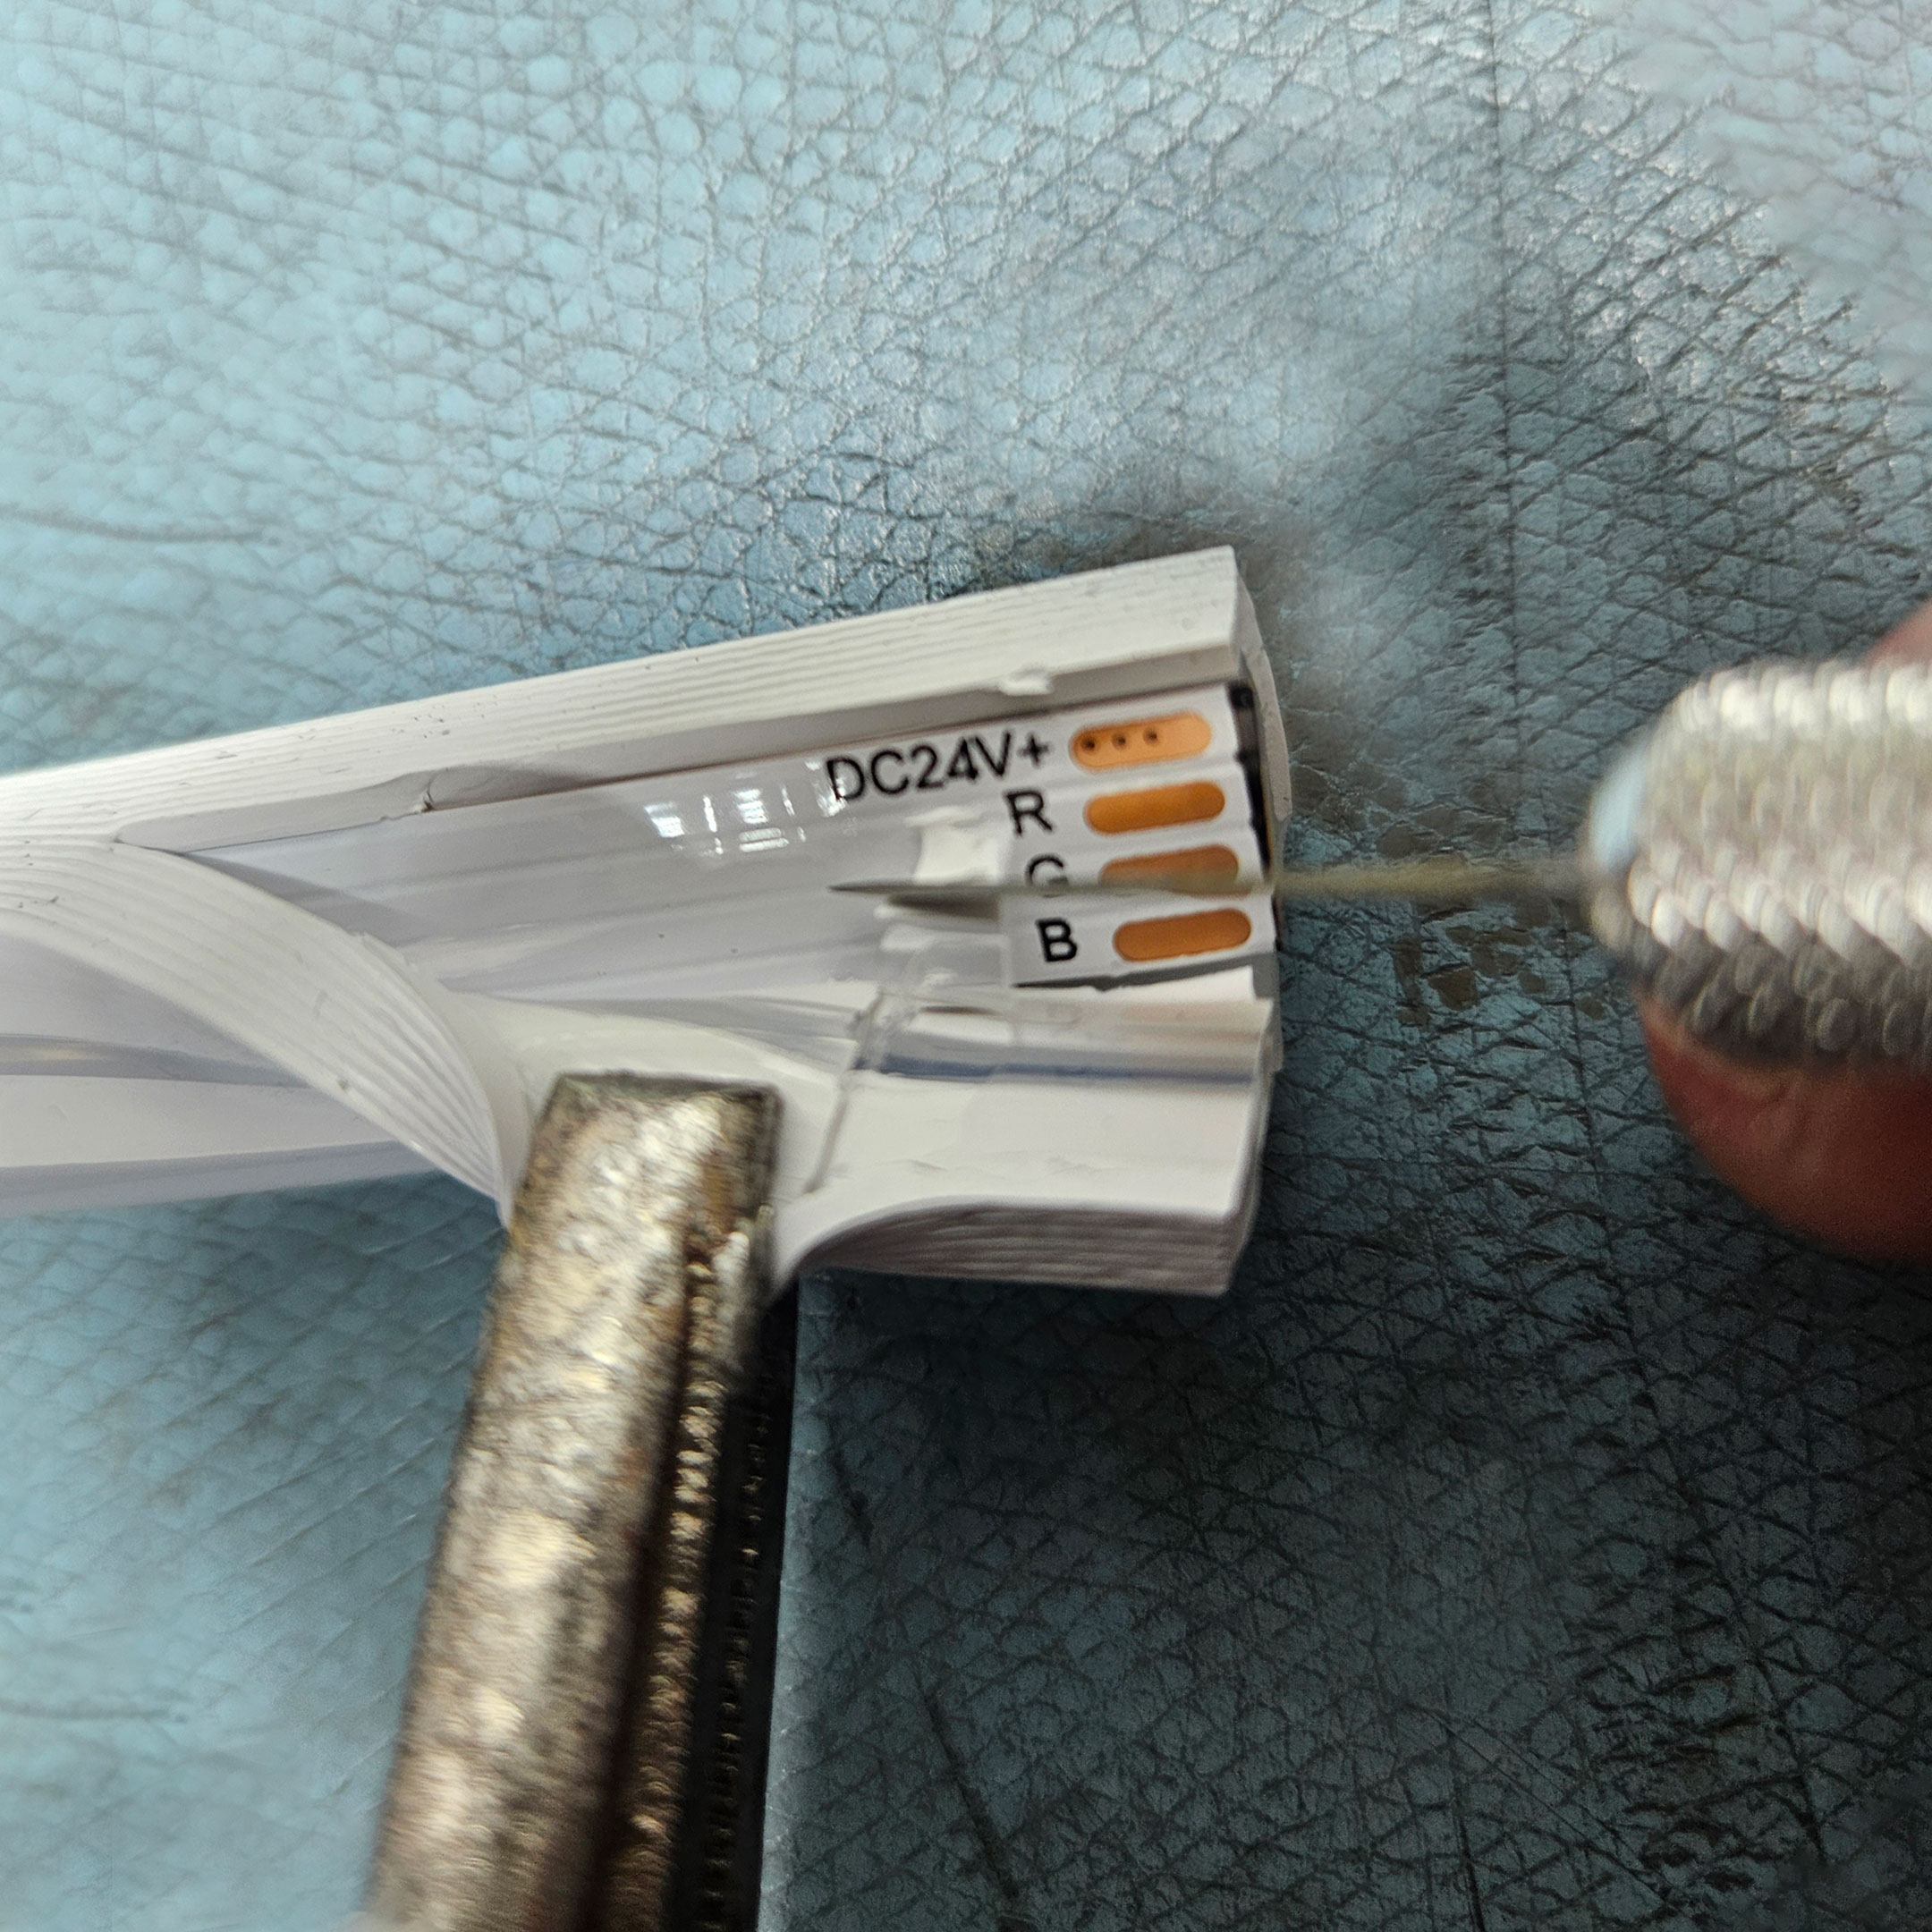
Figure 17: Slice through the plastic, then carefully slide the blade behind the plastic to free it from the silicone
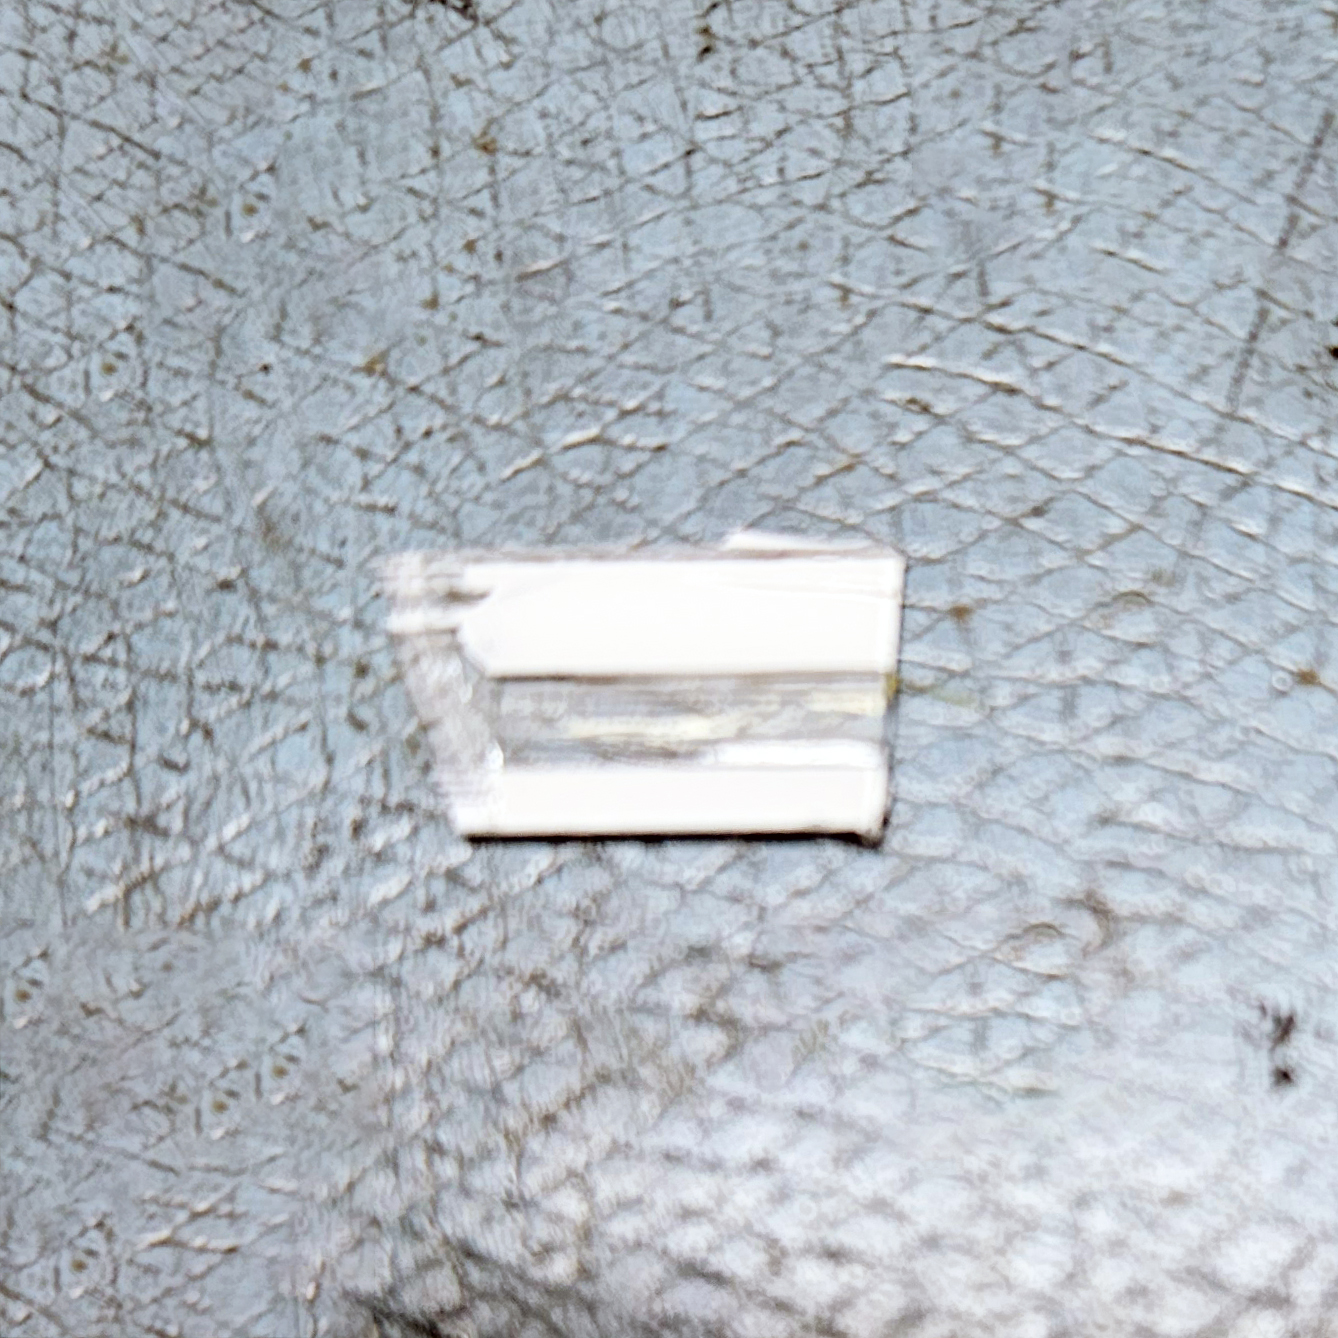
Figure 18: A piece of the window plastic strip removed
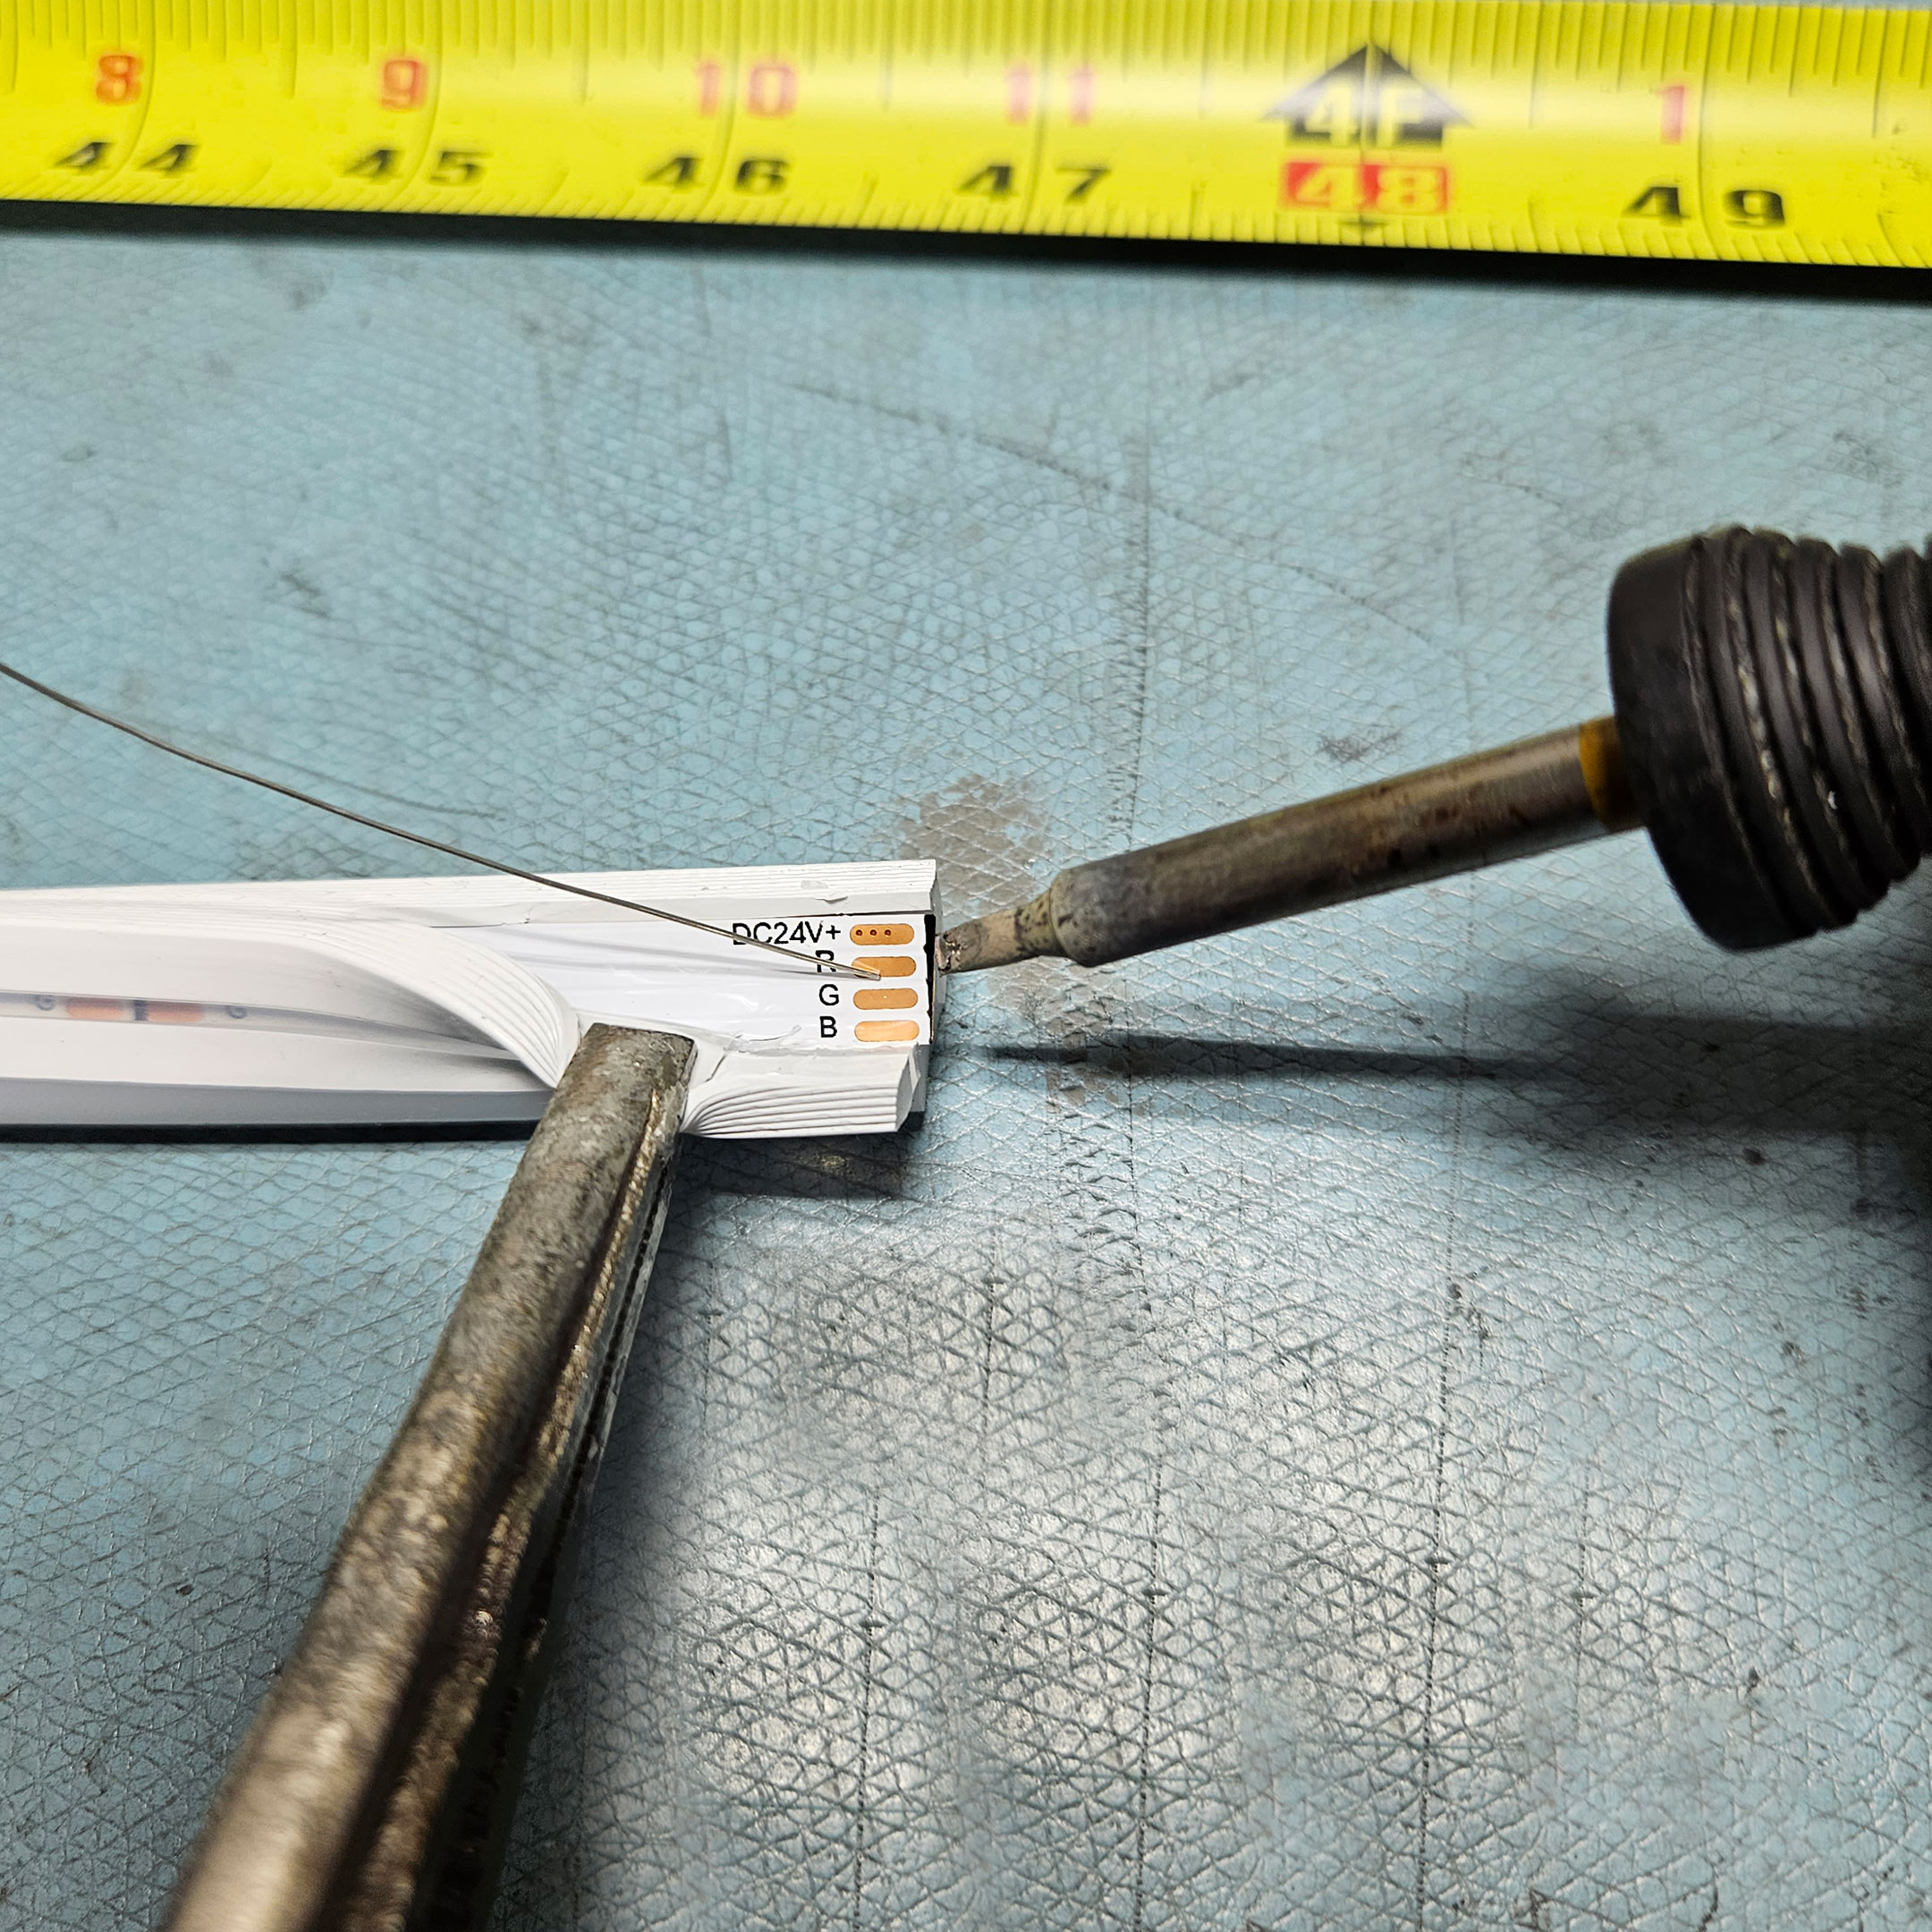
Figure 19: Using your soldering iron, lightly “tin” the pads
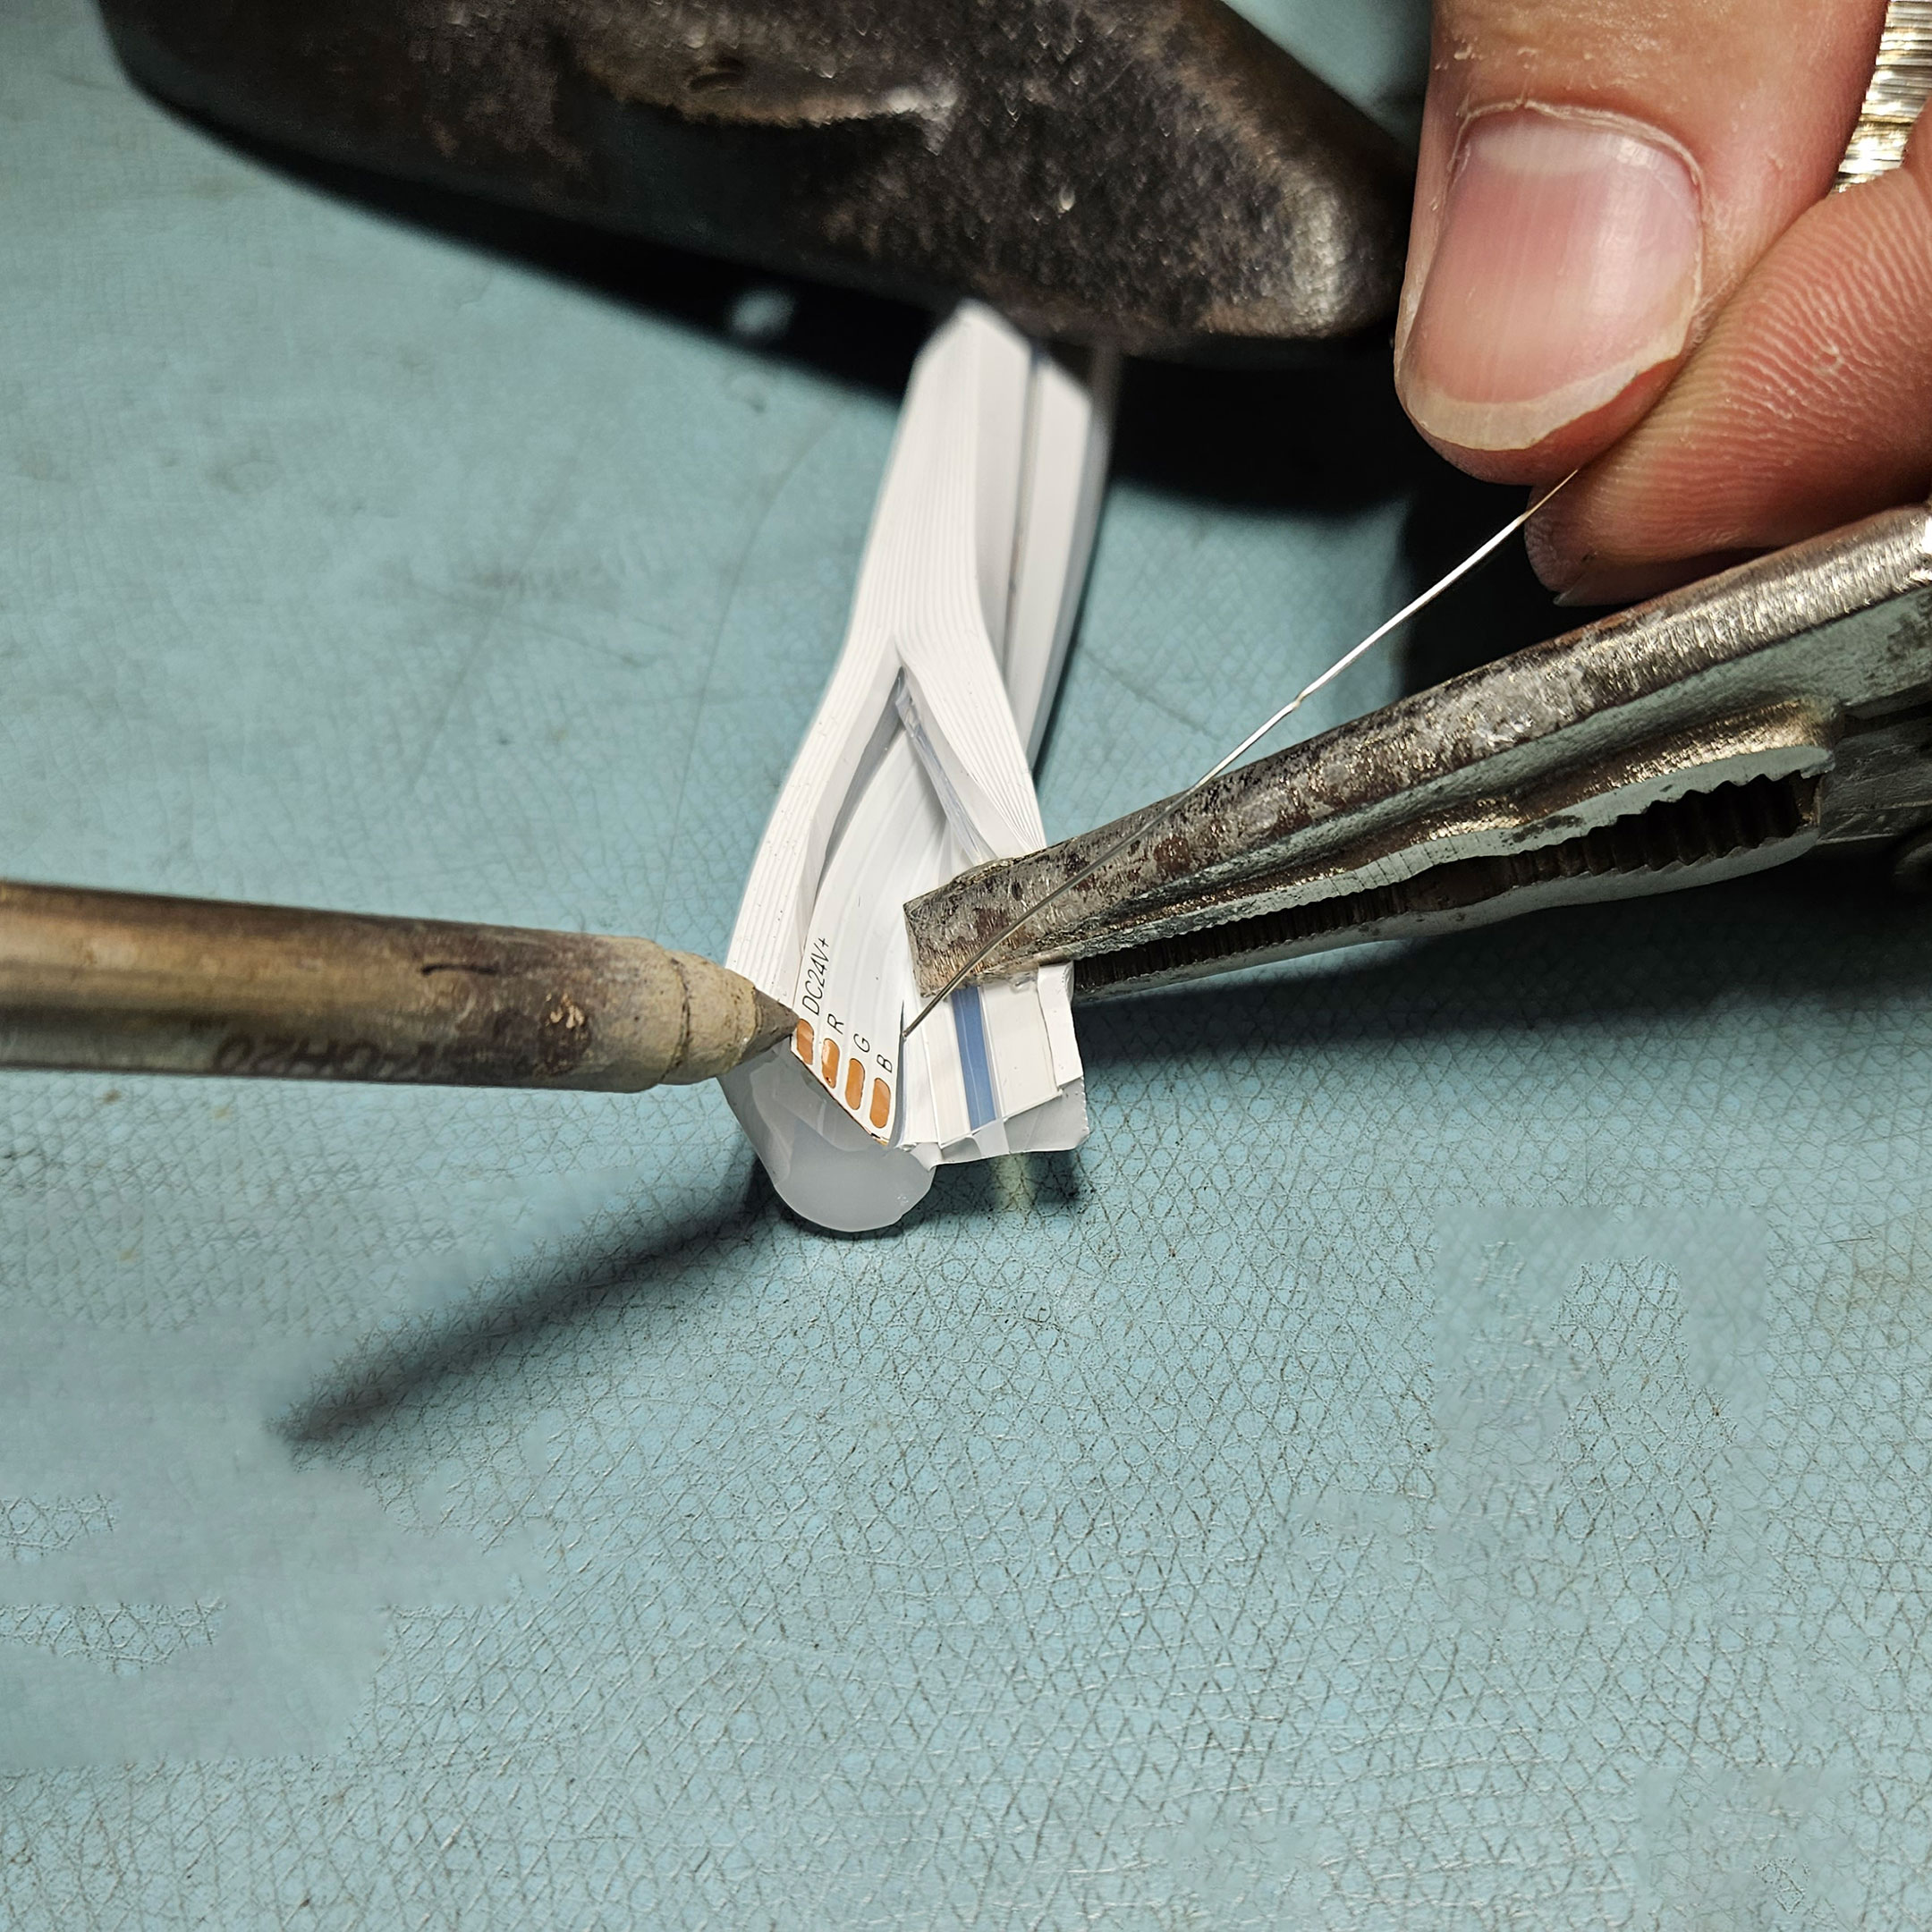
Figure 20: "Tinning" the pads means coating with a small amount of solder
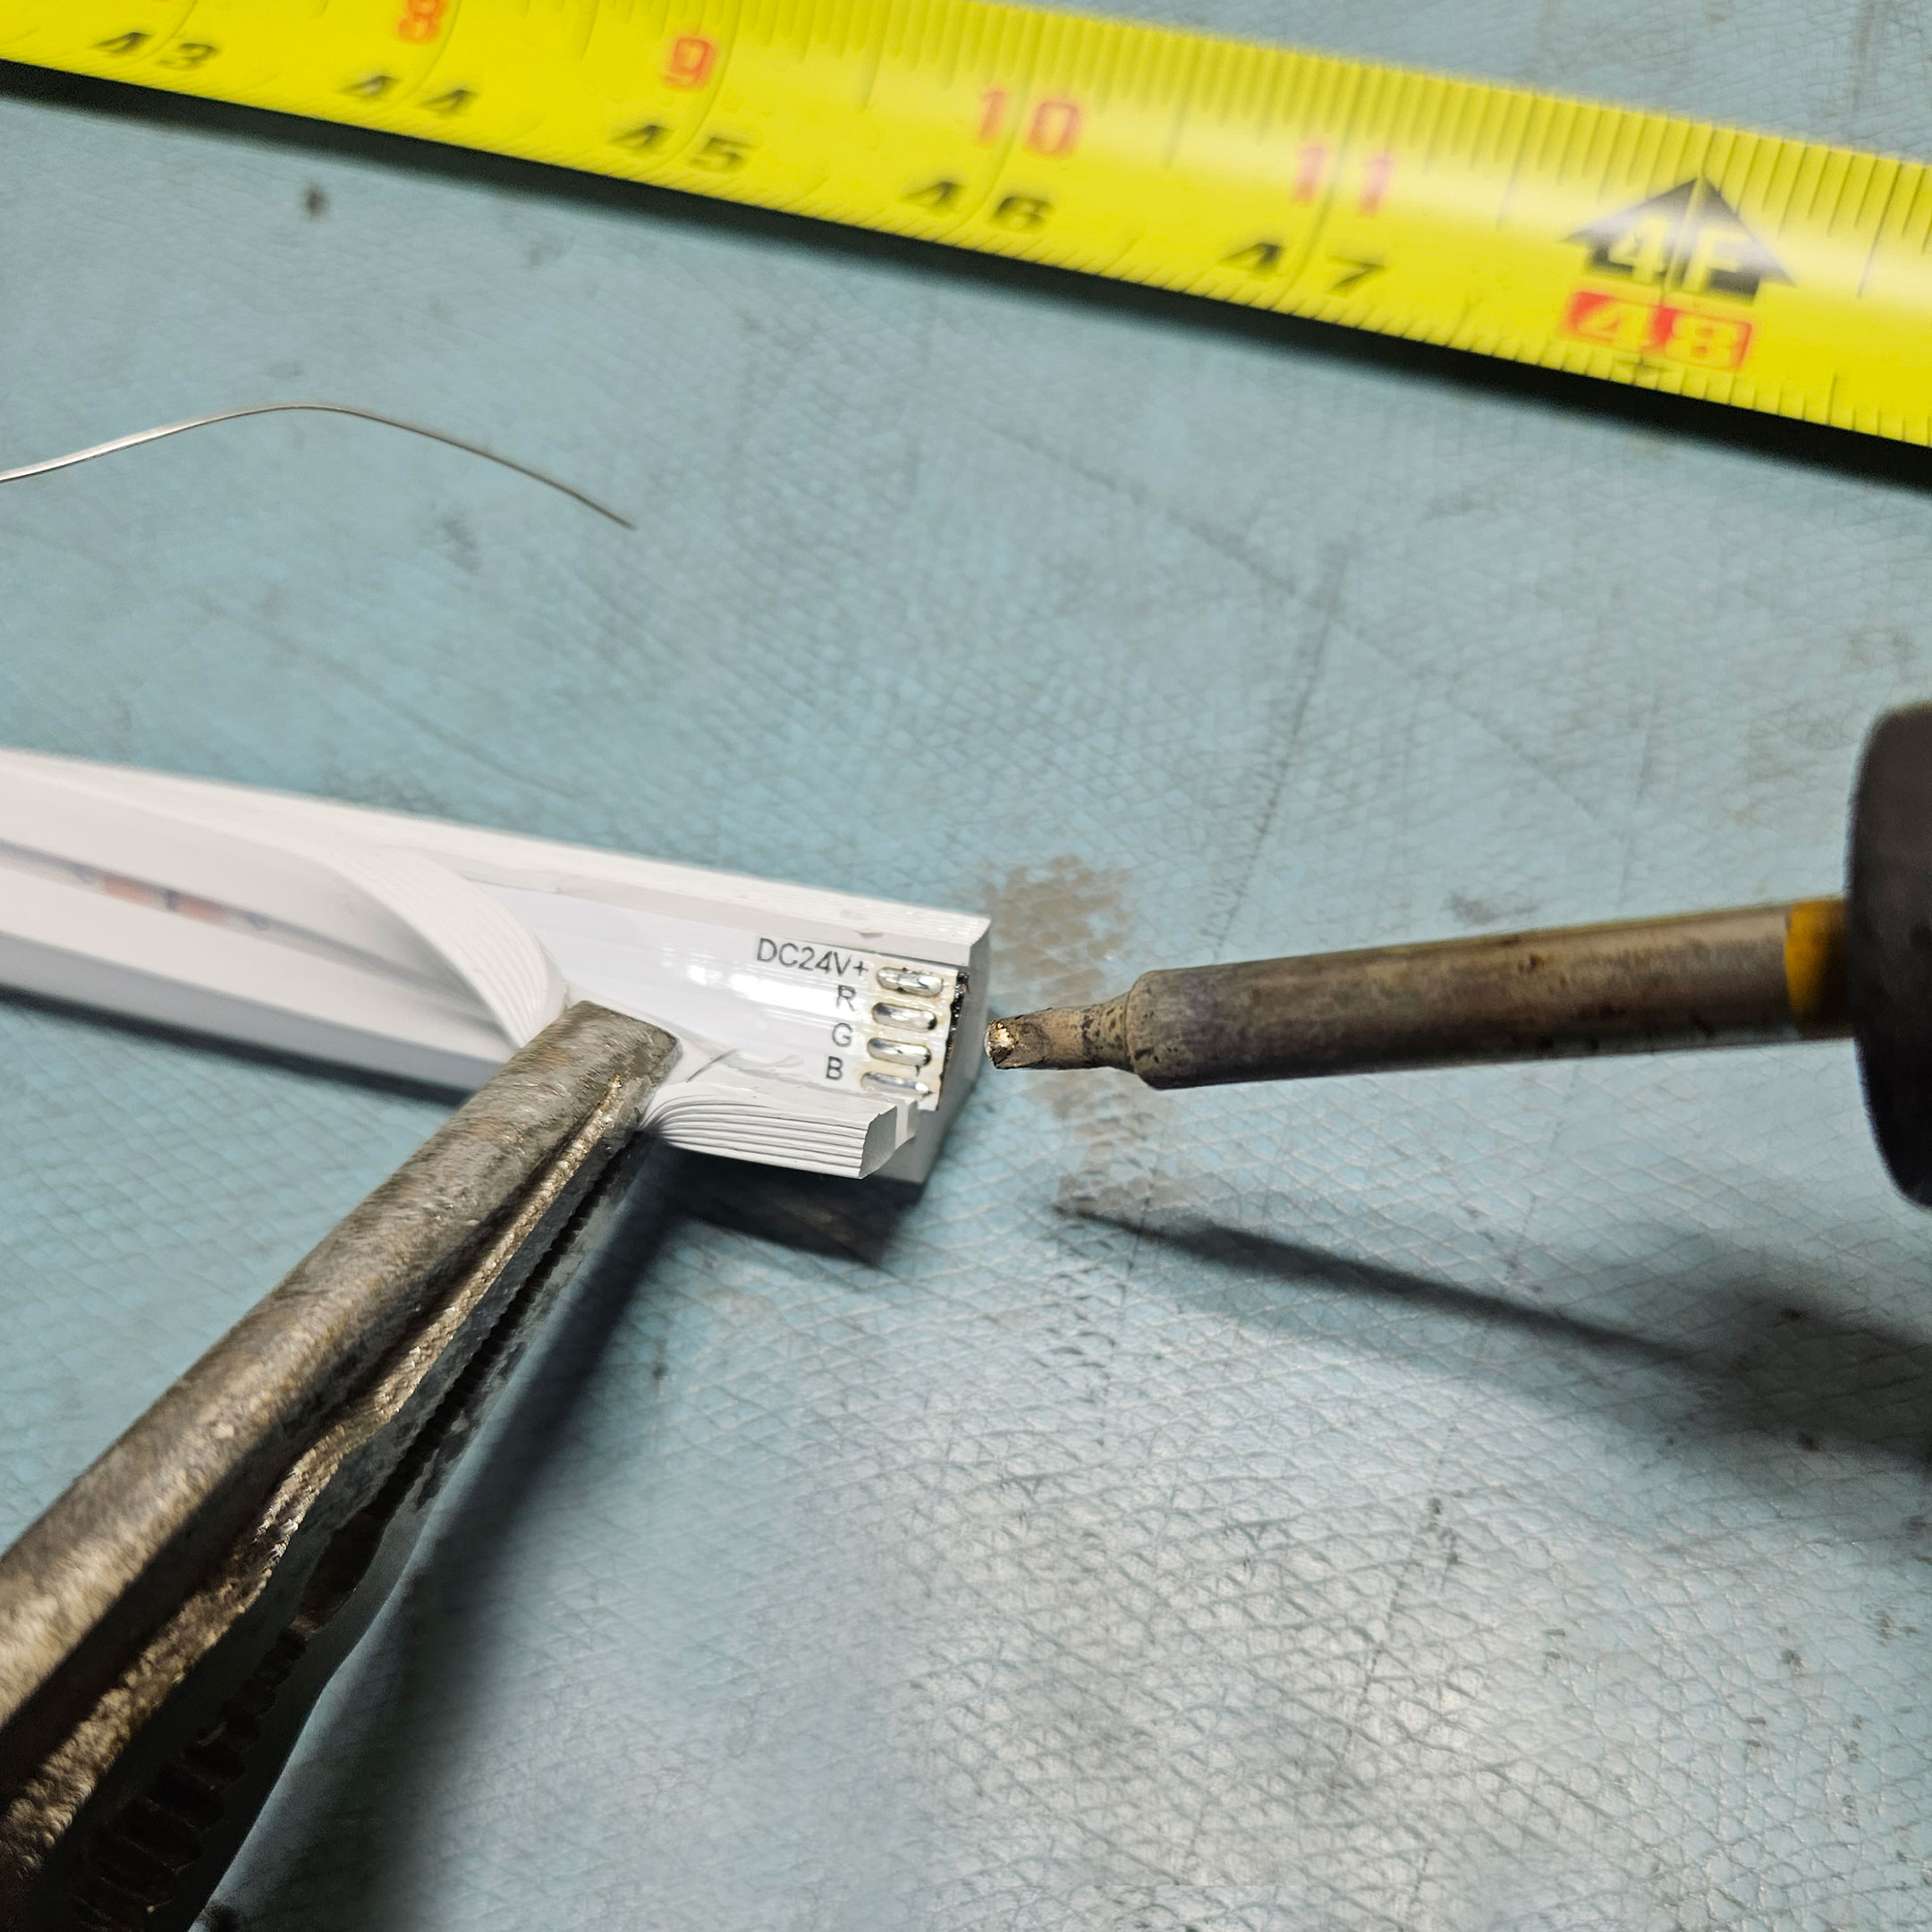
Figure 21: Once the pads are "tinned", also tin the leads of the wire with a similar, light coating of solder
If you are using City Theatrical QolorFLEX NuNeon Wire (N914-04/N914-03 [4 wire lead wire/ 2 wire lead wire]), the wire leads should be ½” to ¾” long running inwards on the white silicone strip. The height of the strip itself is a good rough measure so all wire leads are sealed inside the silicone once its capped.
Gently, so you can be as sure as possible that you don’t create bridging between the contact pads, heat the wire end to melt the solder into place. The wires can be removed and resoldered so long as the pad is intact, so mistakes are fixable, if tricky. We recommend starting from the innermost pad – “Blue” in this image, so that each wire after does not get in its own way.
Make sure that the wire ends and the solder holding it in place are not in contact with each other, or individual colors will not show distinctly.
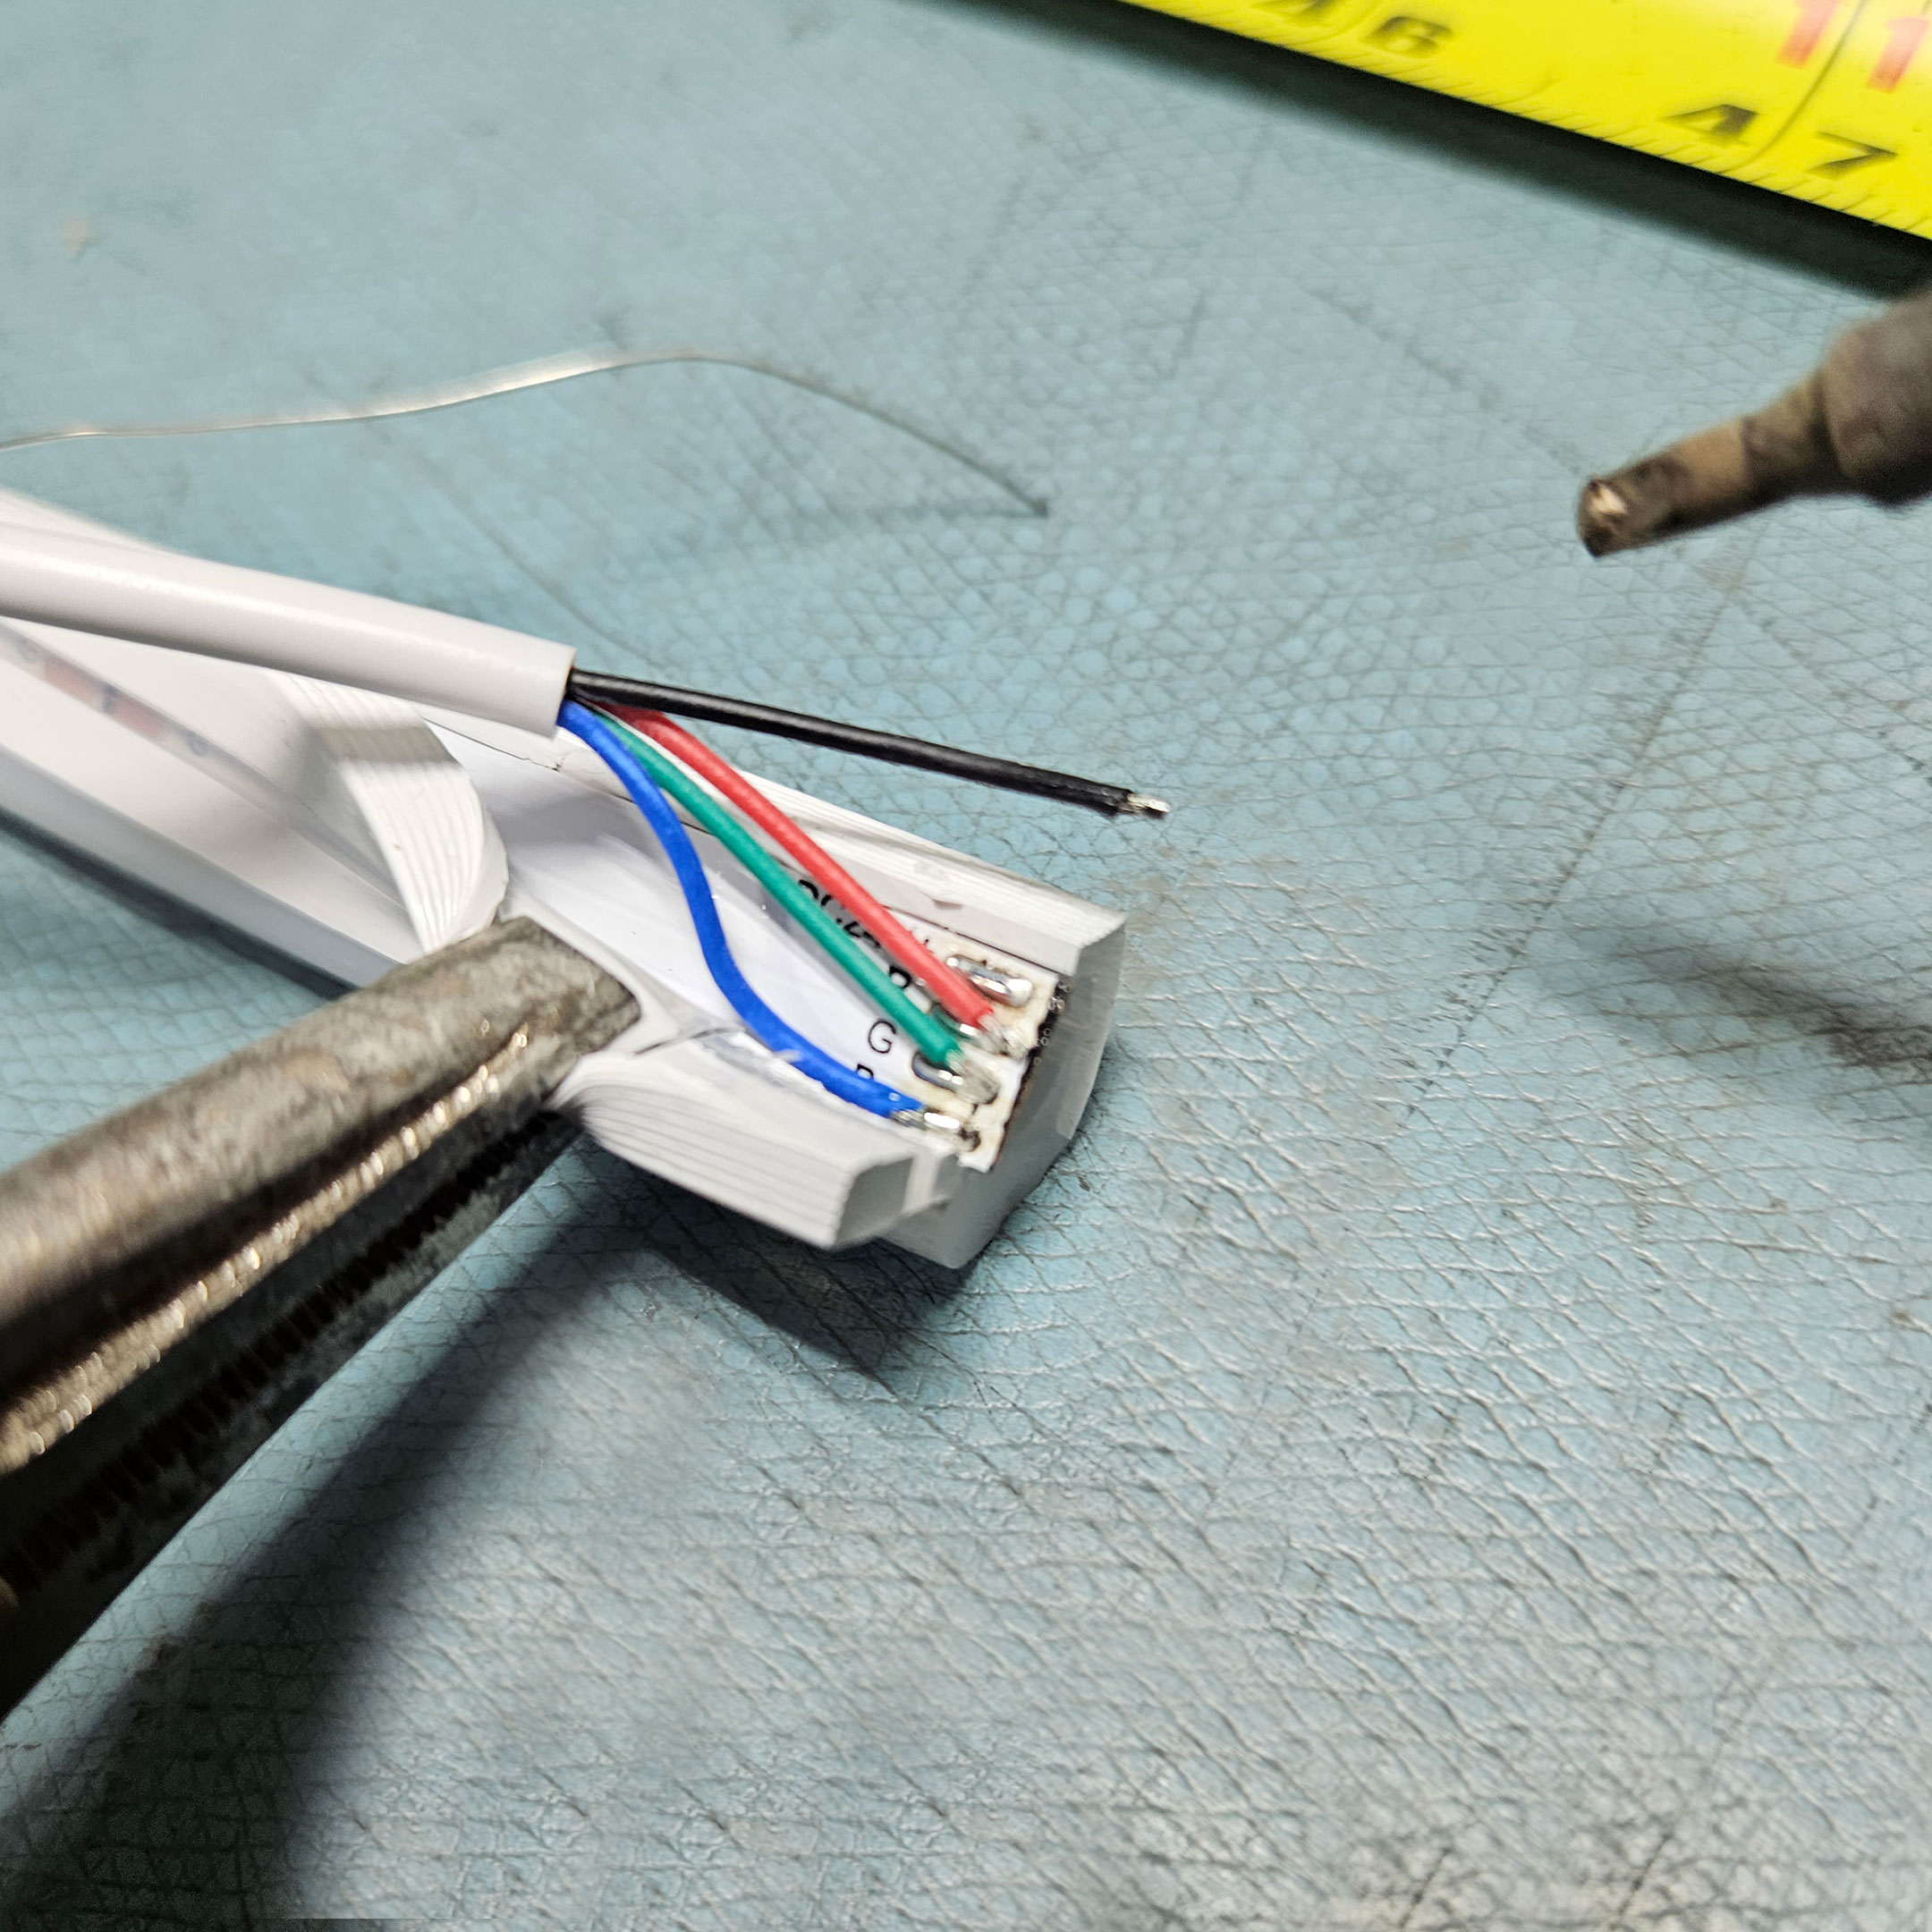
Figure 22: Connect the wire leads to the pads such that they are ½” to ¾” long, running inwards on the white silicone strip
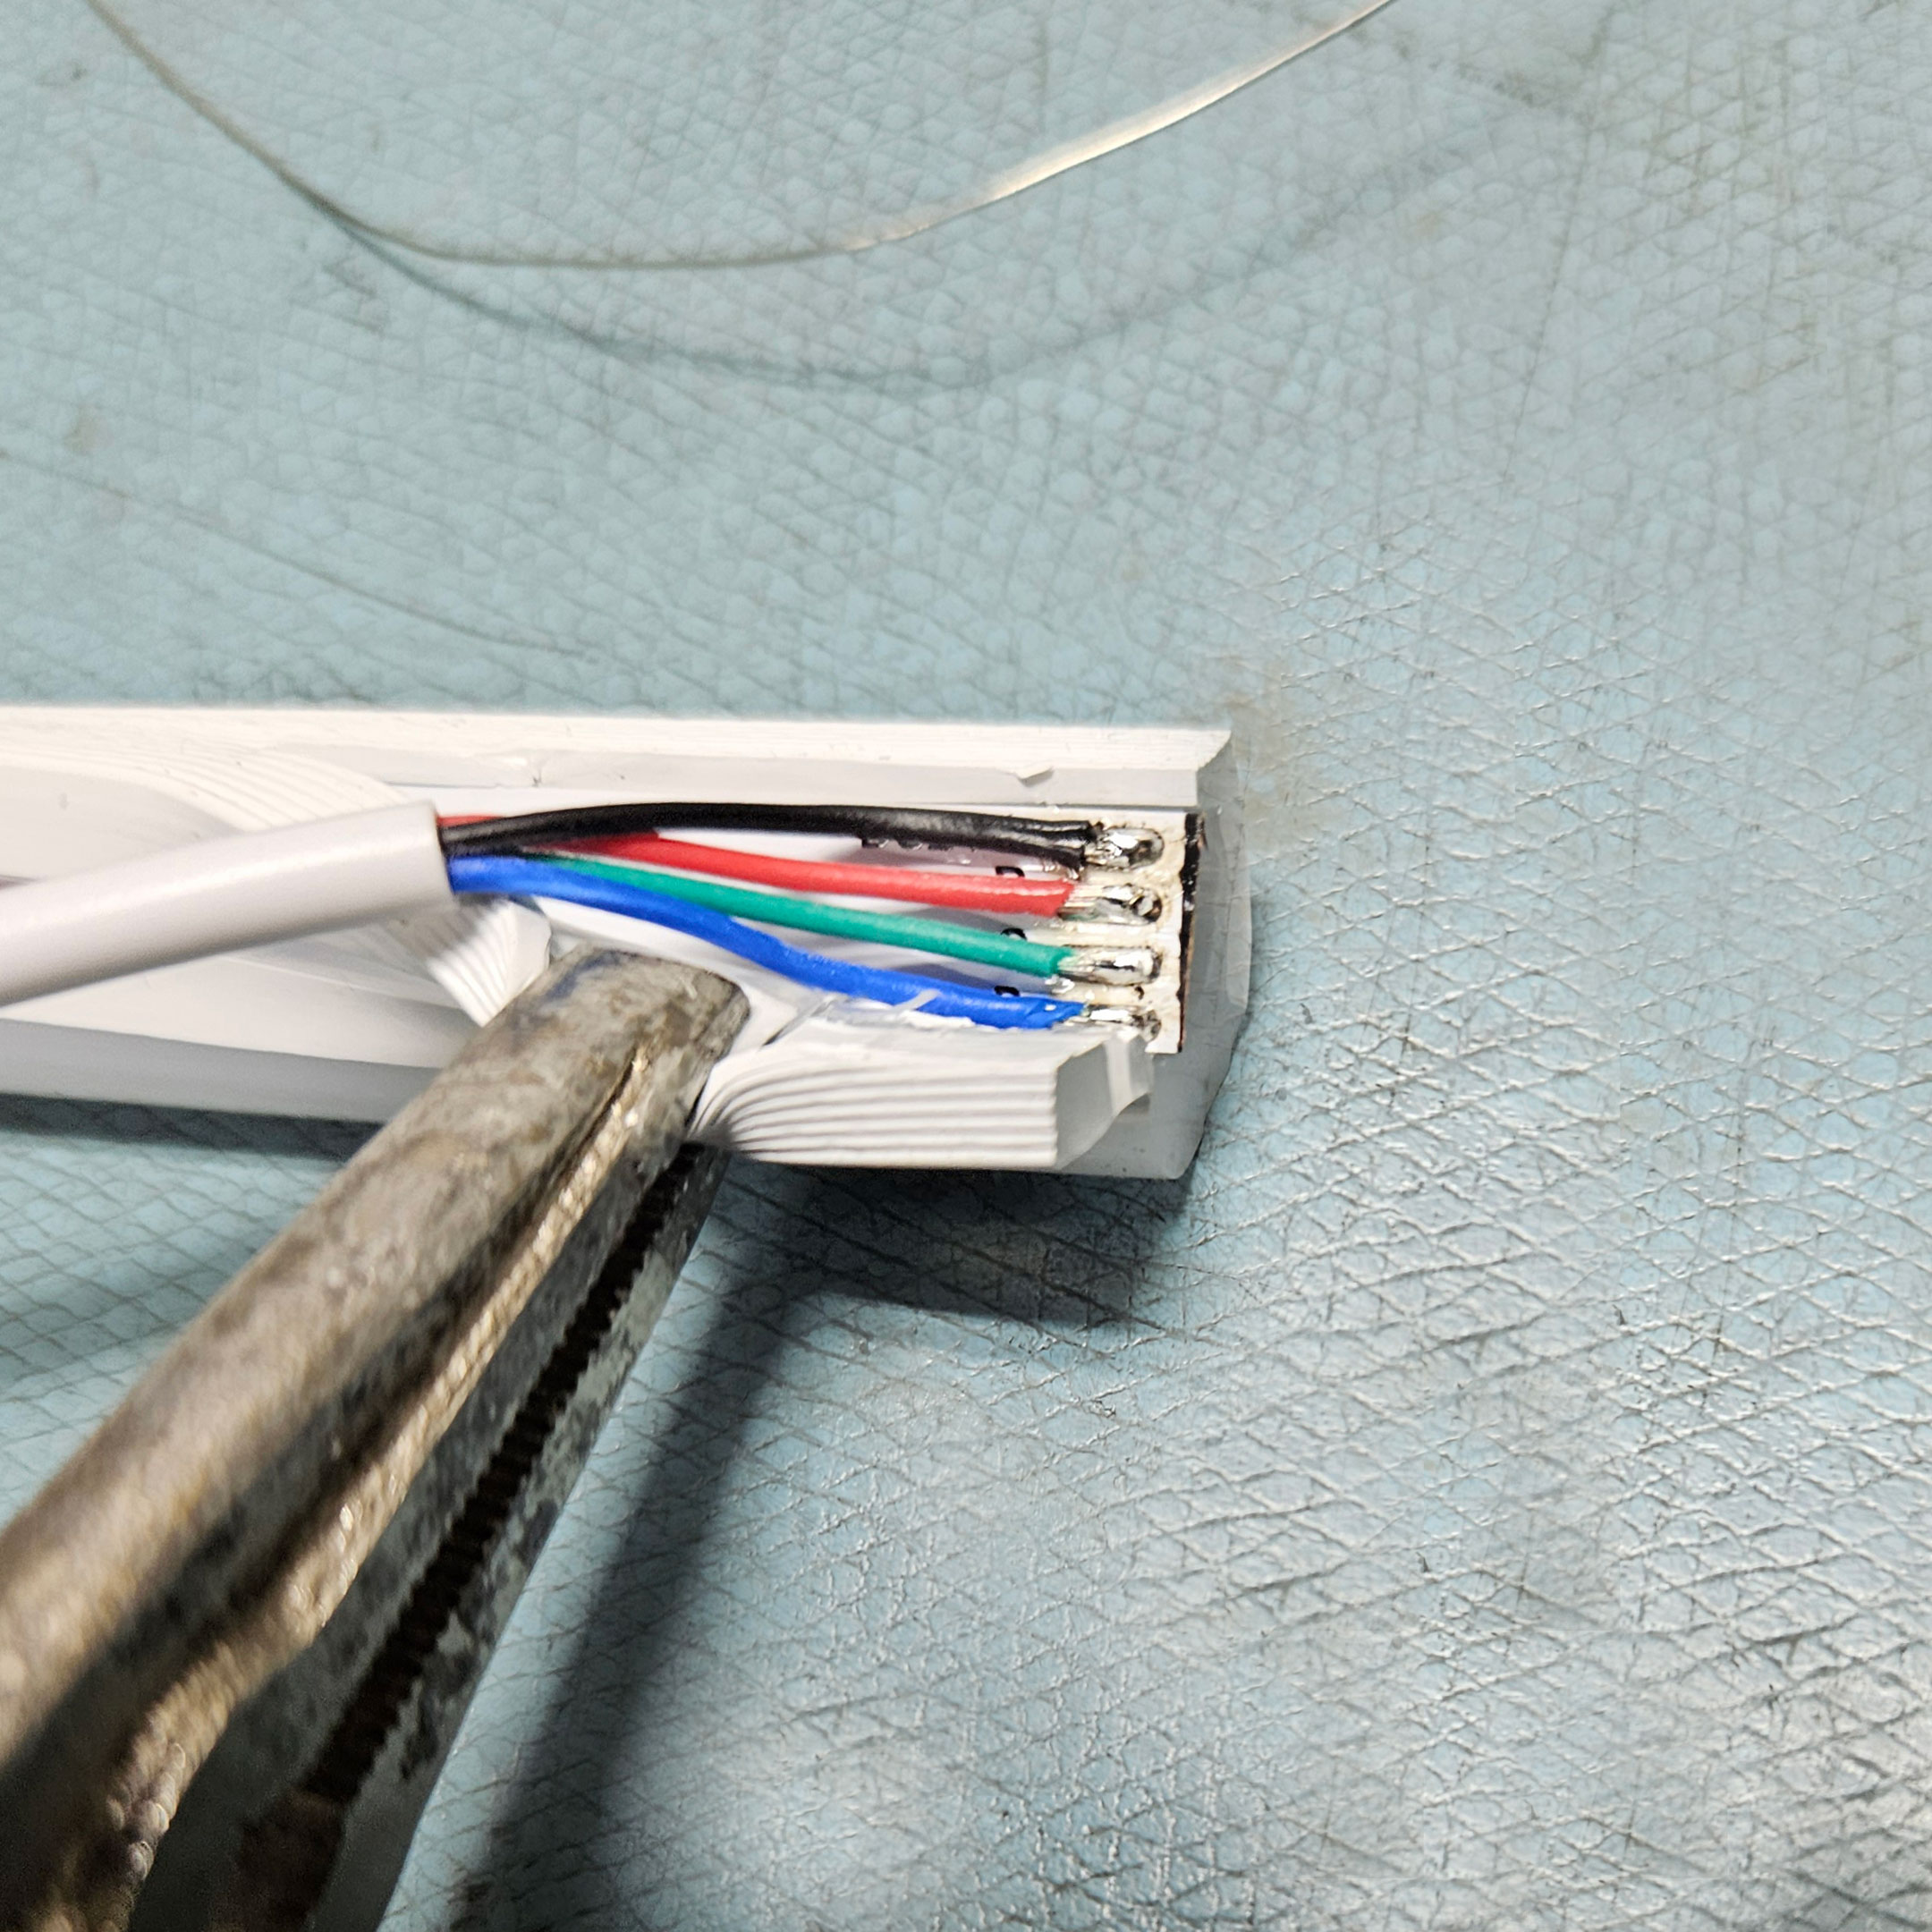
Figure 23: Hold the wire ends and solder in place so that they are not in contact with each other
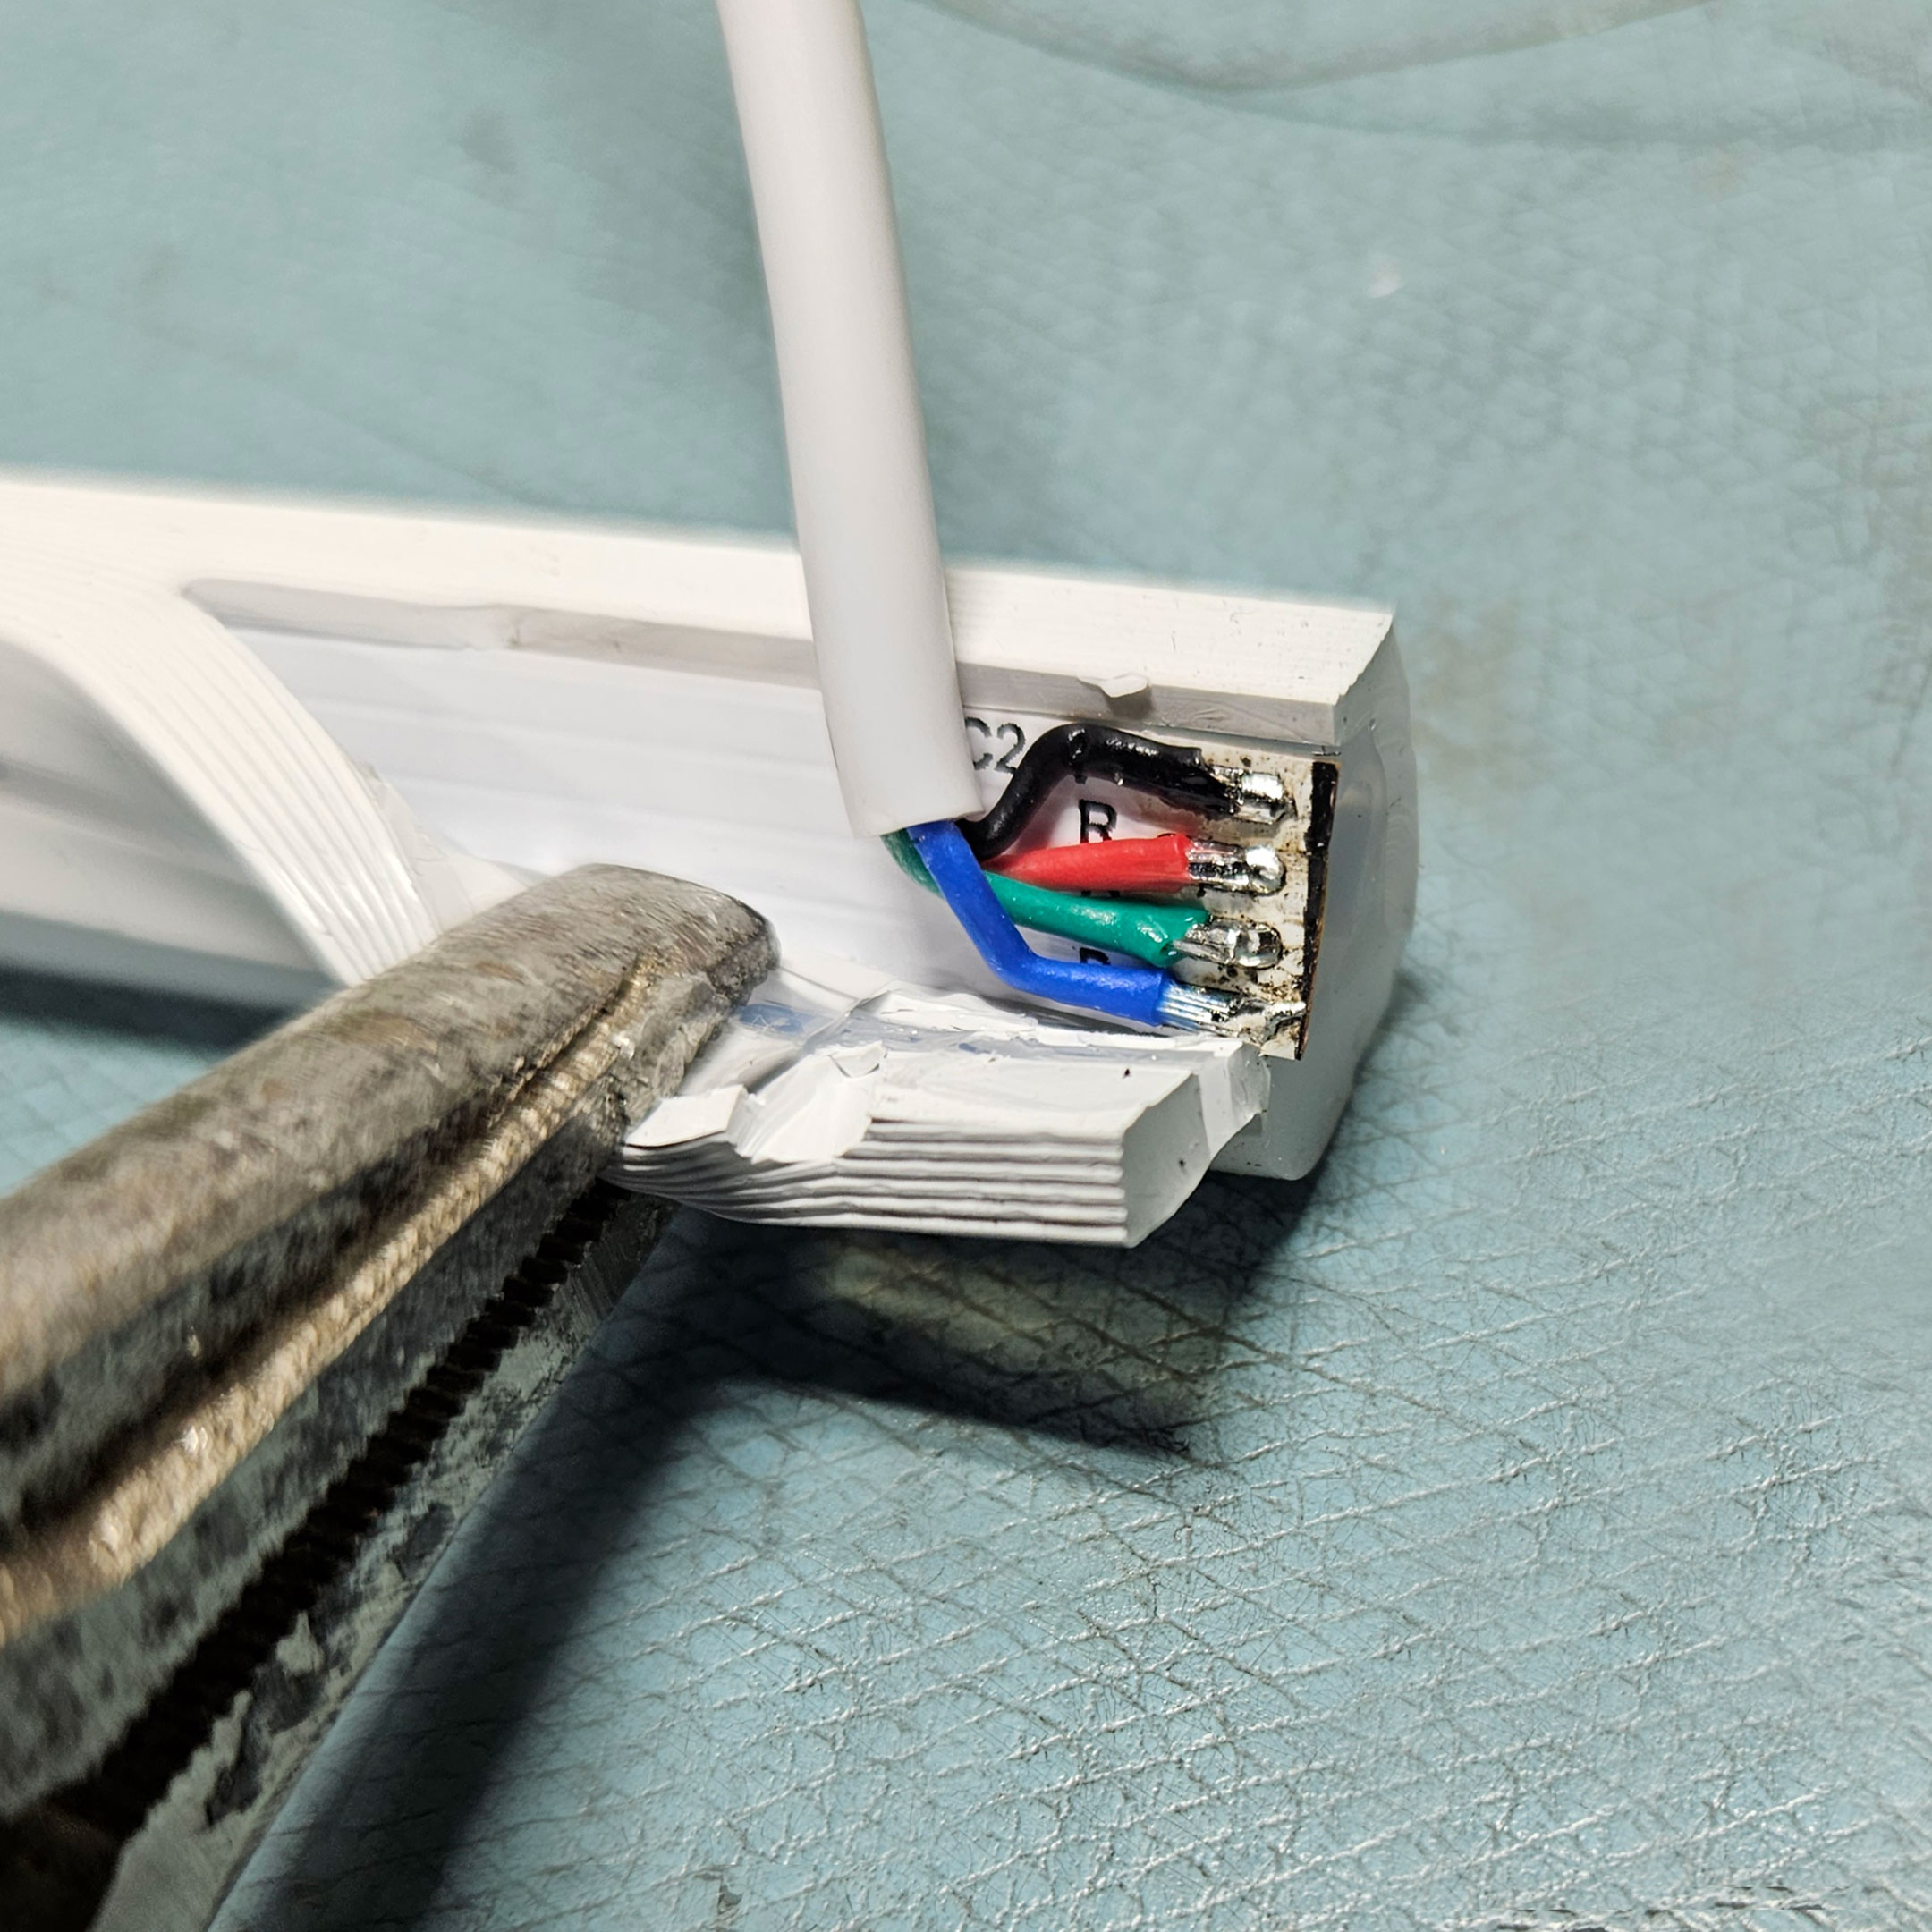
Figure 24: Carefully bend the main body of the wire to your desired angle
Once your leads are in place, carefully bend the main body of the wire to your desired angle, making sure not to pull or put too much pressure on the ends of the wires. Pads can separate from the tape, and are very hard to fix if they do.
For a visually clean finished product, a small amount of the white insulation on City Theatrical wires should fall inside the white silicone tube of the QolorFLEX NuNeon, approximately ⅛” to ¼”.
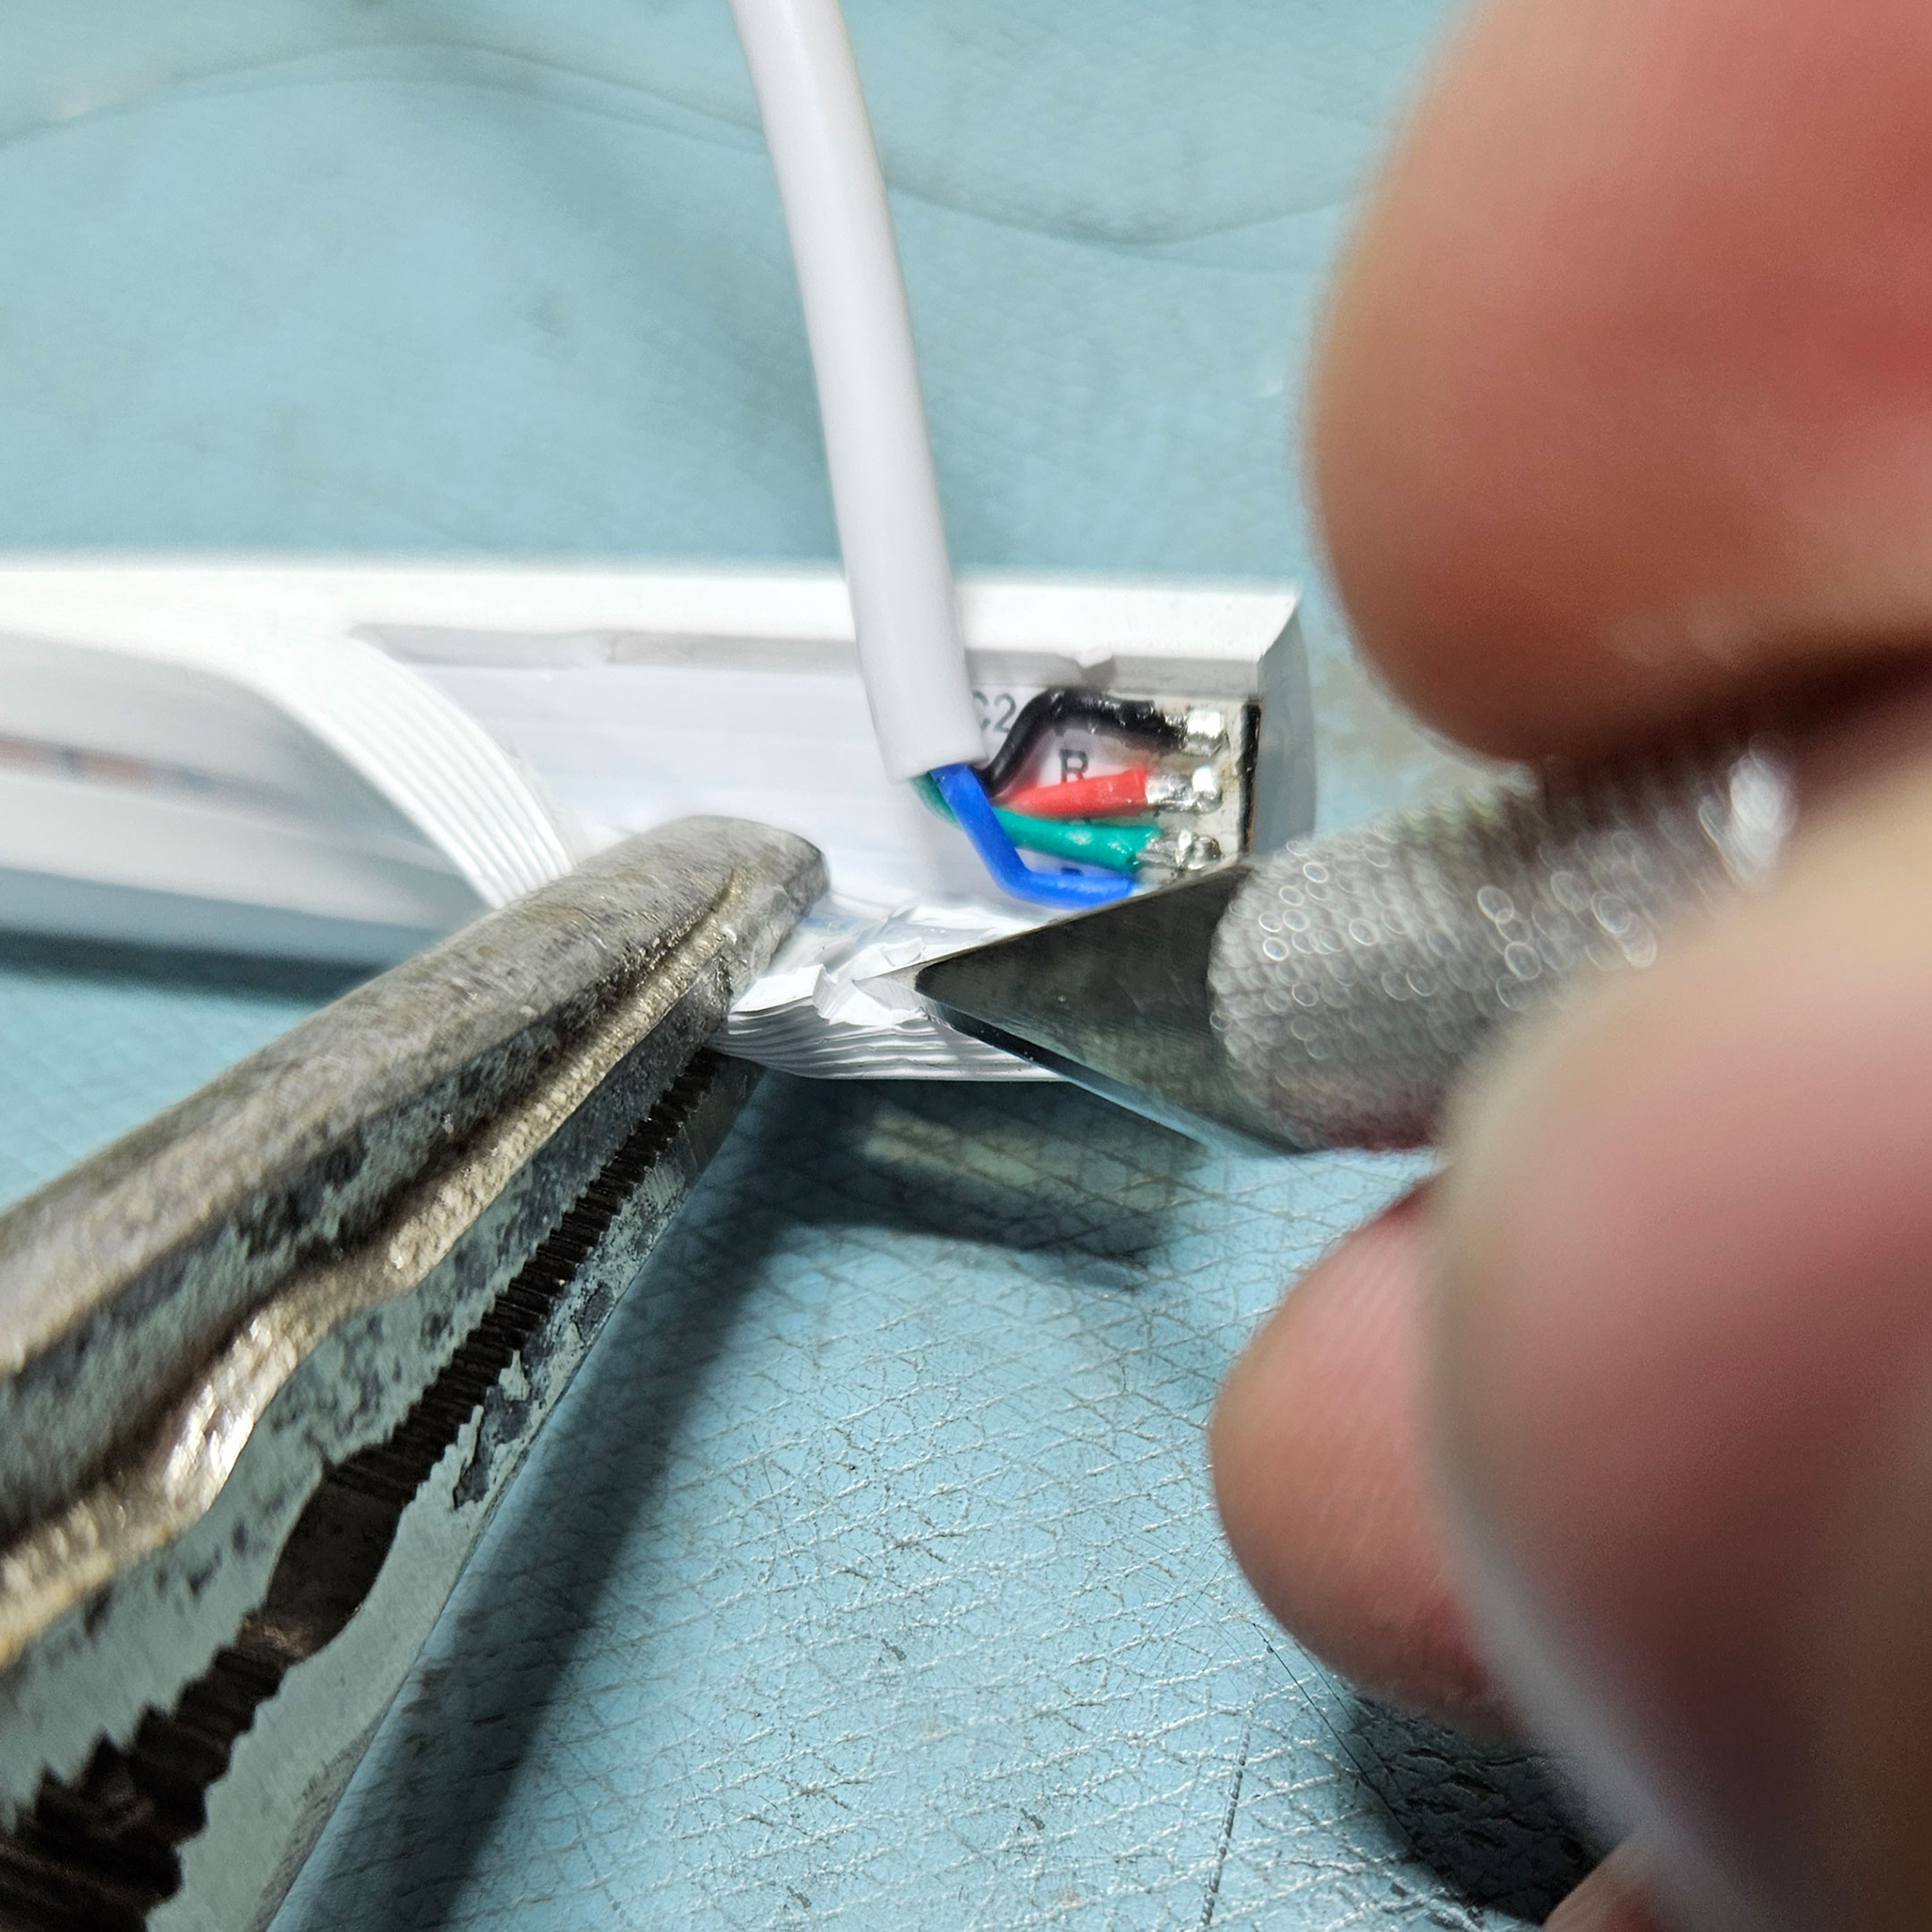
Figure 25: Carefully cut a small, half circle notch into each side of the white silicone (first notch)
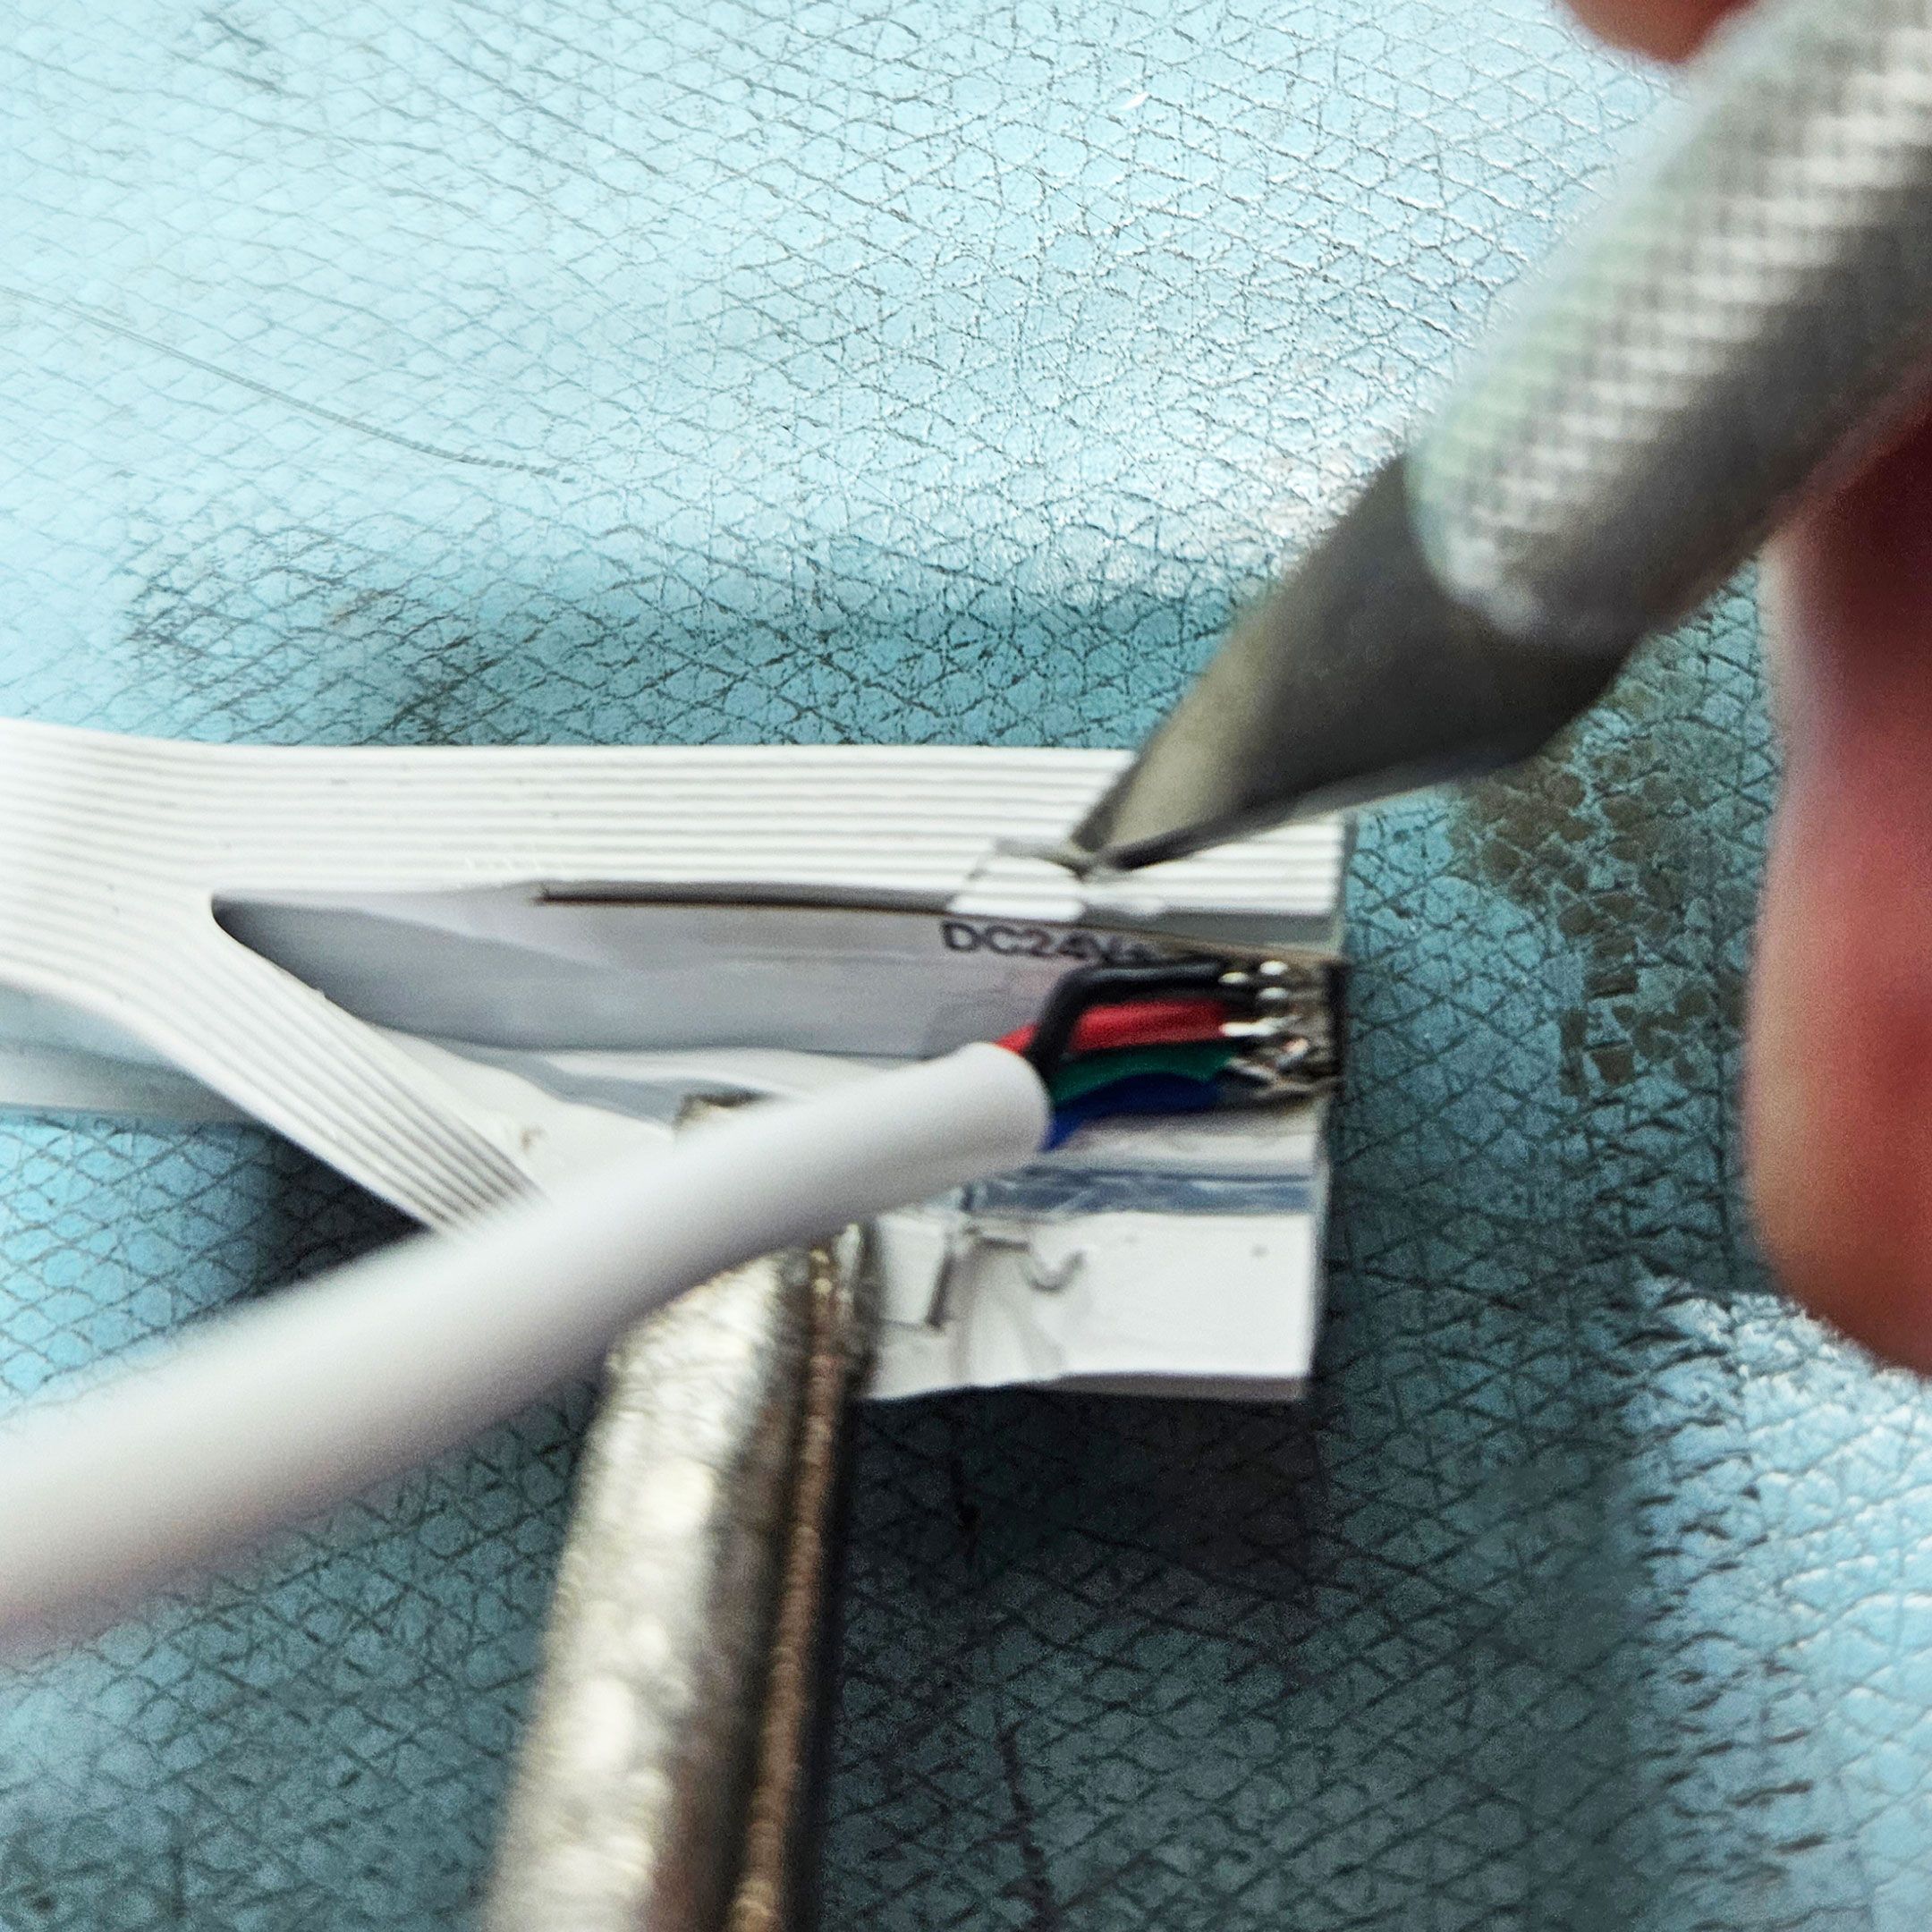
Figure 26: Carefully cut a small, half circle notch into each side of the white silicone (second notch)
Figure 27: Use silicone to fill in the cut as well as possible
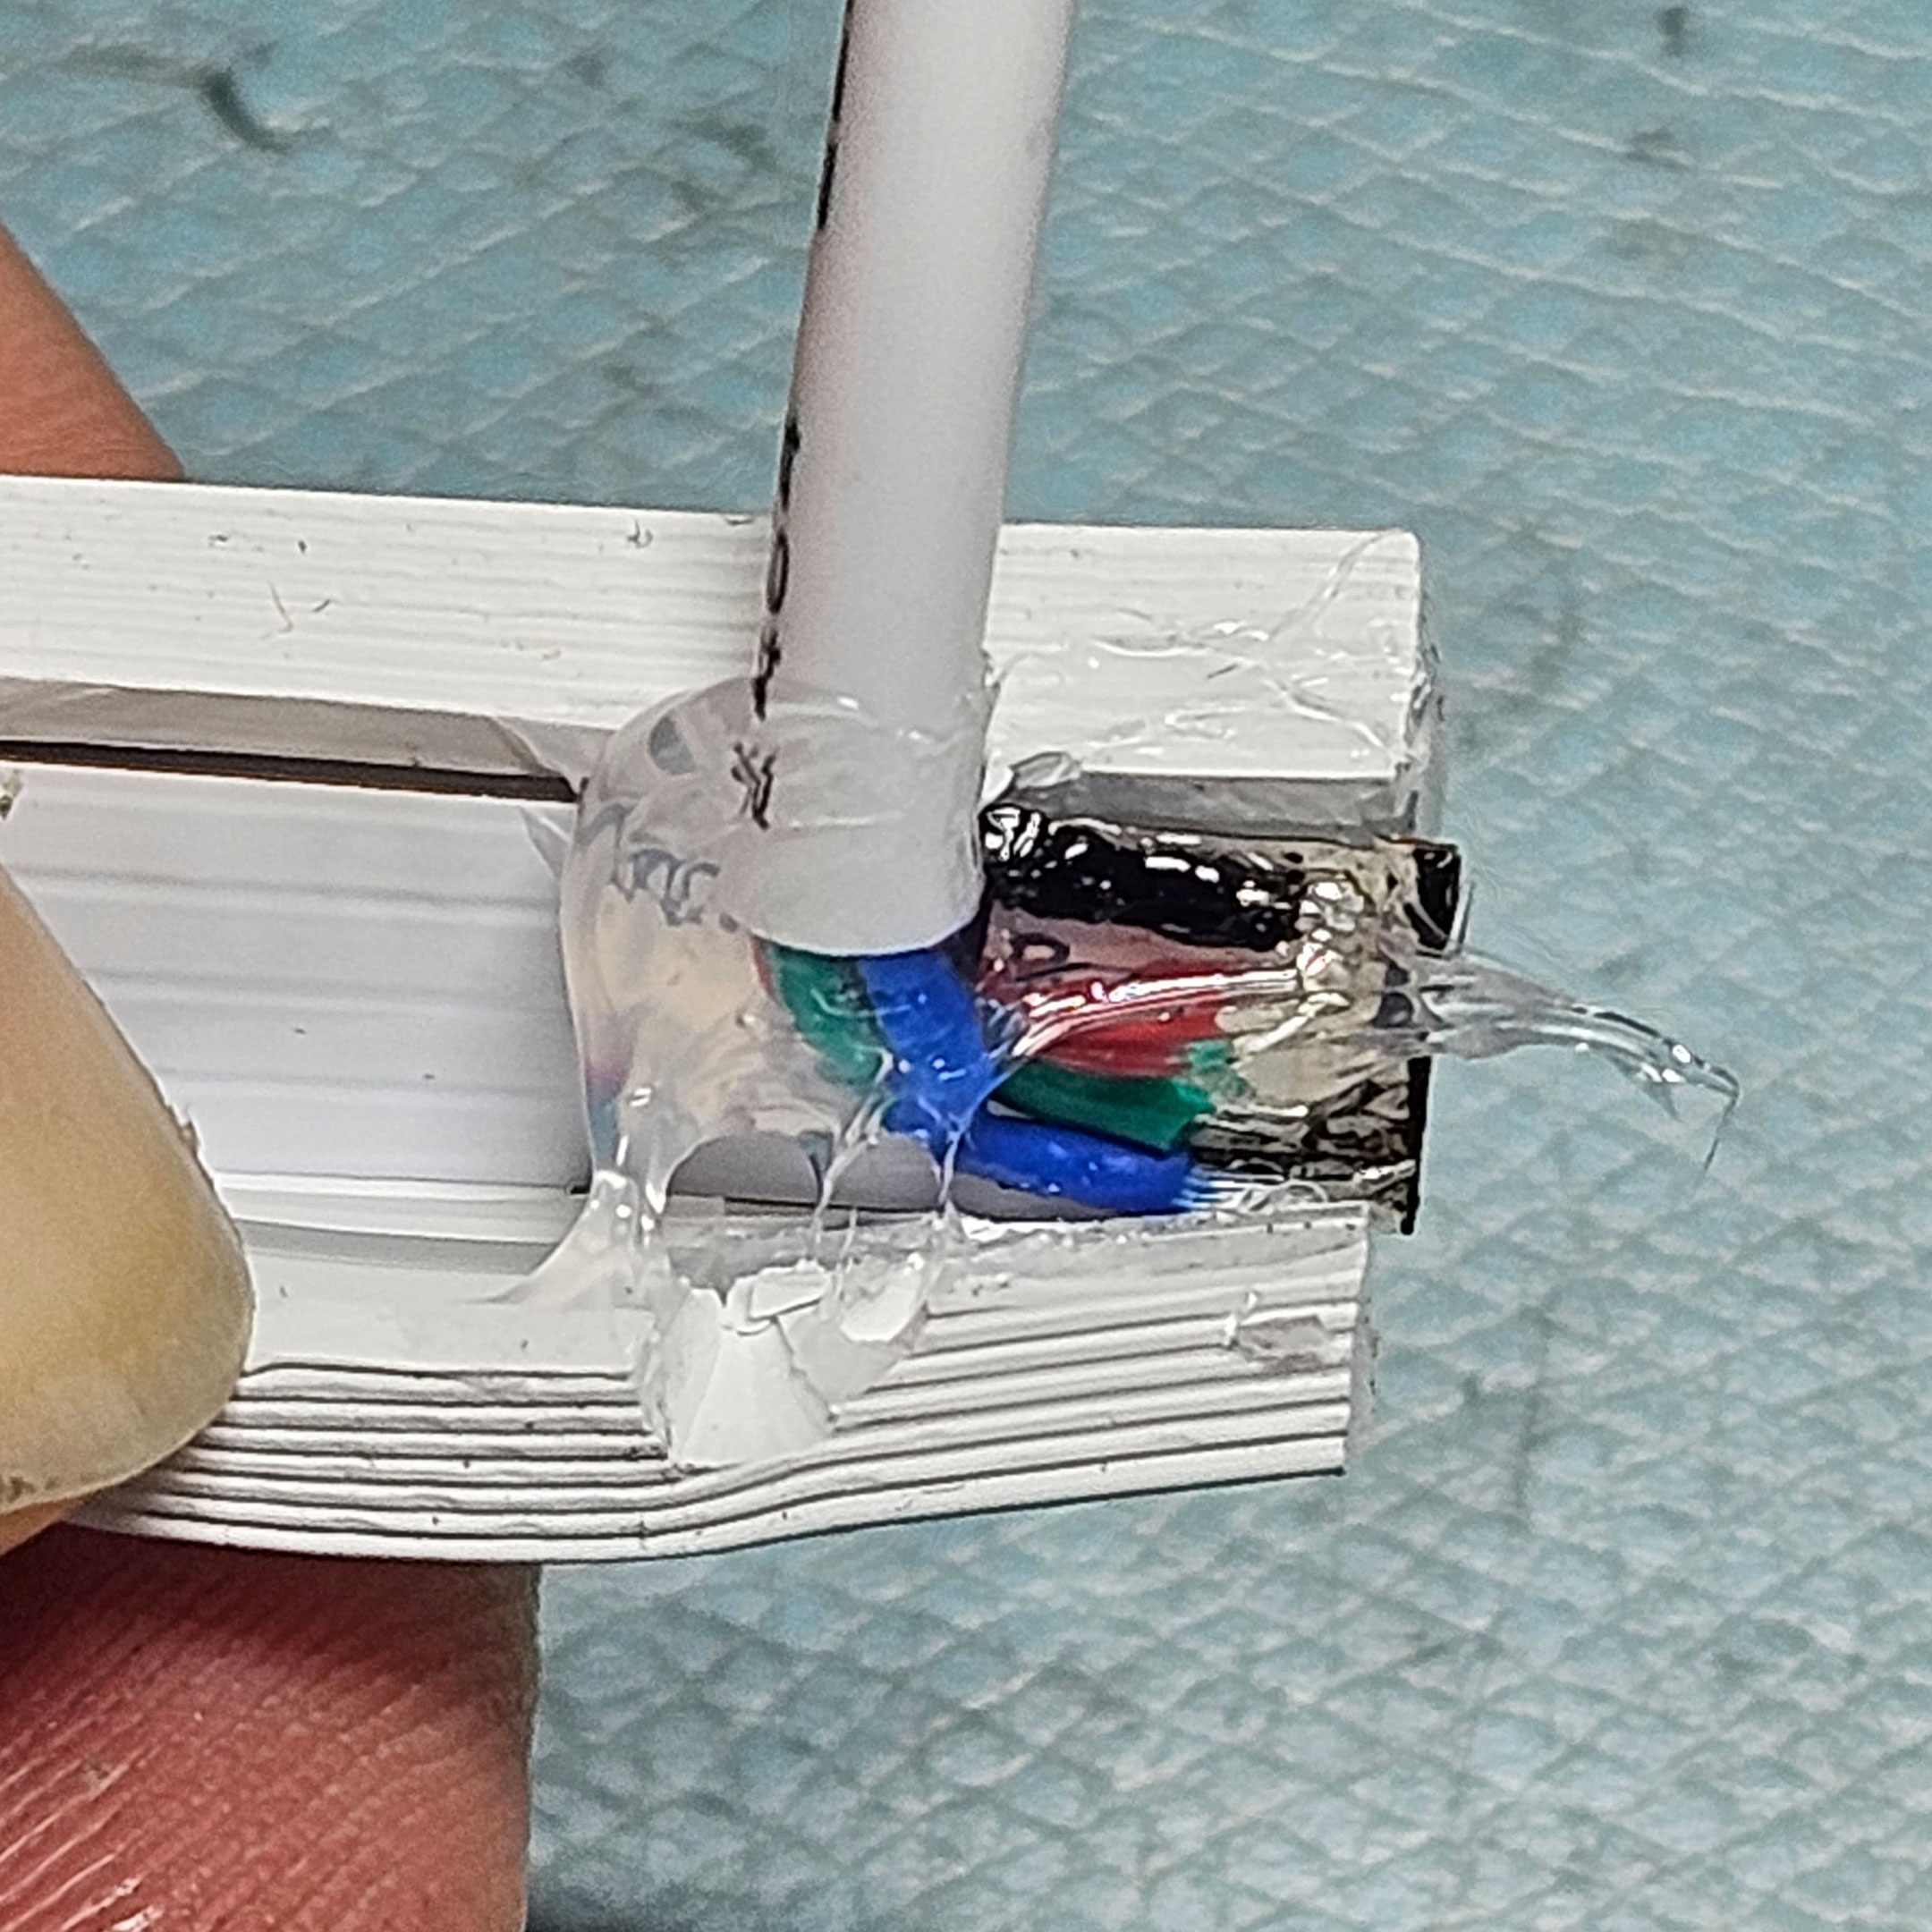
Figure 28: Spread a small amount of silicone down the length of the cut
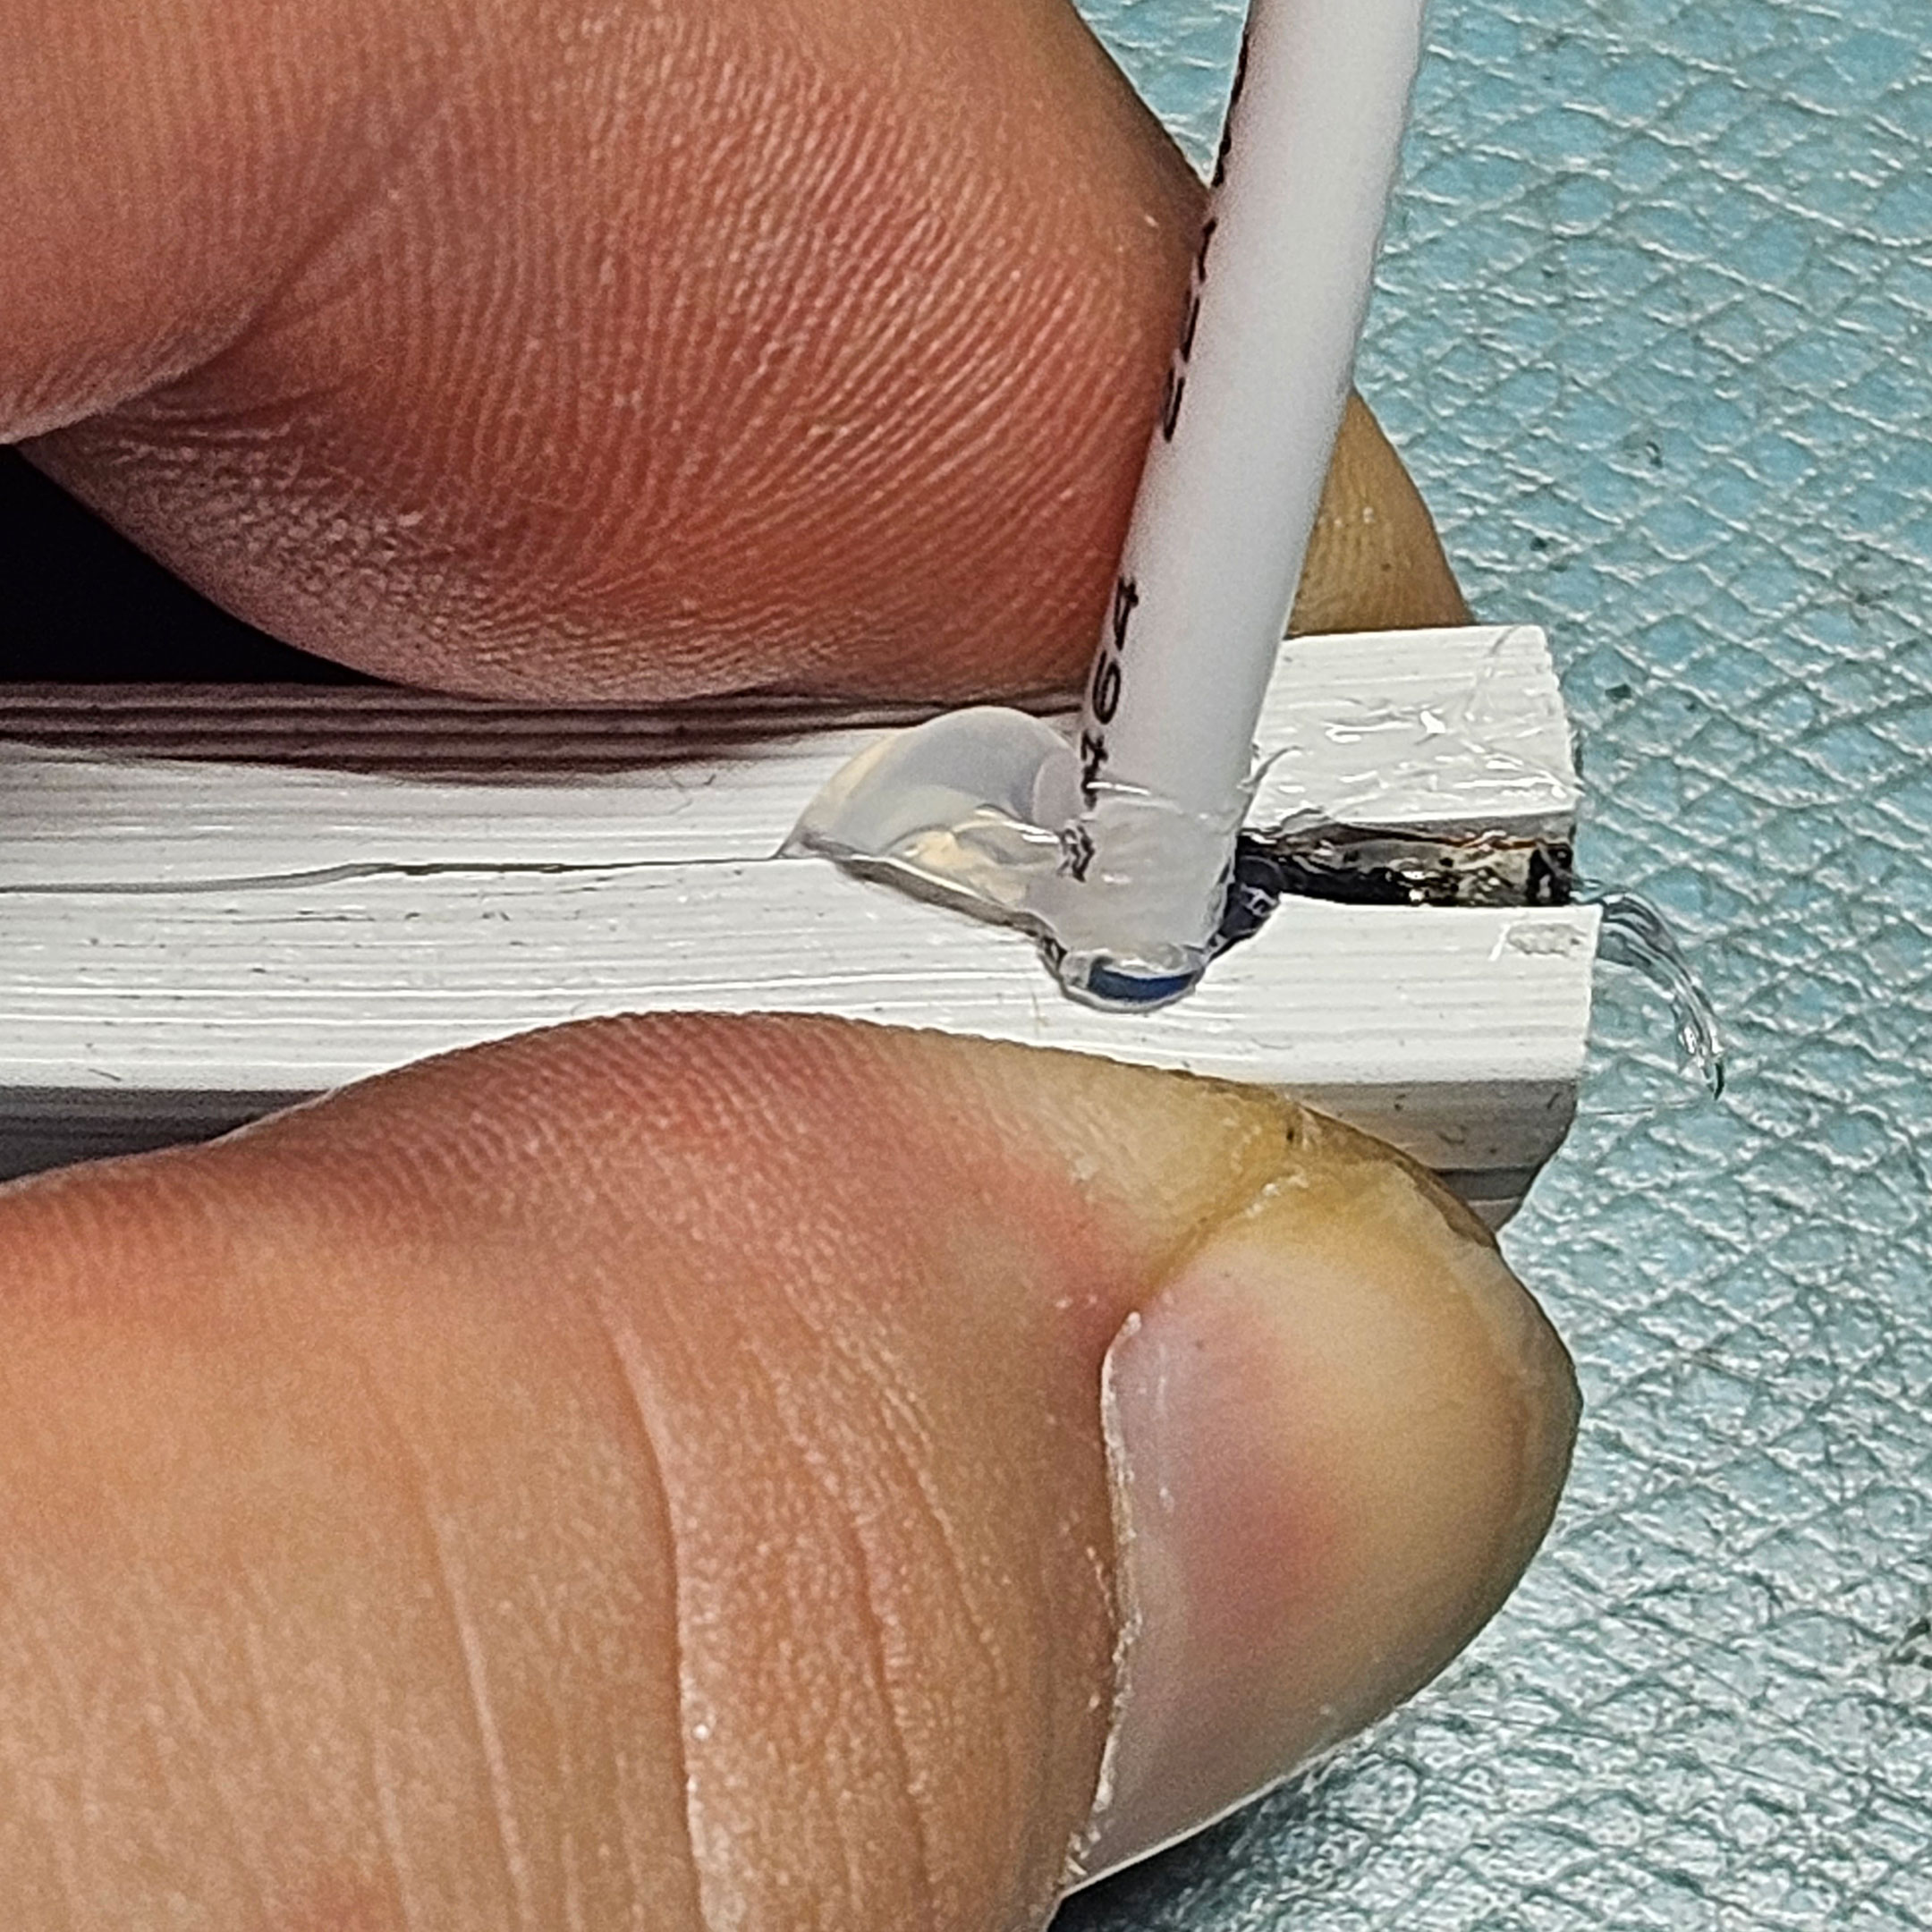
Figure 29: Close the opening with the silicone on the back side of the LED tape inside
Fill one QolorFLEX NuNeon End Cap (P/N N914-02) with silicone, spreading it around the inside of the cap to ensure full coverage and good seal.
Figure 30: Fill one QolorFLEX NuNeon End Cap with silicone
Figure 31: Squeeze the end cap to coat both sides
Figure 32: Silicone completely covers the inside of the end cap
Stretch the cap over the end of the QolorFLEX NuNeon, wiping away any silicone that runs out the edge.
For a tight, clean seal, use a clamp or vise to close the end of the QolorFLEX NuNeon, applying pressure to the cut along its length, and allowing the silicone sealant to dry.
Leave the clamp in place, overnight or for as long as the silicone needs to dry completely.
Wipe away any silicone that has managed to squeeze out of the joint, cap, and cut.
Use a finger or your tool of choice to smooth the silicone over the gap and cut, and around the wire.

Figure 33: Stretch the cap over the end of the QolorFLEX NuNeon
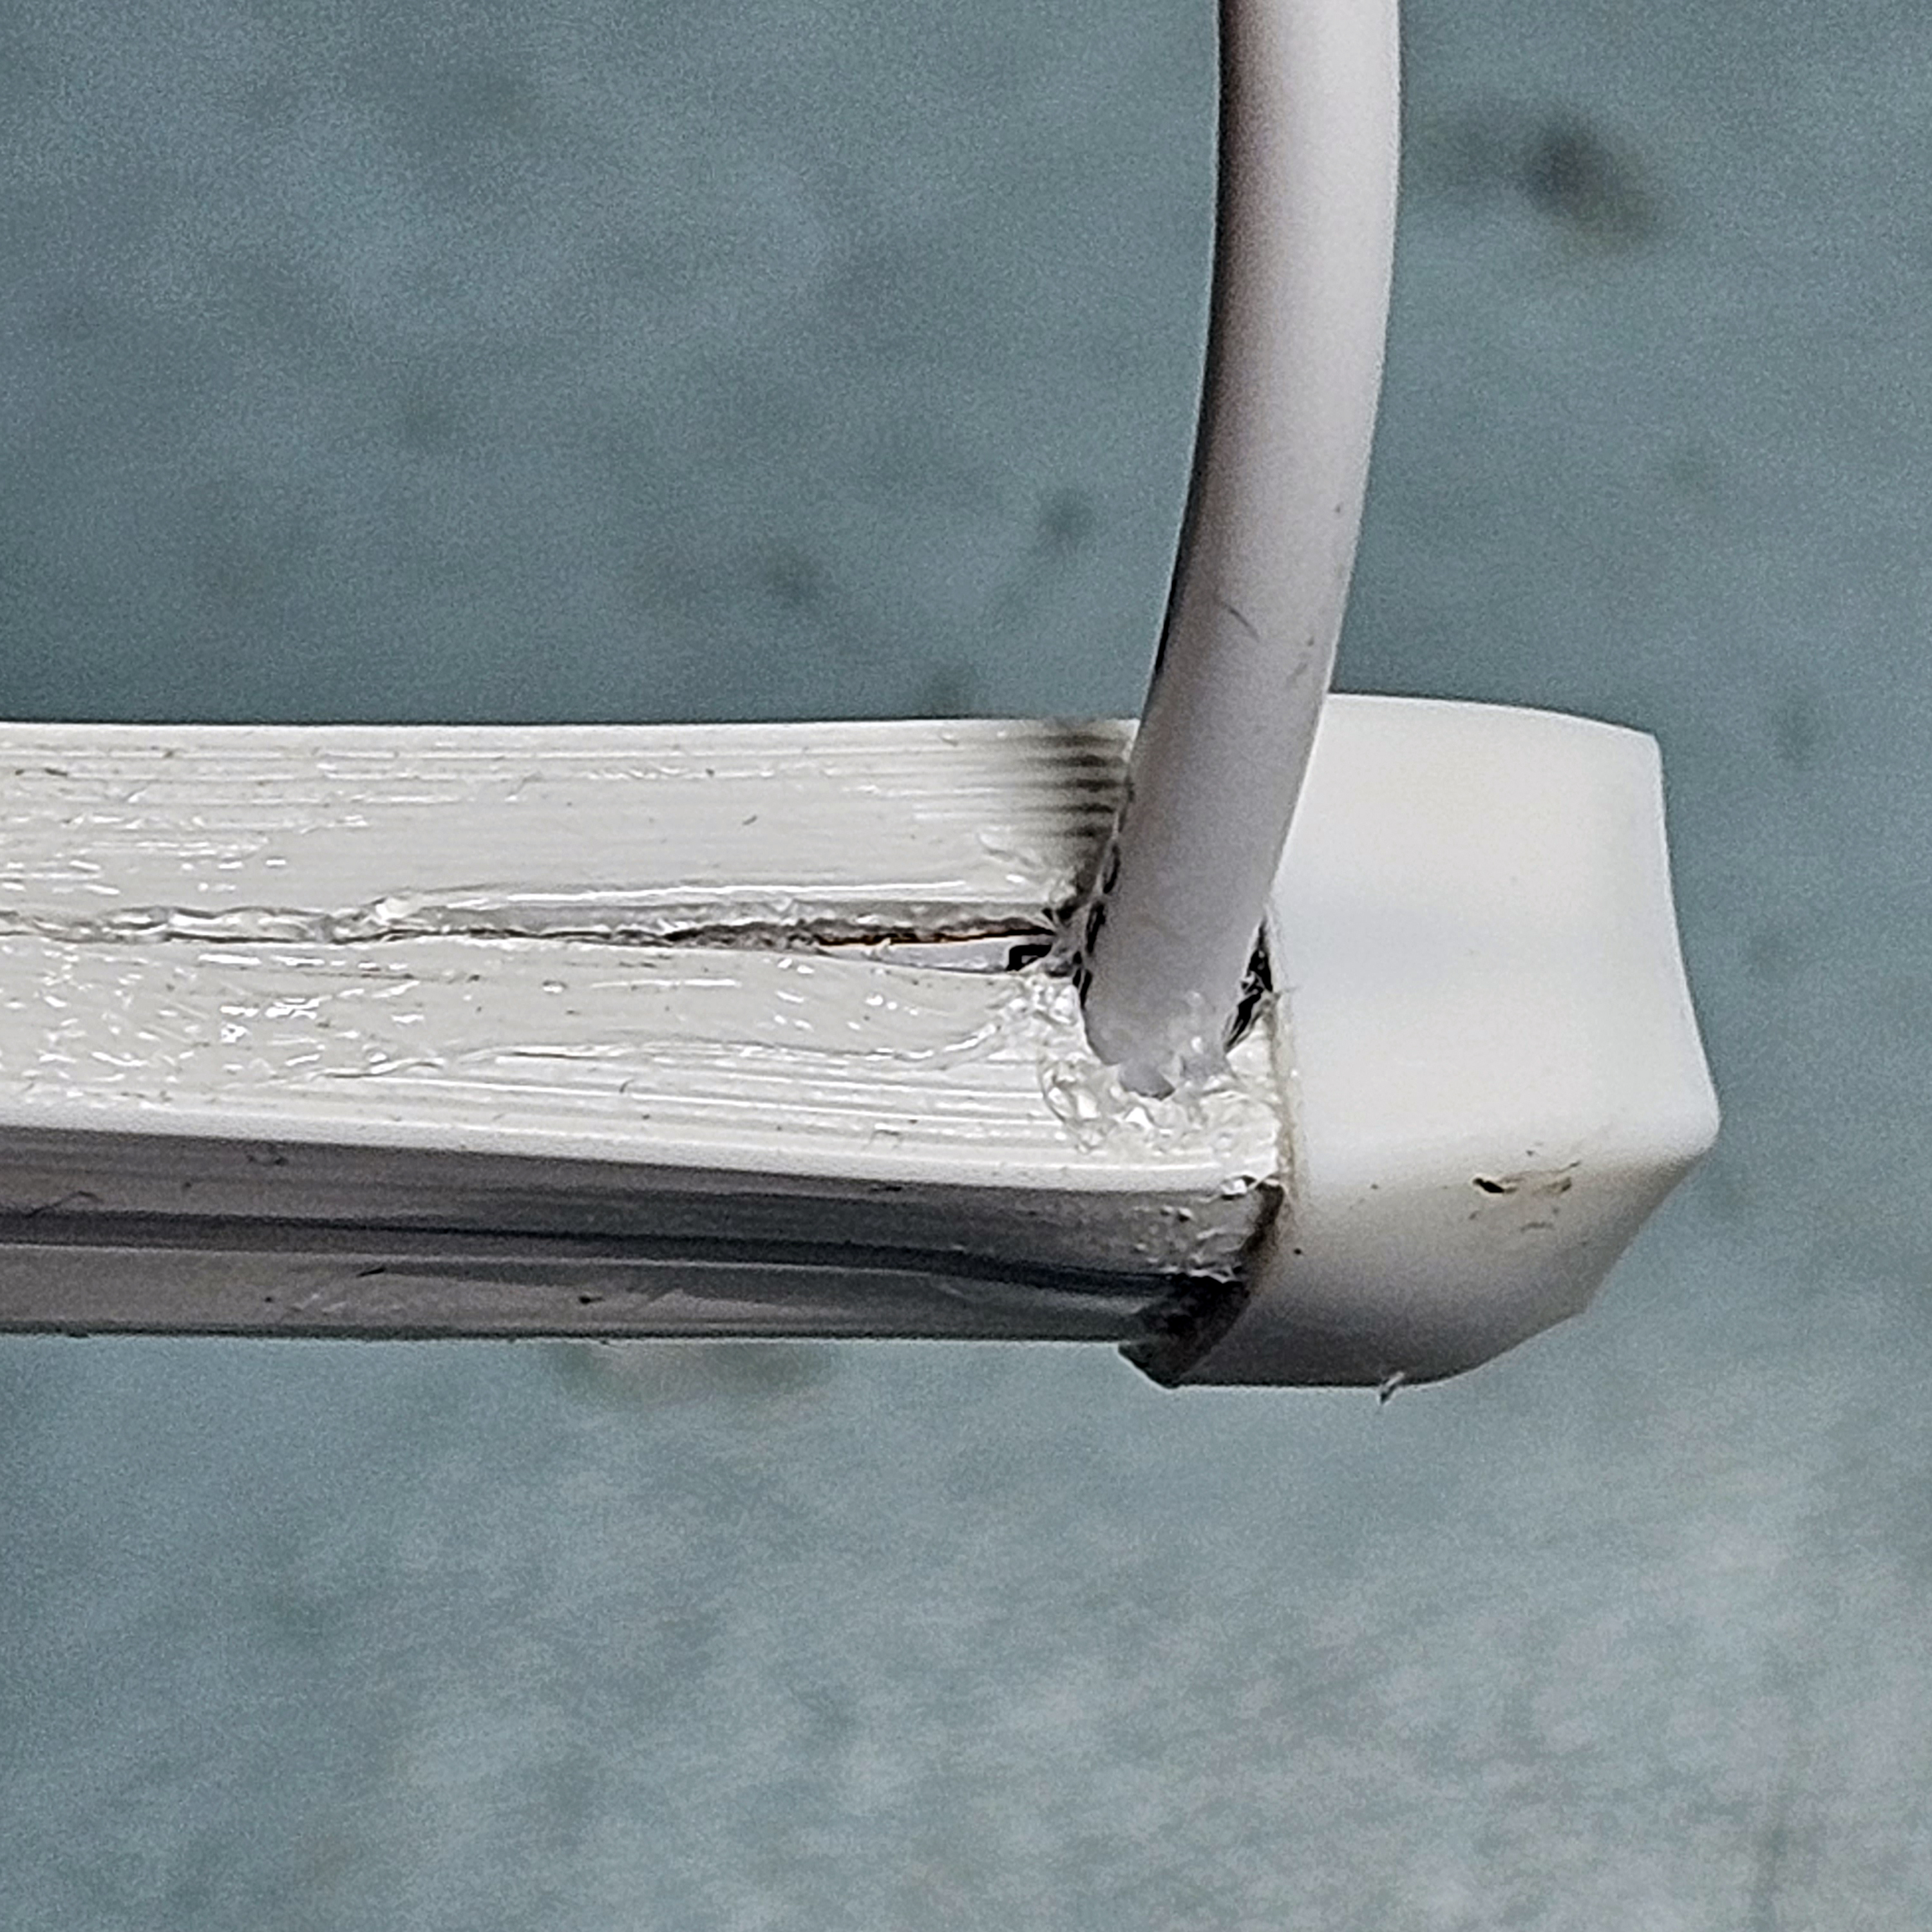
Figure 34: Wipe away any excess silicone
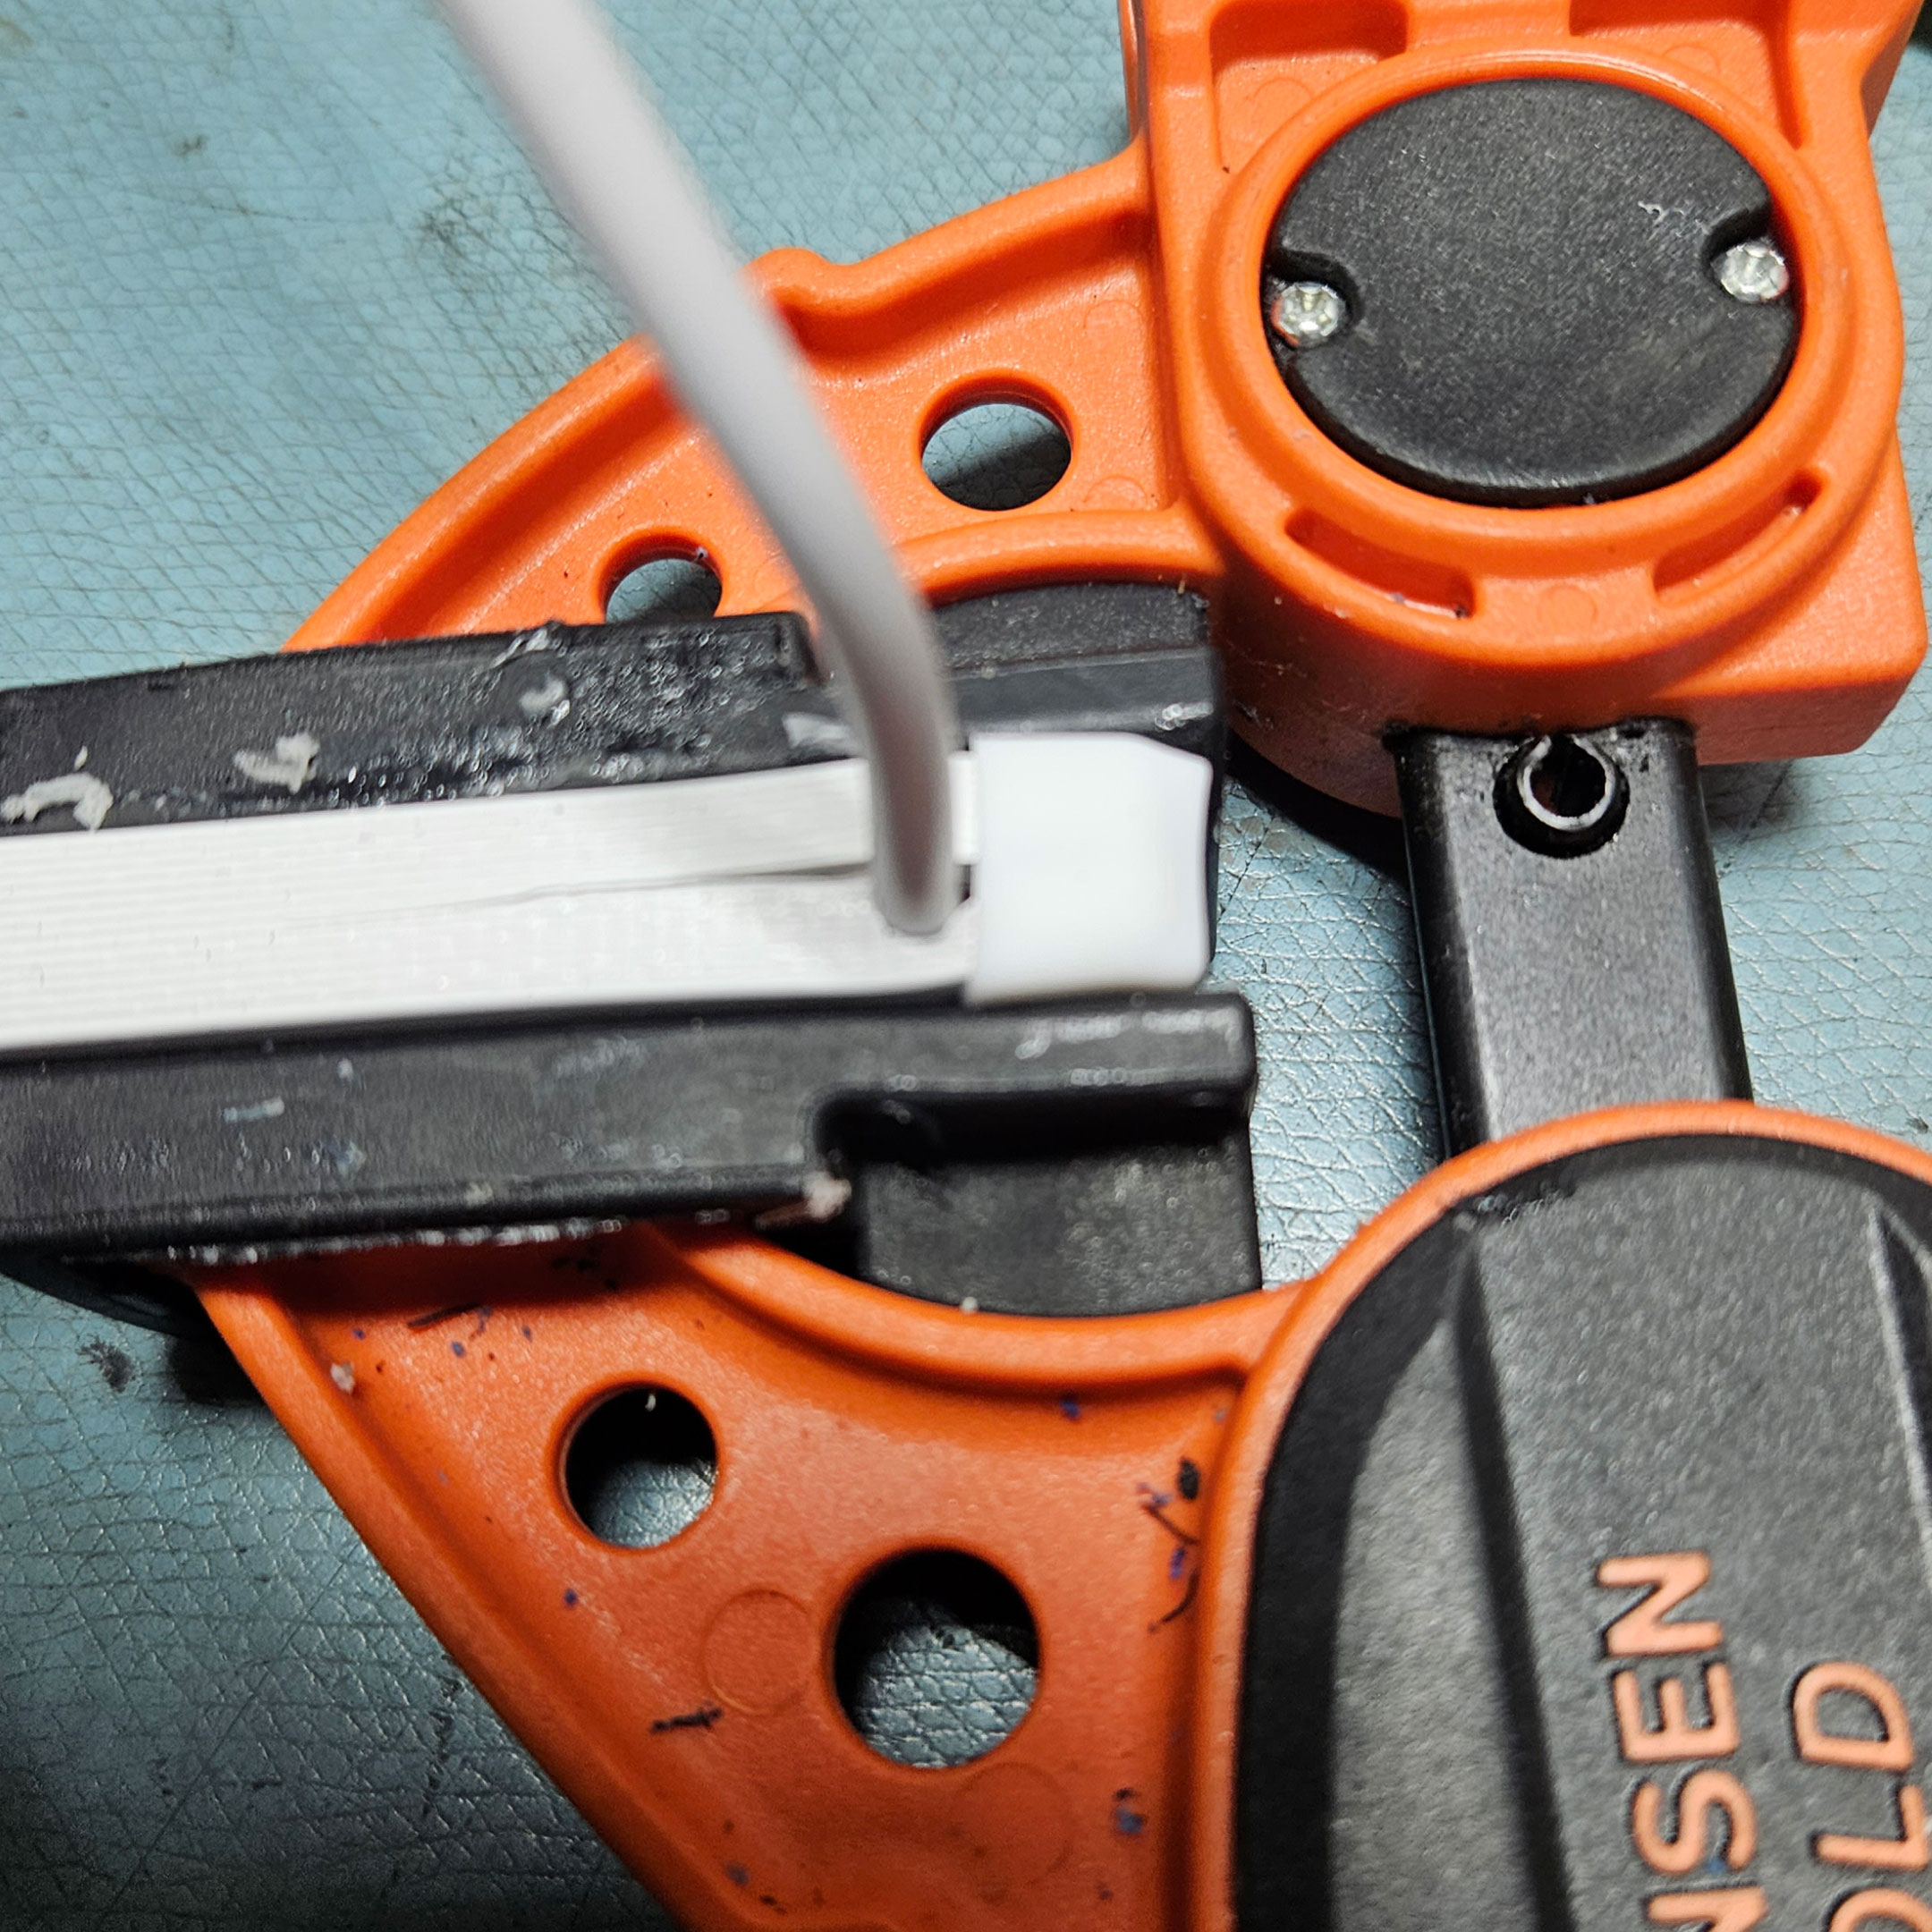
Figure 35: Leave the clamp in place overnight for the silicone to dry
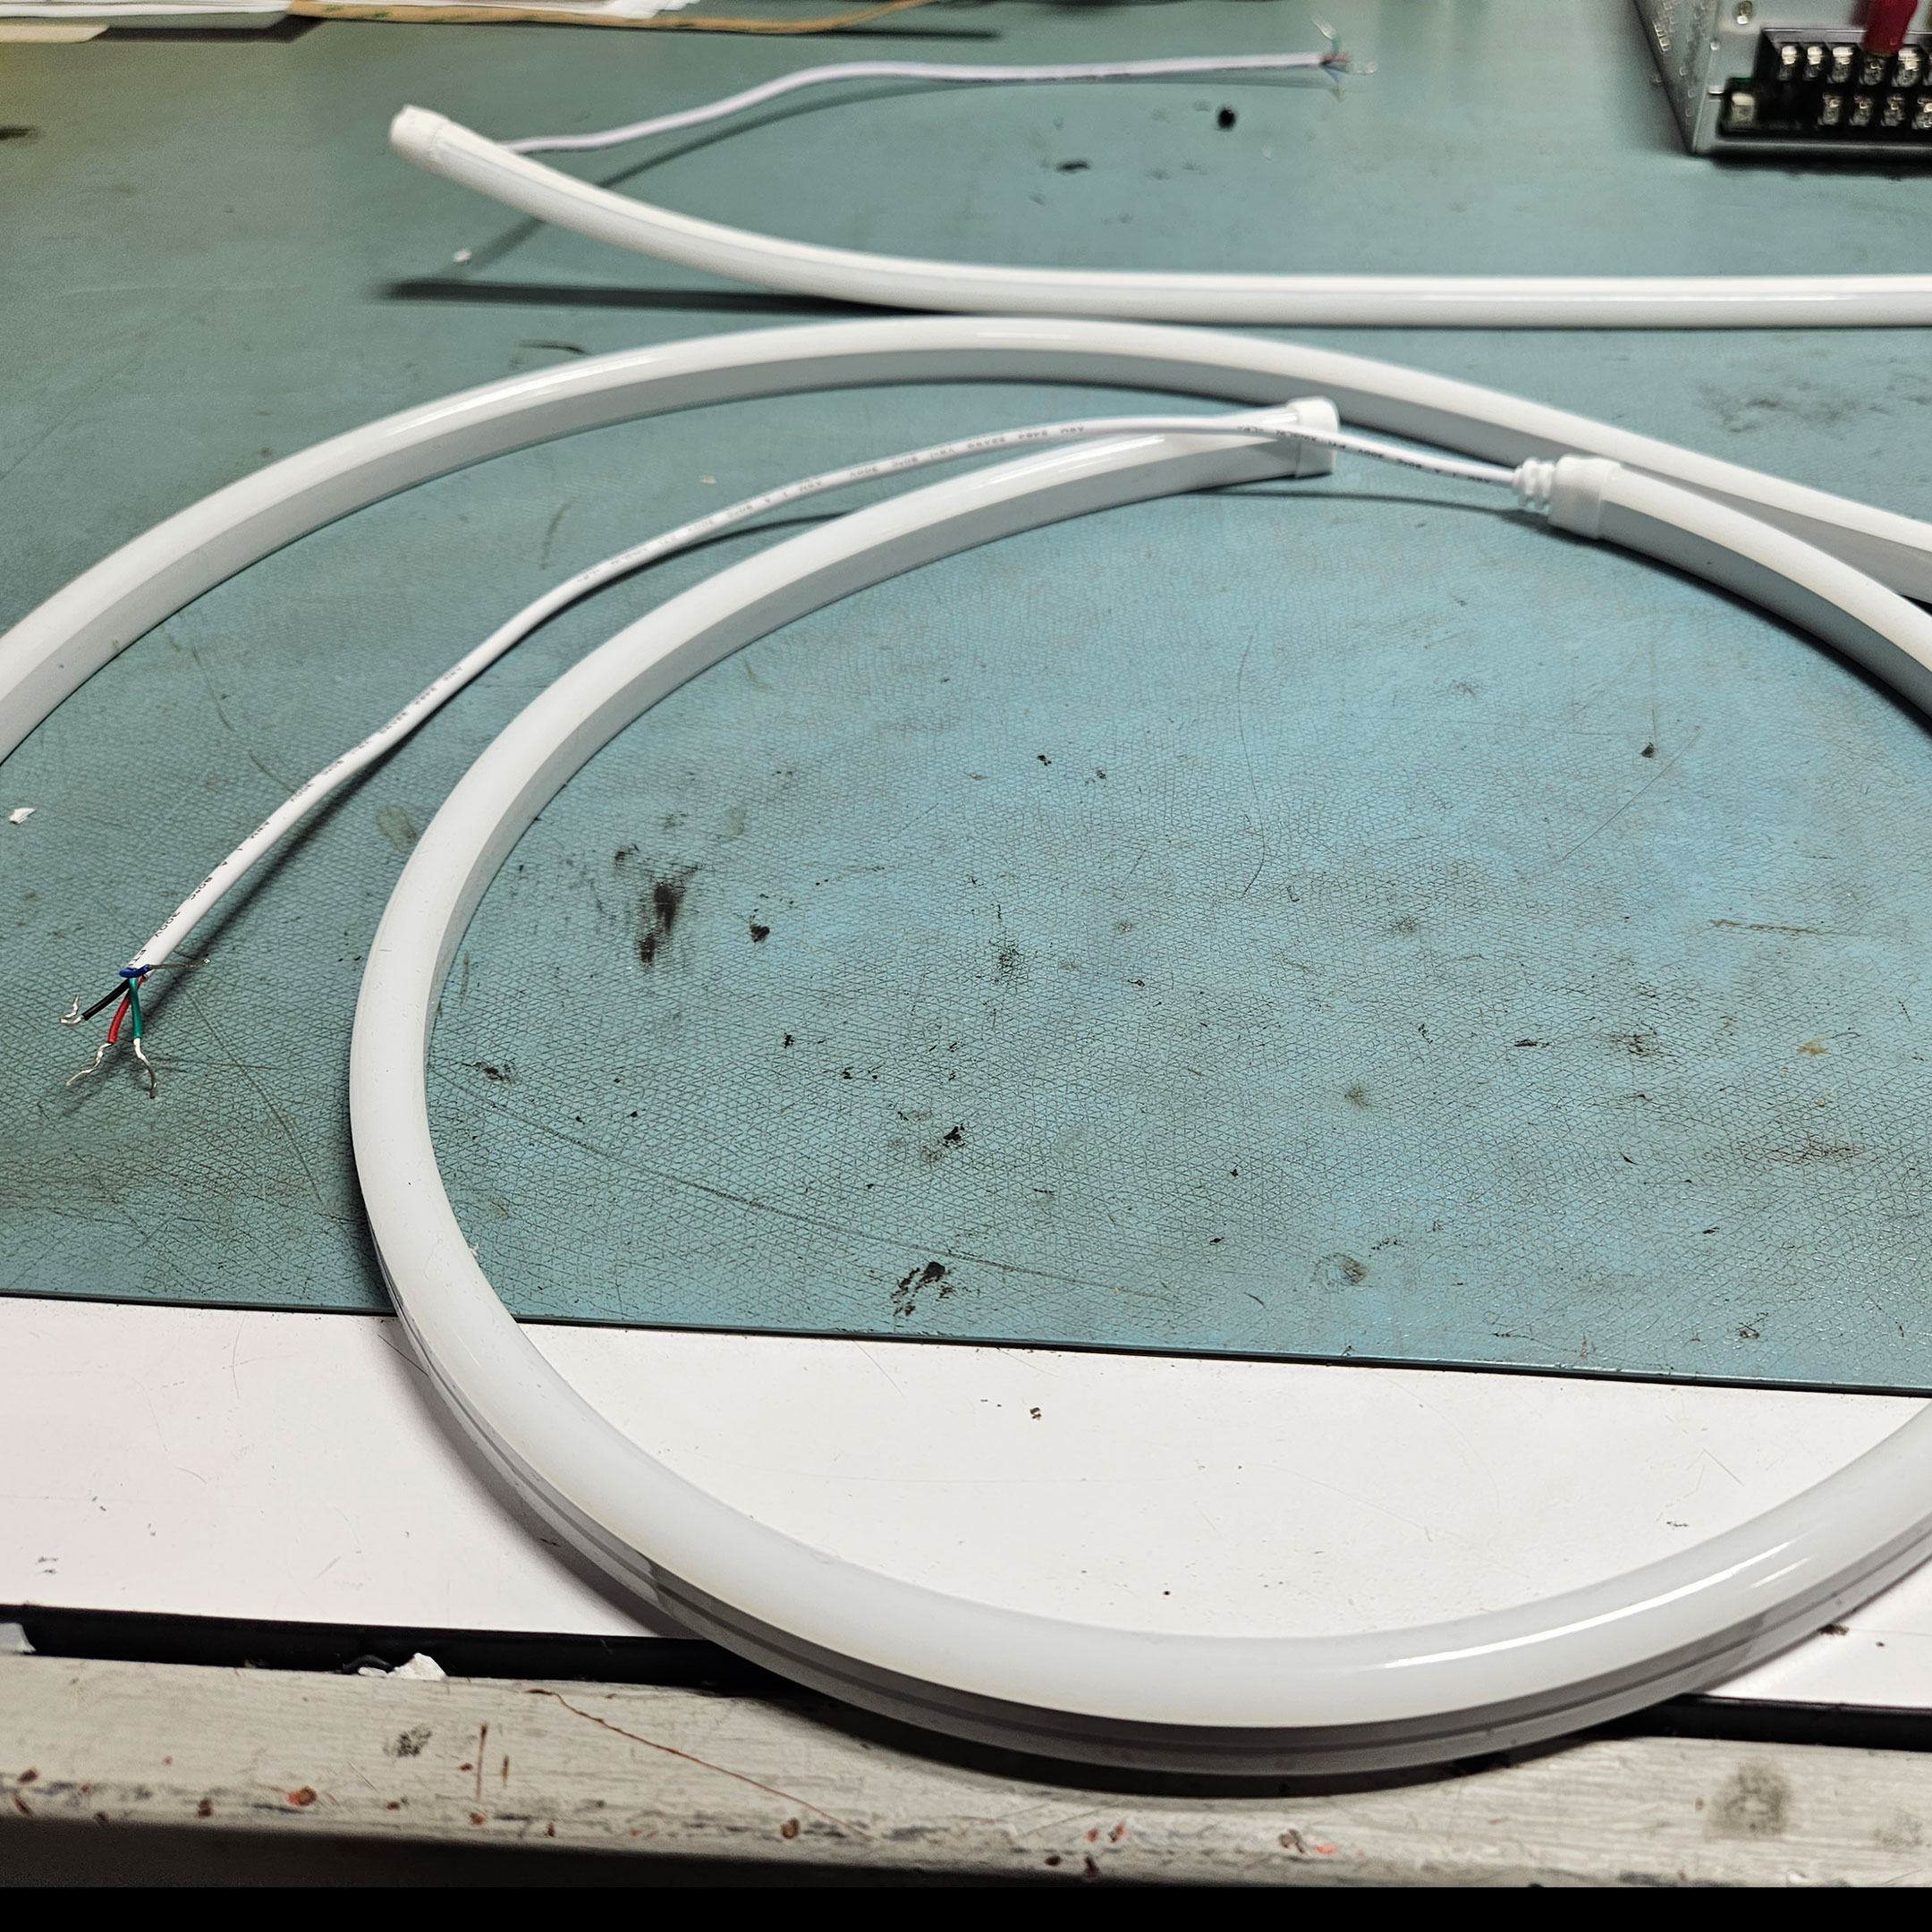
Figure 36: Soldered QolorFLEX NuNeon, unlit
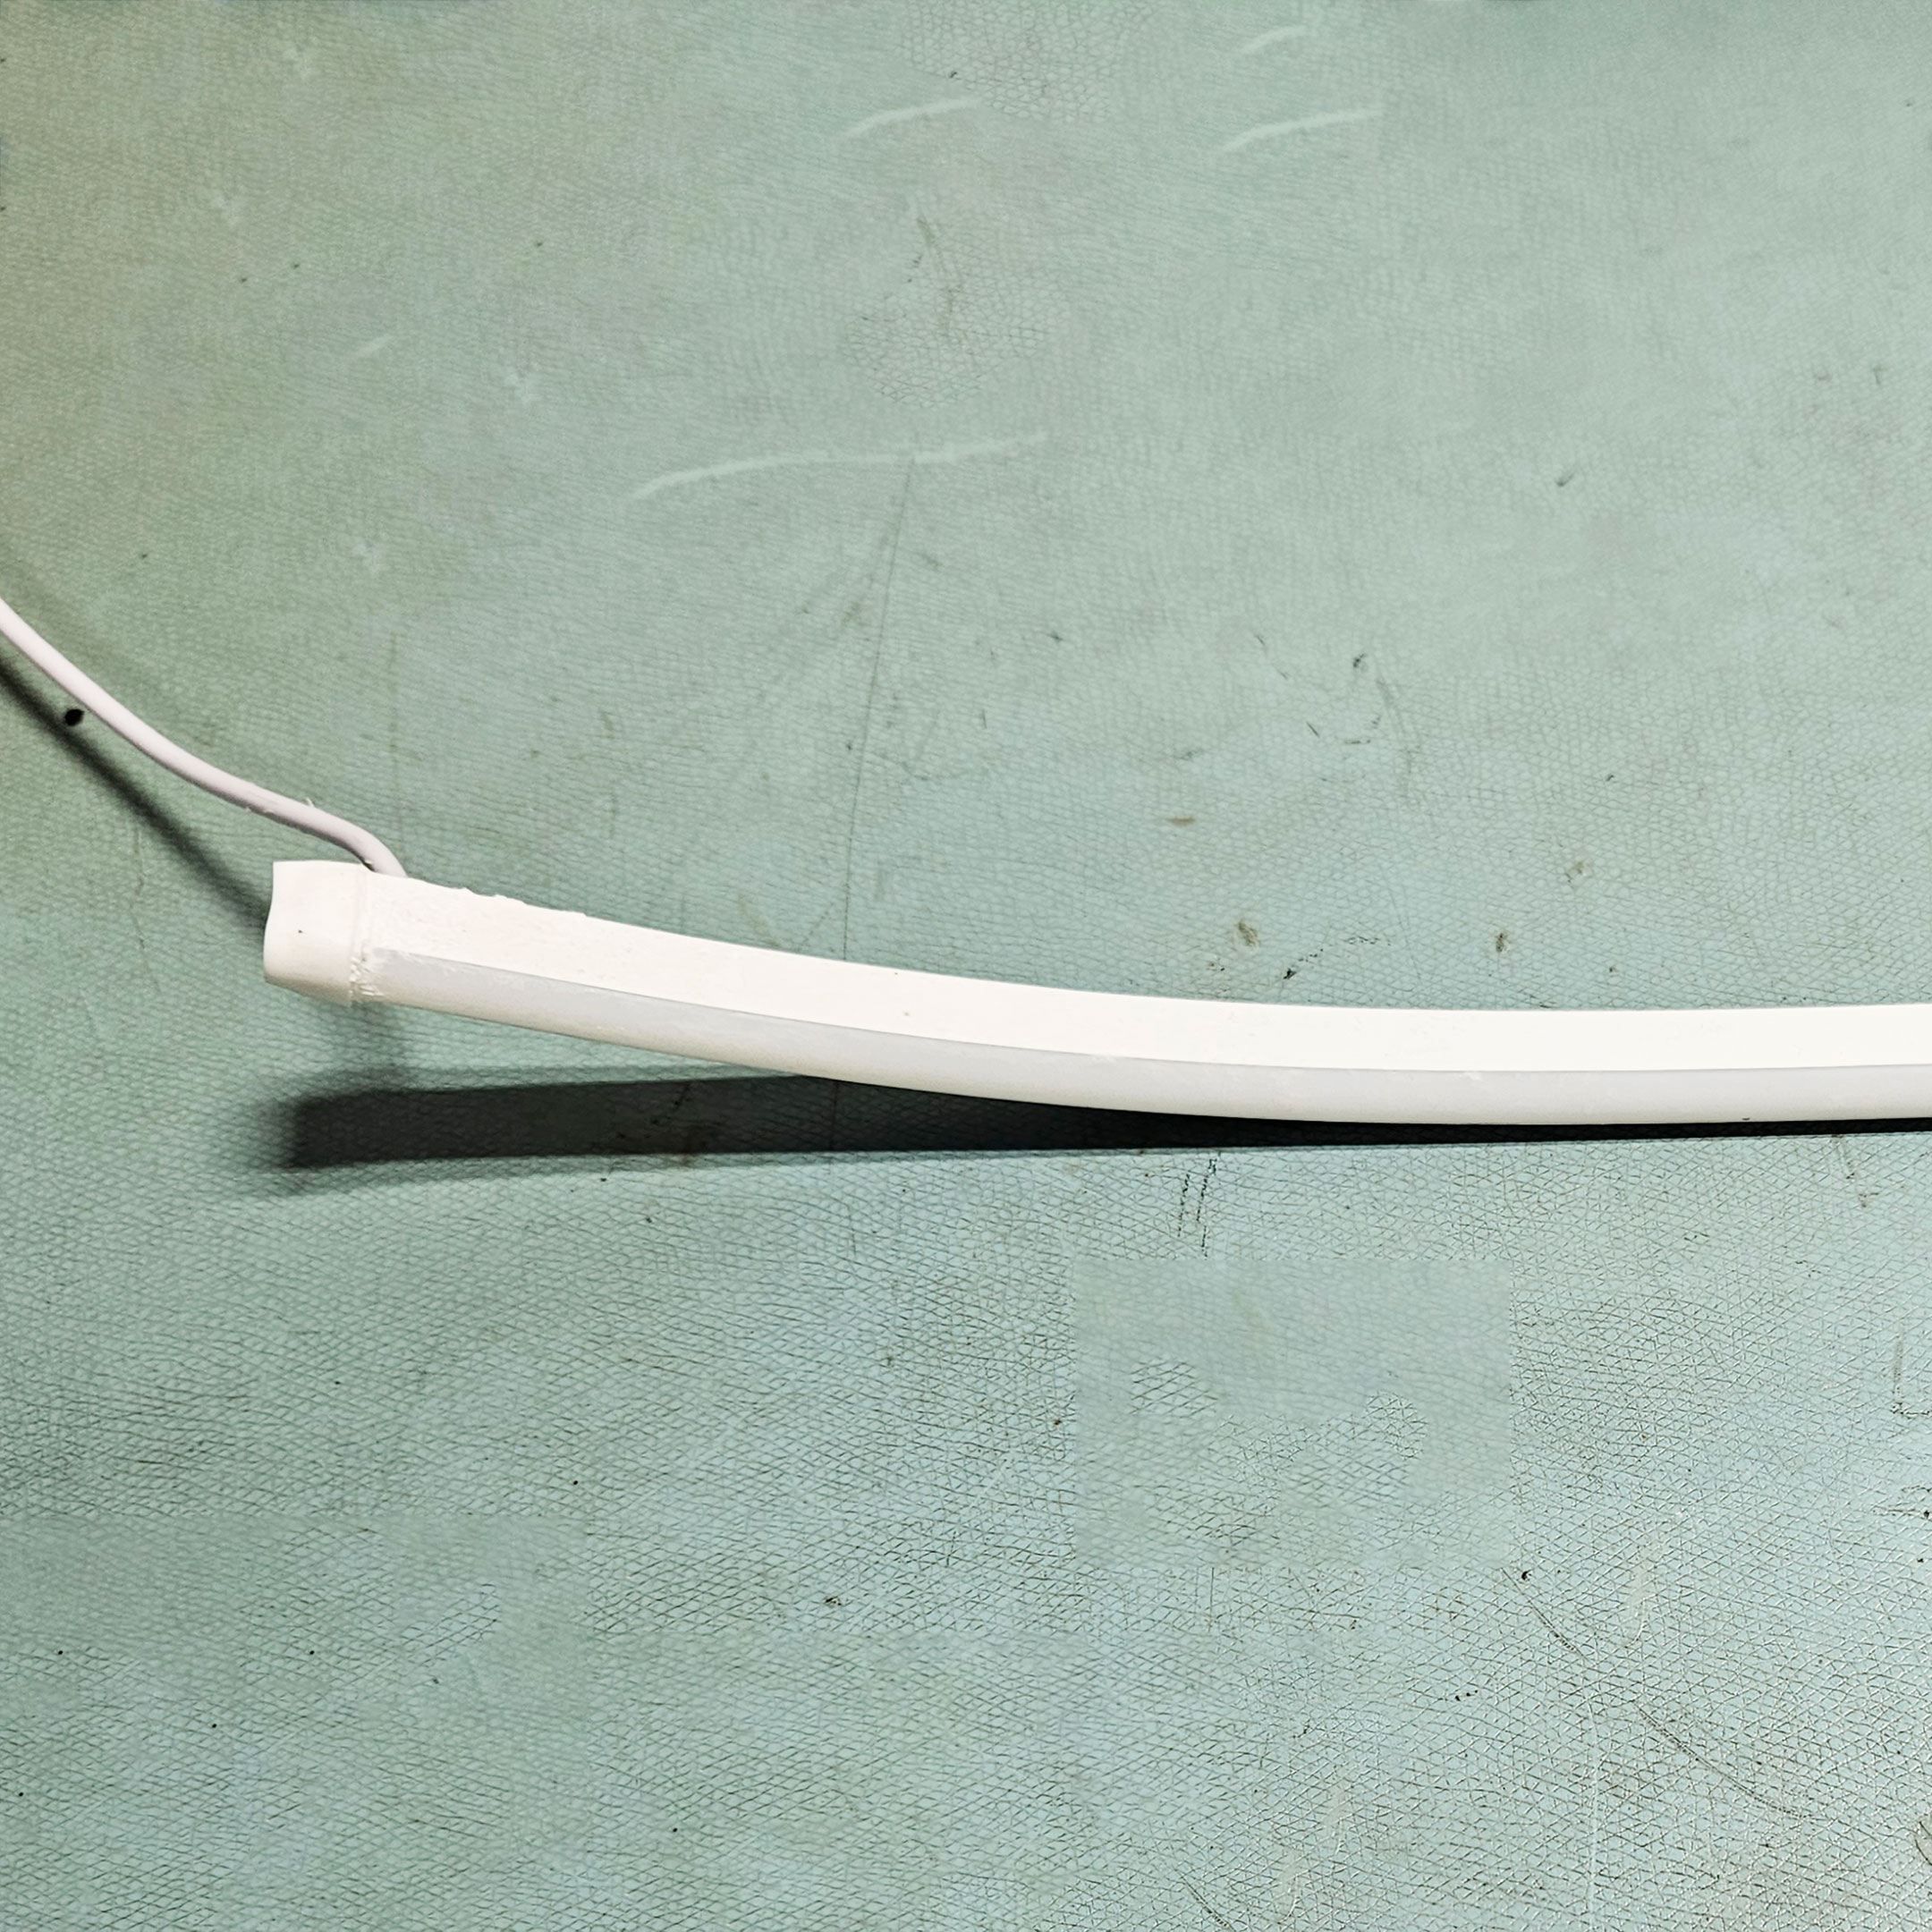
Figure 37: Soldered QolorFLEX NuNeon, unlit
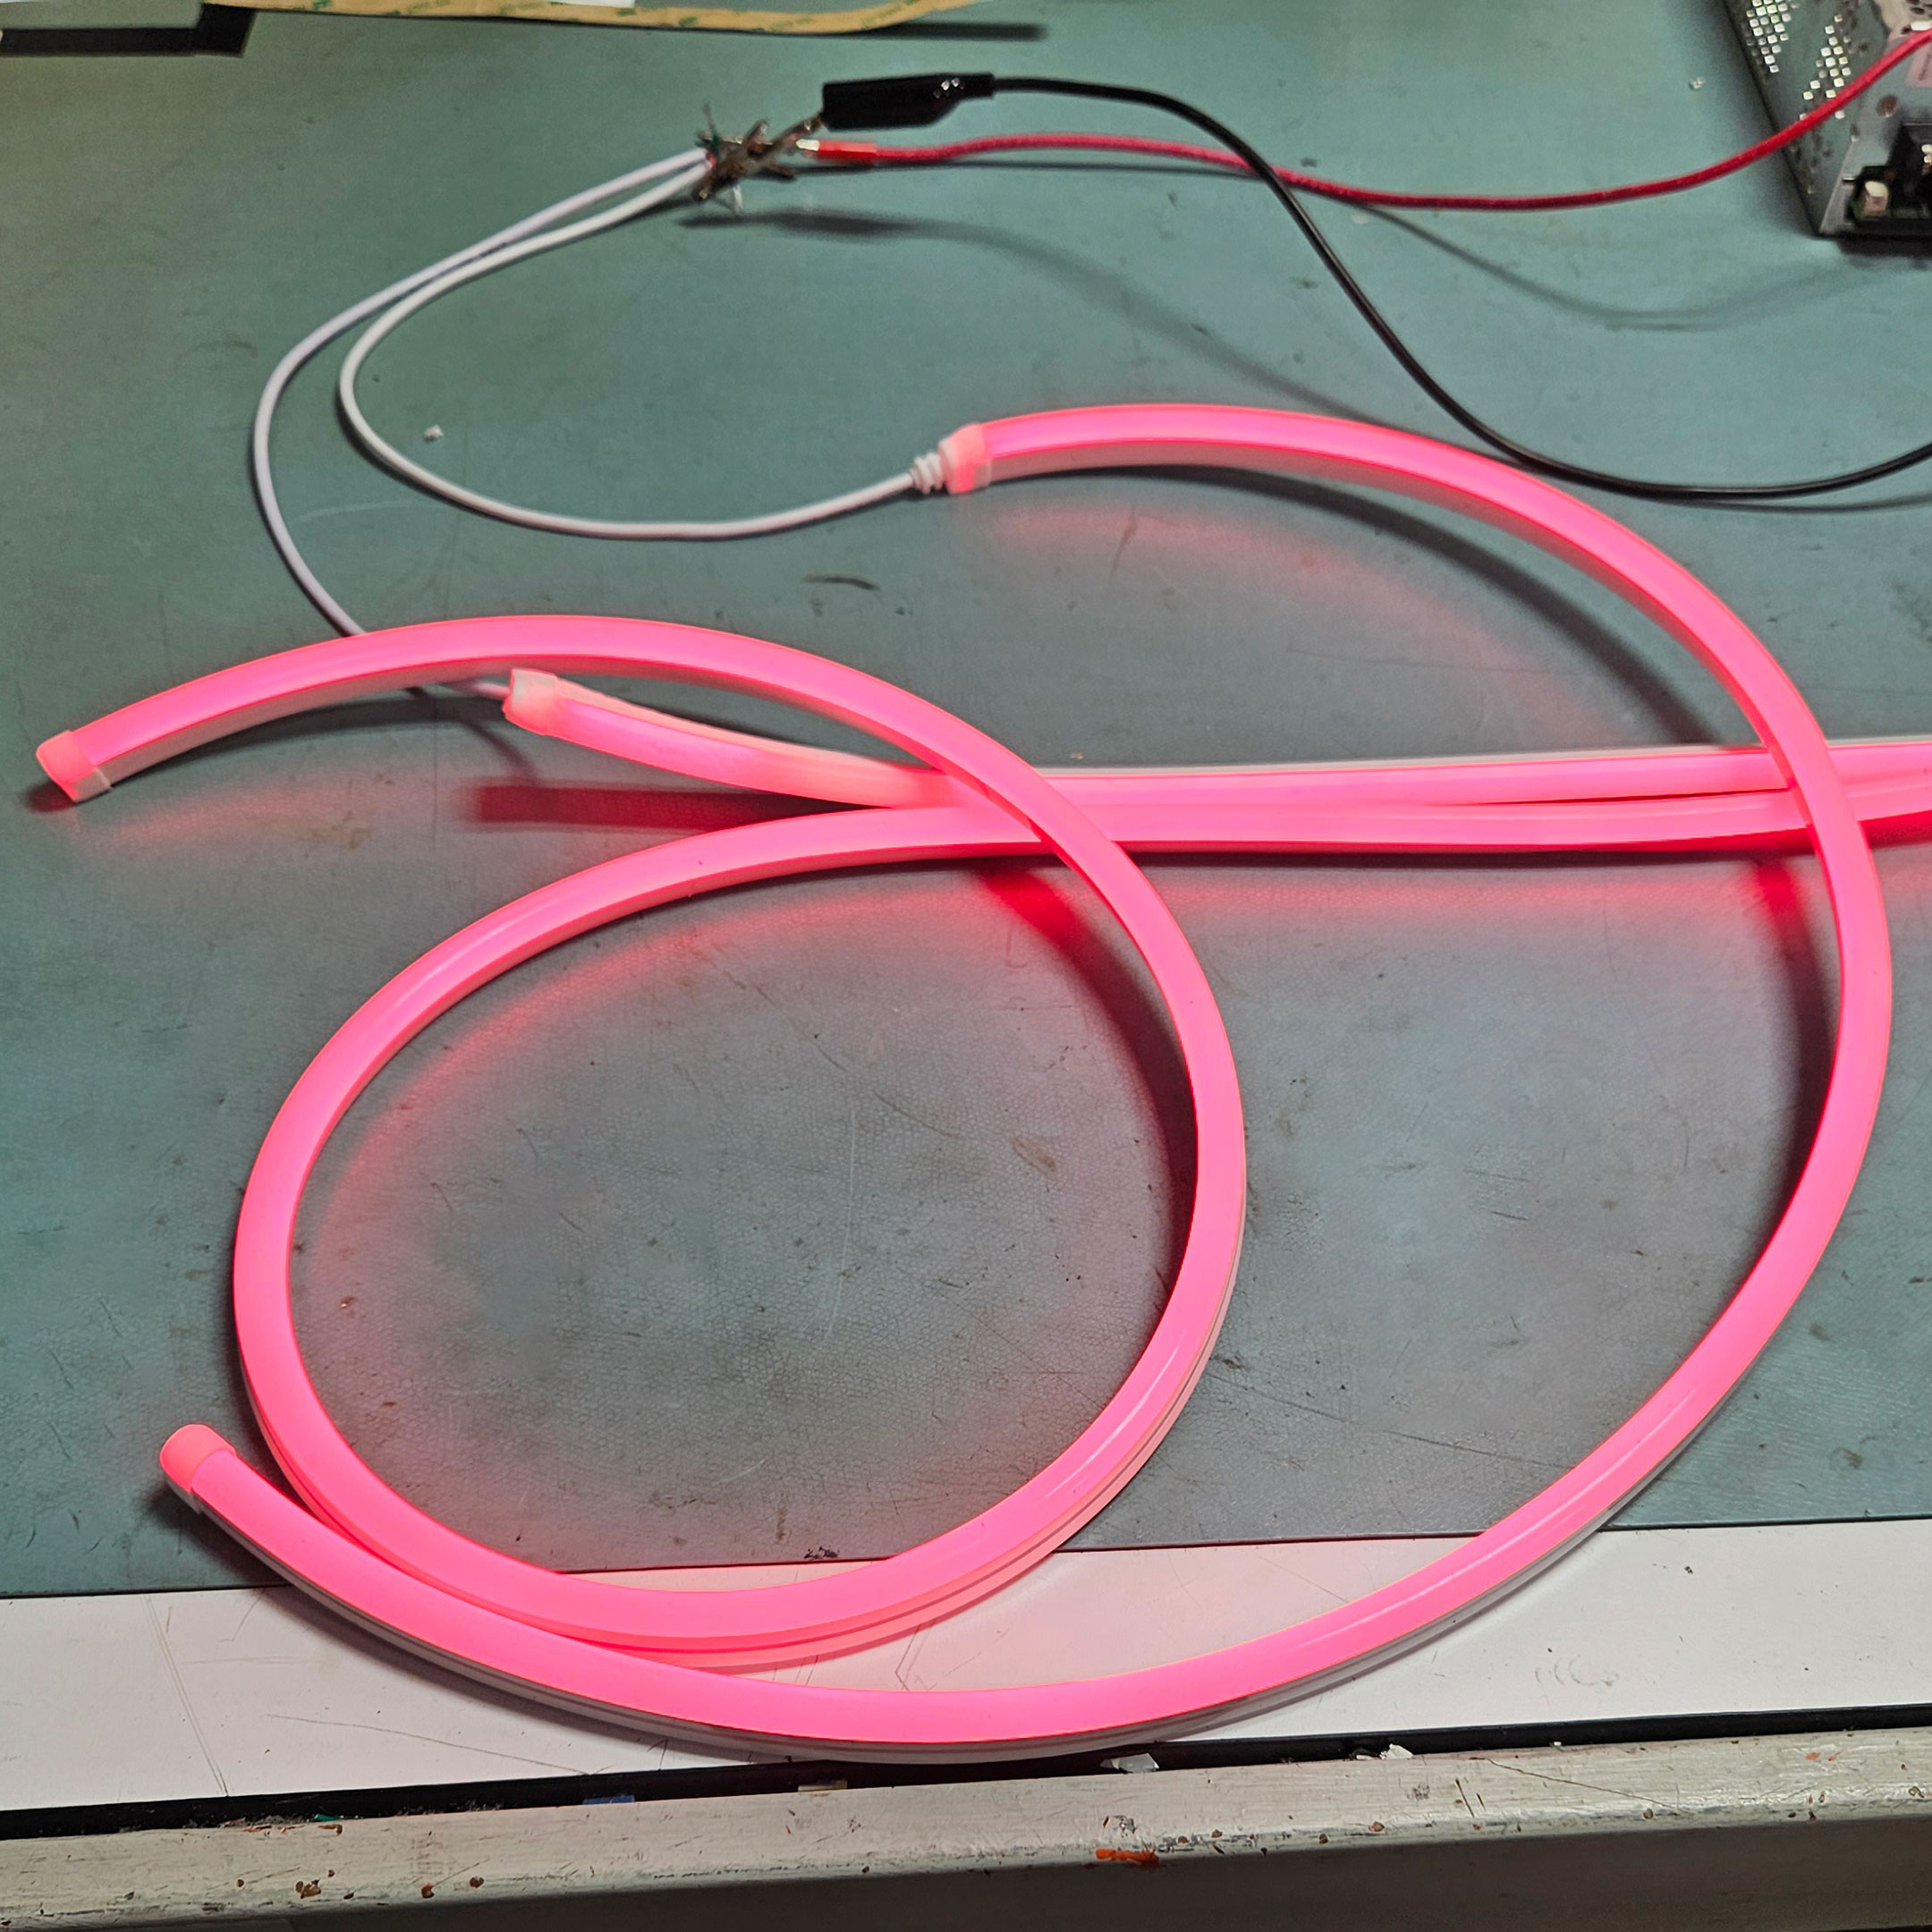
Figure 38: Soldered QolorFLEX NuNeon, lit

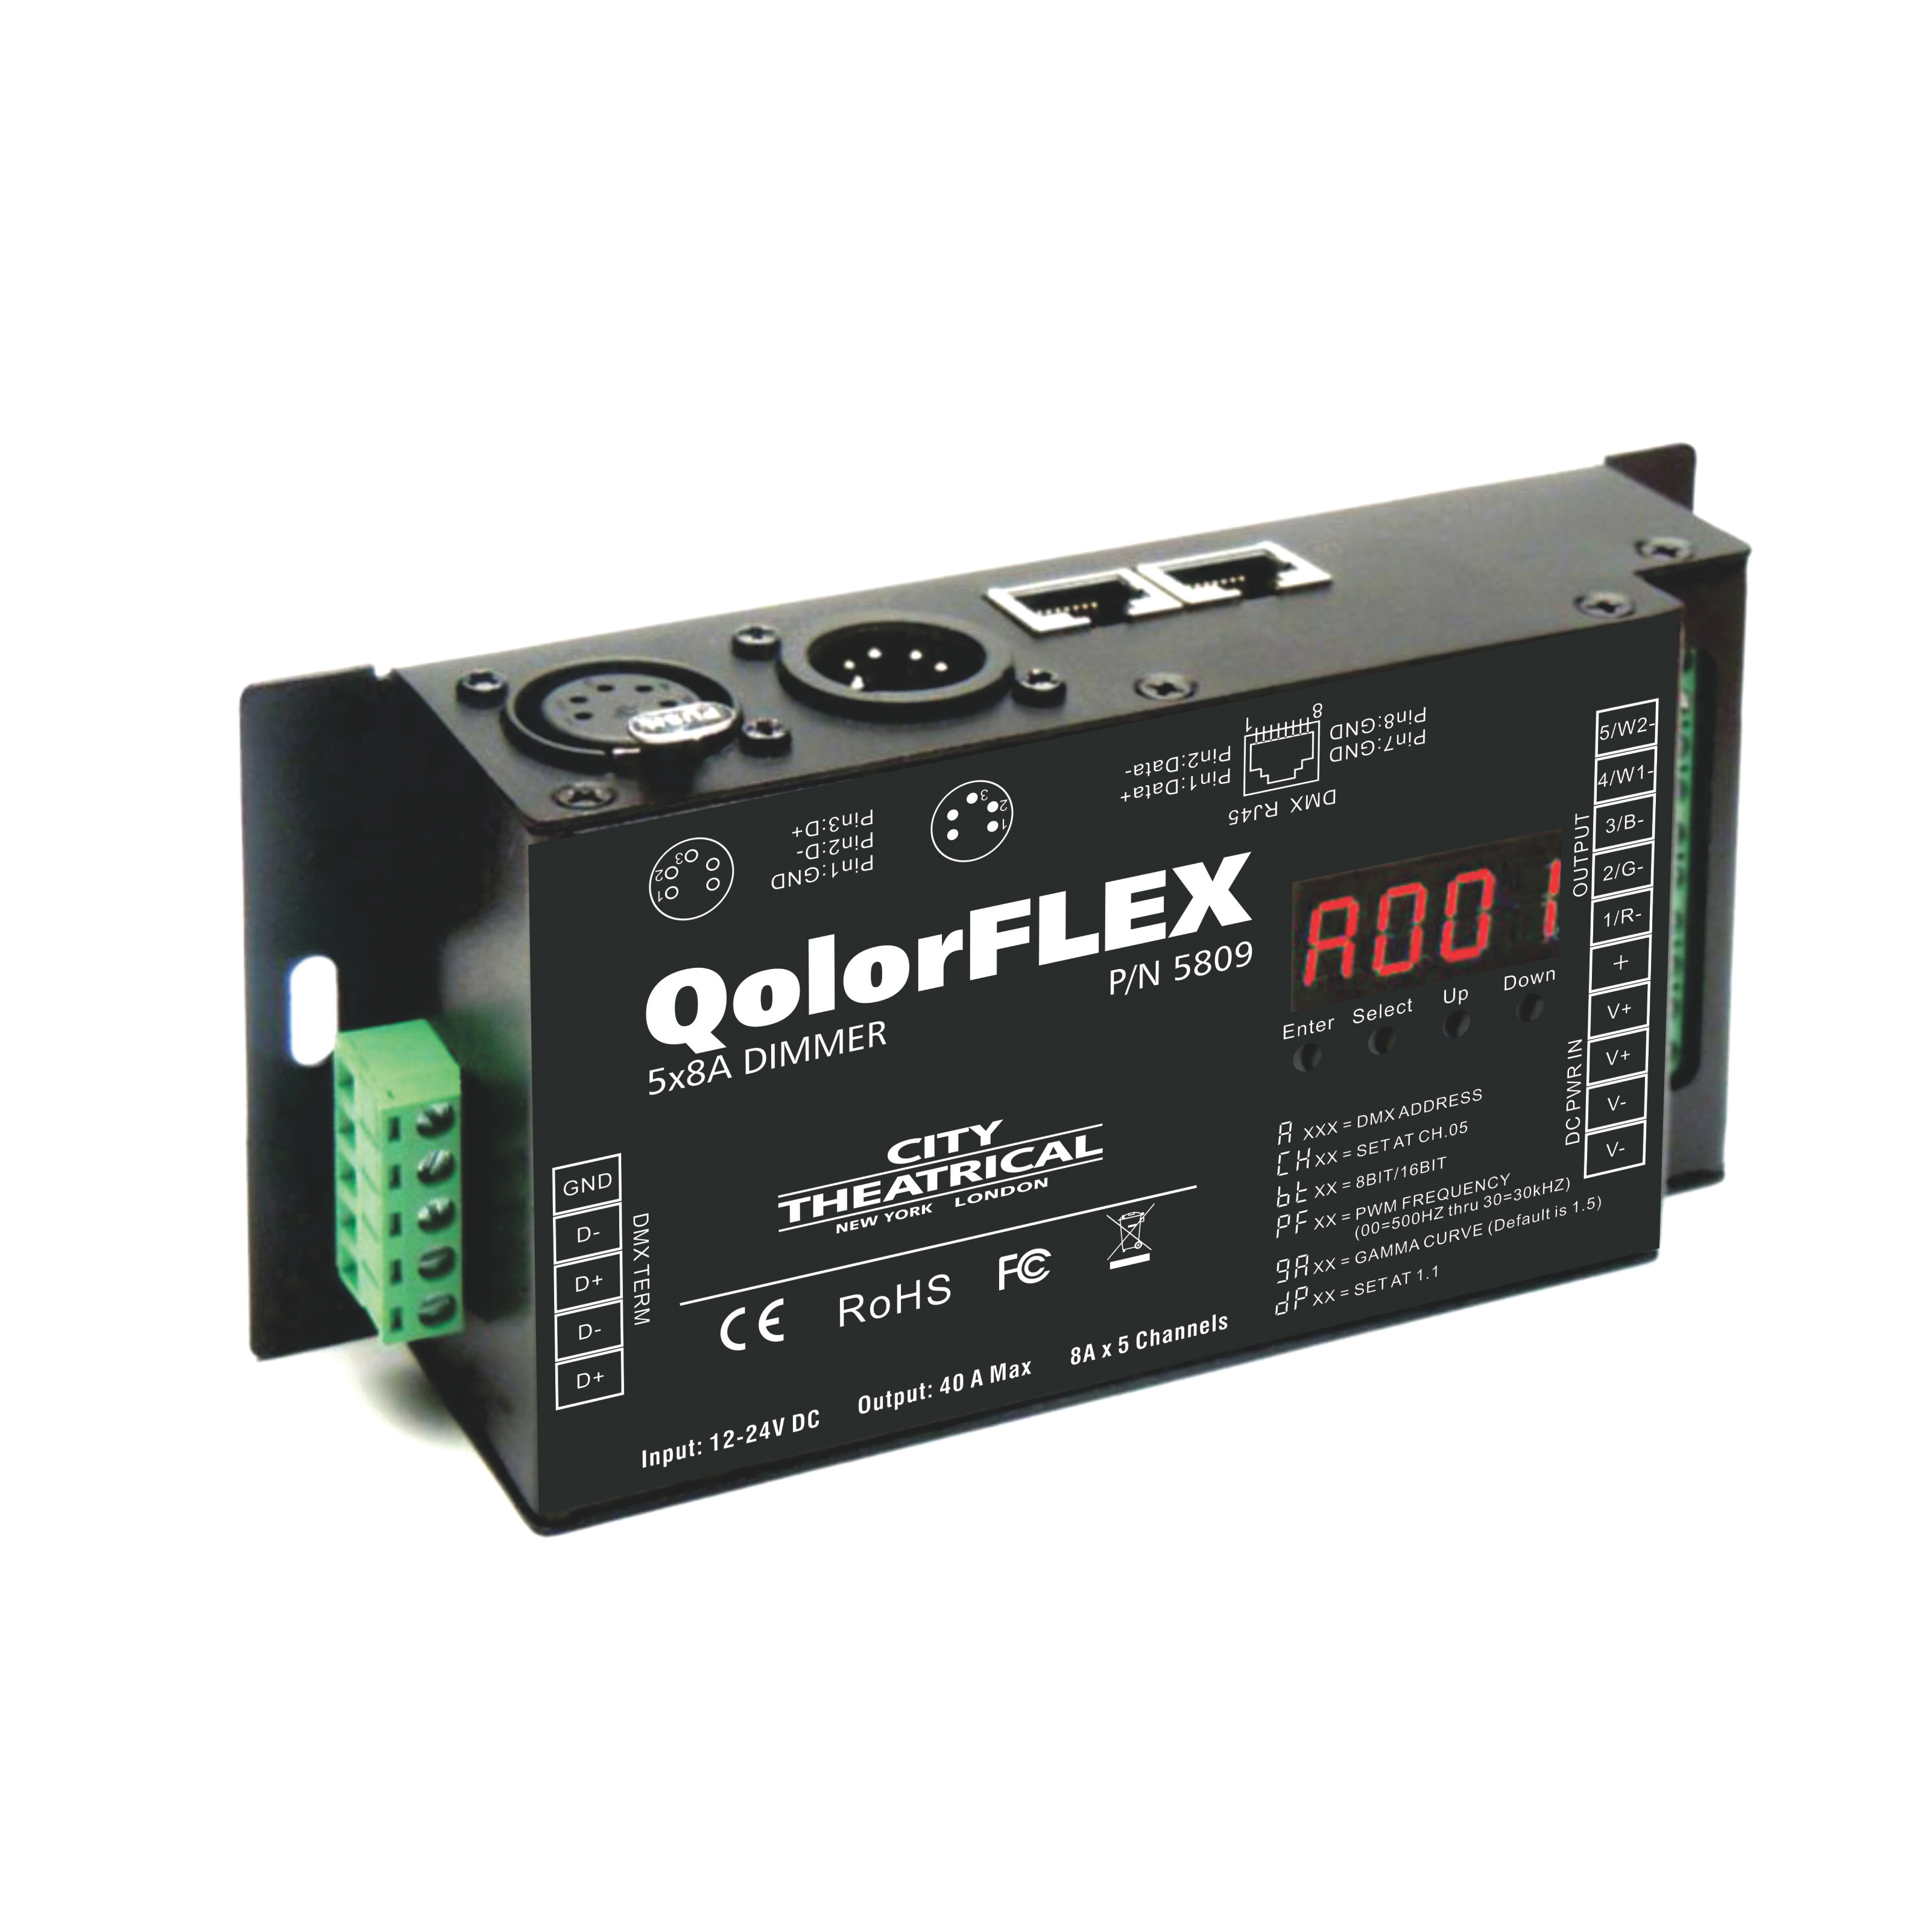
QolorFLEX solutions include QolorFLEX NuNeon, QolorPIX Pixel Controlled LED Tape, QolorFLEX LED Tapes including 5-in-1 and HiQ High CRI, QolorFLEX Dimmers, and QolorFLEX LED Tape Accessories.
Electronic Products